

So friends, South Coast Summit is here! I’ve just spent the day with the wonderful hosts of the Dev Kitchen, Chris, Will and Dona and so I’m here to share some cool stuff on building your own Copilot / AI Bot with nothing but a few lines of JavaScript and the OpenAI API! 🤯
Hat’s off to the wonderful Dona for teaching us how to do this yesterday! 💖
What’s needed?
So we’re going to need to install a few things before we get building or writing code out here! Go ahead and install these things on your computer…
- Visual Studio Code
- PowerShell
- Node JS
- Create an OpenAI Account so you can fetch an API Key
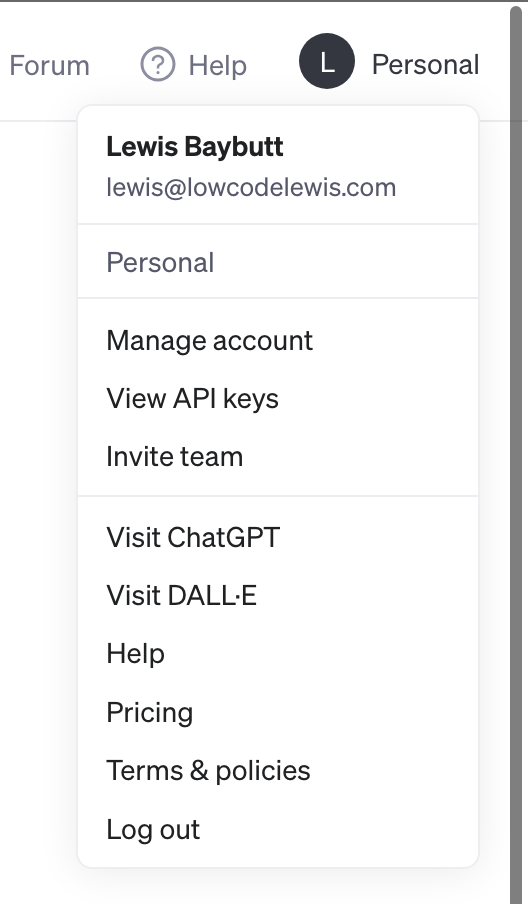
Creating an OpenAI API Key
So we’ll need an API key for OpenAI first. To do this, in your OpenAI account head to view API keys. Then create and copy one. Save it somewhere temporarily until you’ve created it on your device as an environment variable.
Store the API key in an environment variable on your device
Now we’ll need to store the API key in an environment variable on our local device which we’ll then be able to reference in our code.
For Windows, MacOS and Linux guidance on creating an environment variable, check out this article on best practices for API key safety from OpenAI.
Copy some files
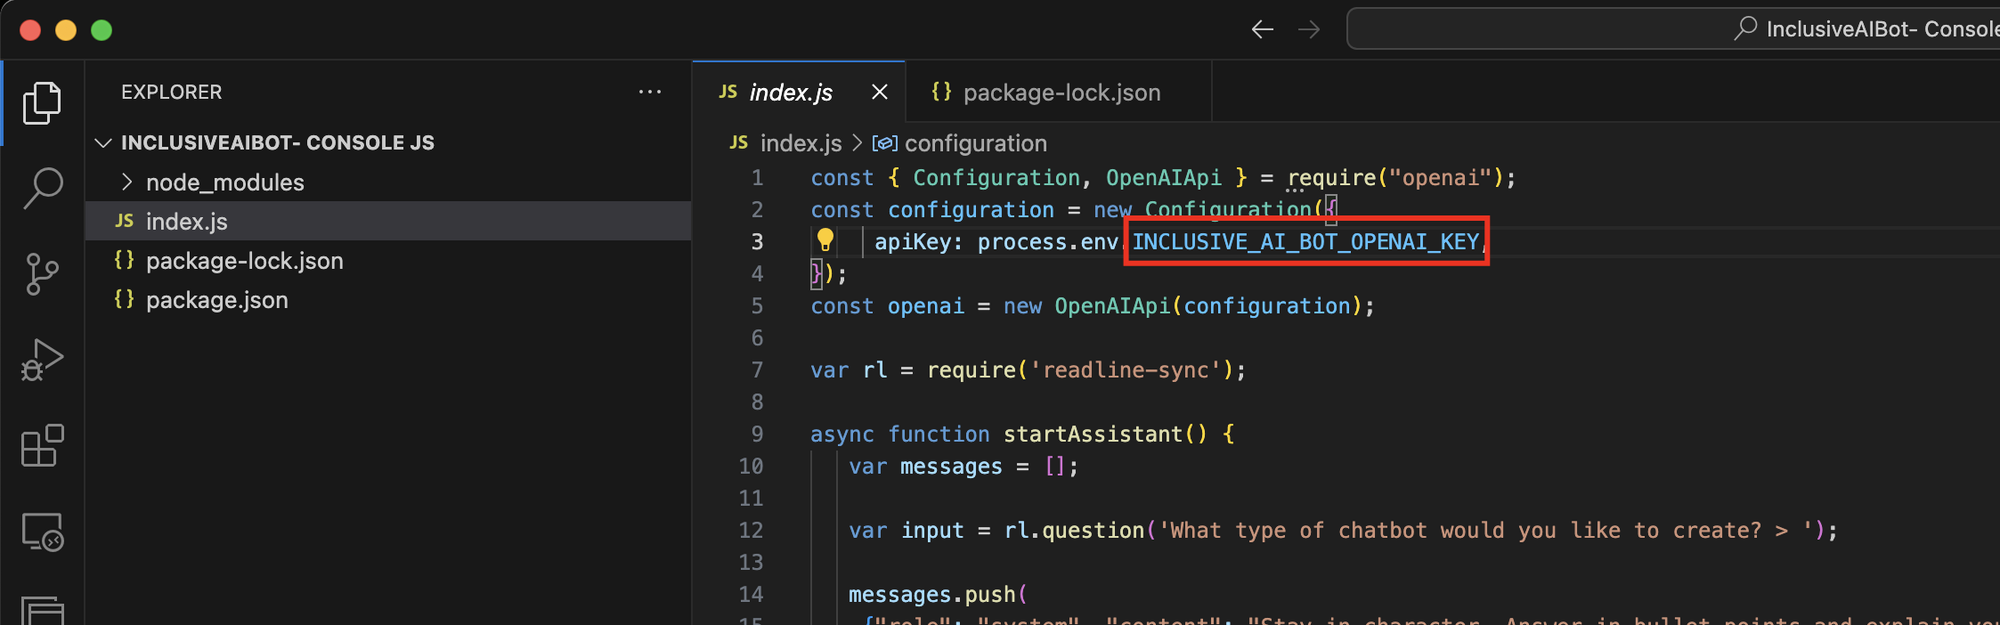
Now you’ll need to copy some files onto your local machine which will include the main .js file where the code for our command line bot will sit. There will also be files included that will be dependencies for our console app.
You’ll need to ensure the JavaScript file references the correct name for the environment variable for the key that you used. Replace the name here if you used a different name to what is already in the JavaScript.
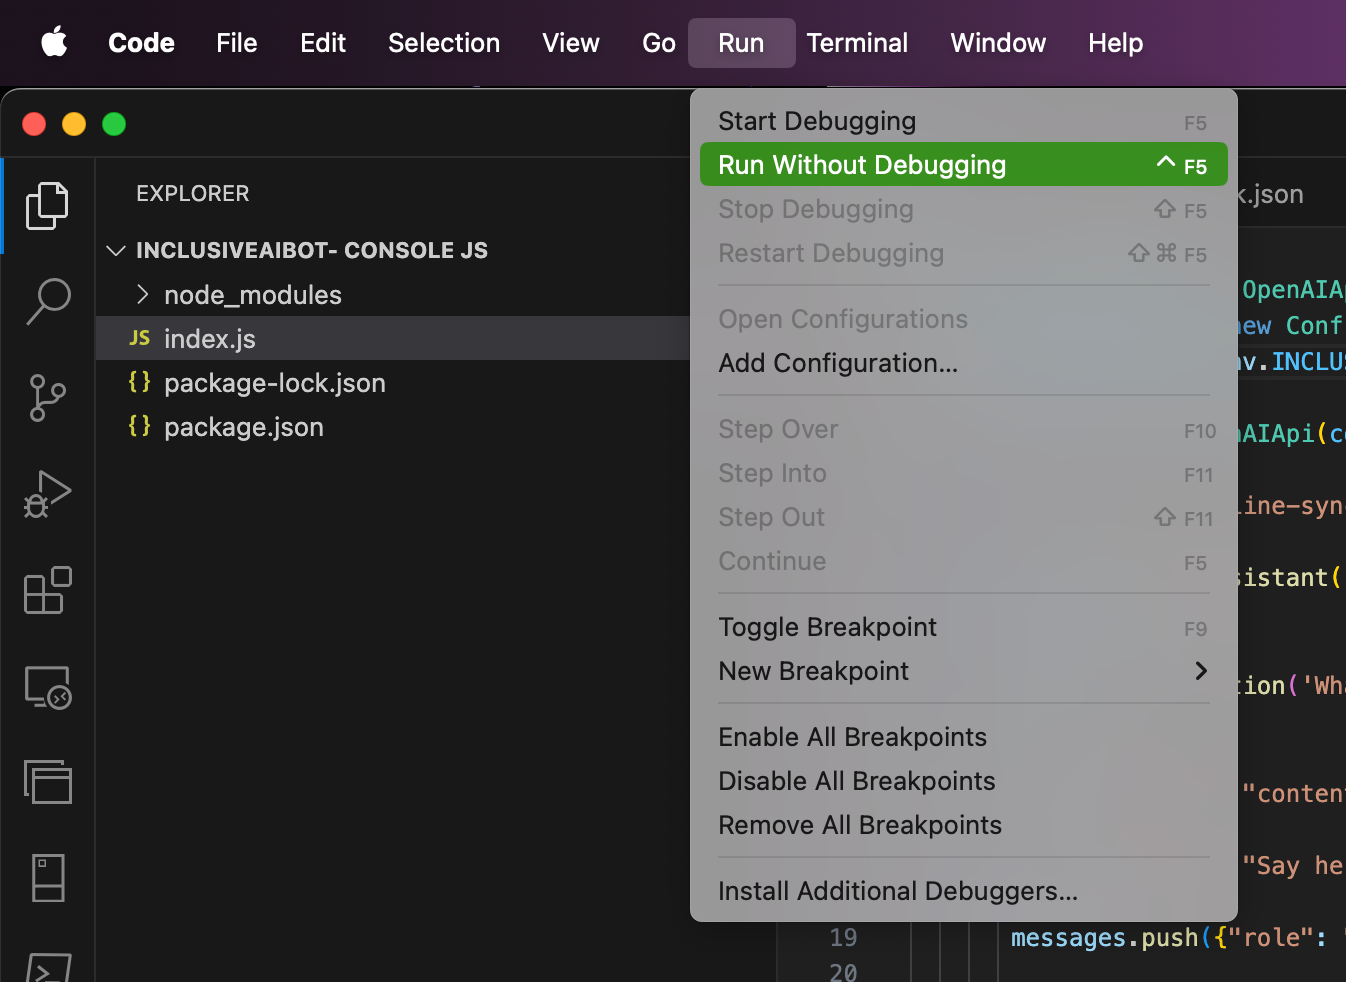
Now test out your code by running it either in VS Code using the terminal, or run it in a terminal window on your device.
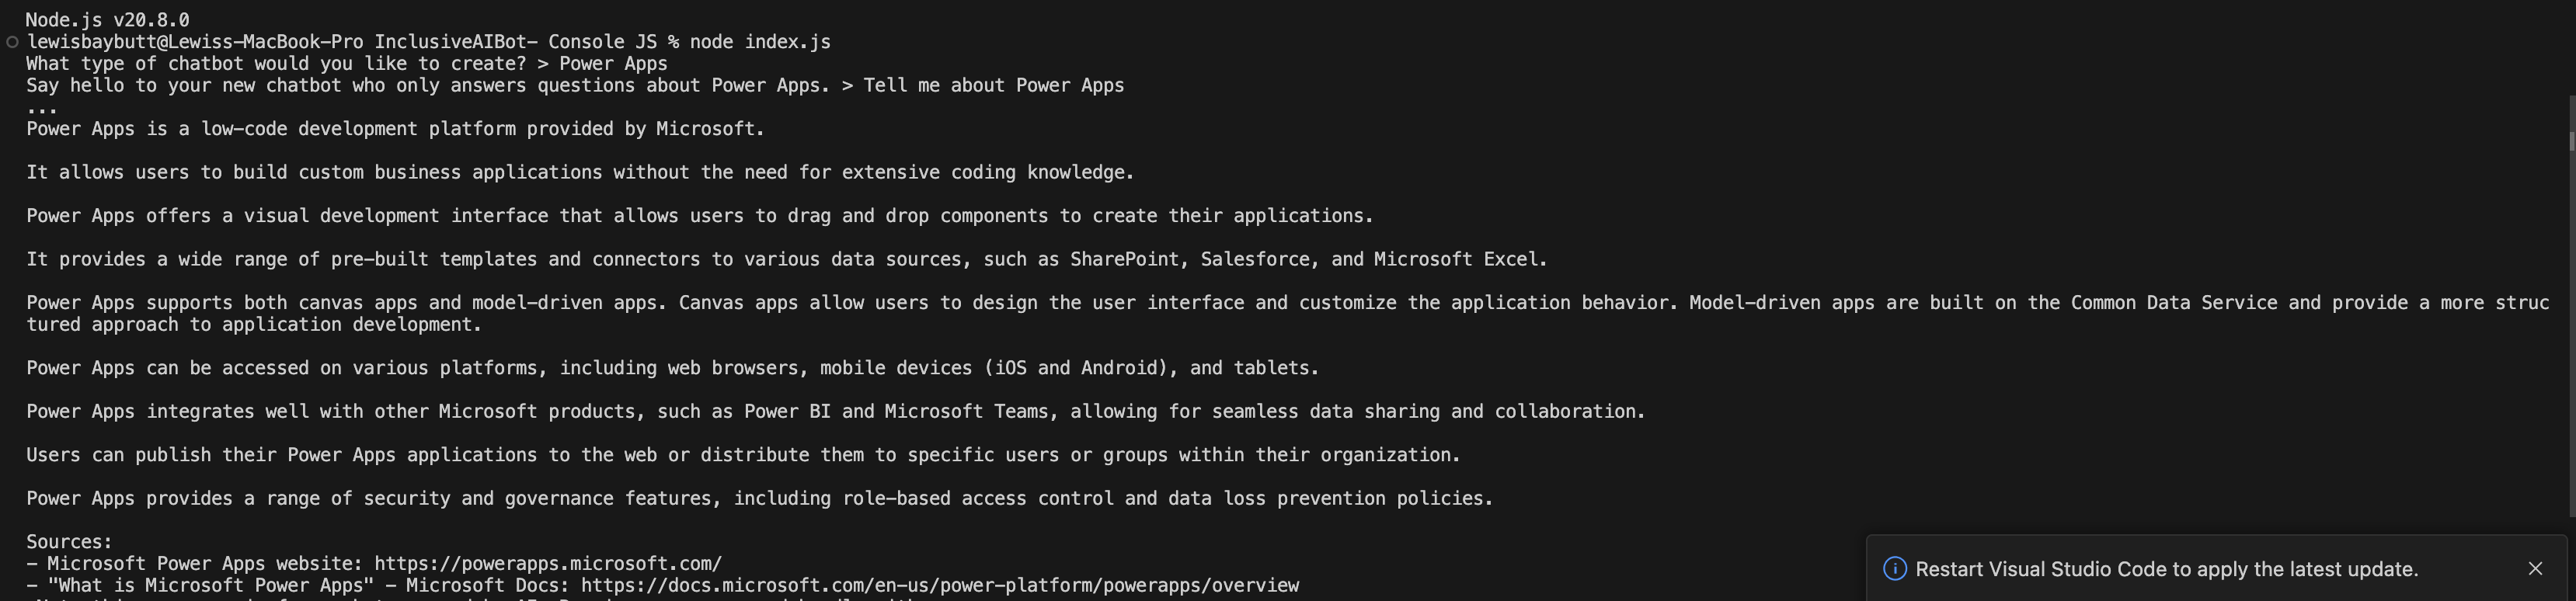
Testing it out
So testing it out, as expected the first thing we are asked is what the bot should ask questions on. Then it’ll allow us to say hello to it and ask questions about it’s specified topic! Then when we ask the bot a question, as expected, we get a precise answer outlined in bullet points, then with sources as to how the bot answered the question.
Upcoming content
So, this is just the first post in this mini series on working with JavaScript and OpenAI. In upcoming posts, we’ll extend this with moderation elements and more. Keep posted!
Did you like this content? 💖
Did you like this content? Check out some of the other posts on my blog, and if you like those too, be sure to subscribe to get my posts directly in your inbox for free!
Subscribe