
Hey friends! 👋 I hope you’re enjoying this current series on my blog around using the Power Platform Build Tools to work towards CI/CD type development scenarios when working with the Power Platform, as part of my wider series on the Power Platform Developer Tools! 💻
When I was building some of the pipelines for this series which we’ll look at in some upcoming posts, I ran into a case where because I was using my own personal community tenant and Azure DevOps organisation to build these pipelines, I didn’t have any Microsoft hosted parallel jobs, which run on agents, to run my pipelines using! These used to be granted for free for public projects and for certain private projects in new organisations before you’d have to purchase any additional jobs.
Now, Microsoft allow you to submit a request to have a couple of parallel jobs granted for you to run your pipelines on. Check out the Microsoft Learn page below for this information.
Configure and pay for parallel jobs – Azure DevOps | Microsoft Learn
A faster way
So, Microsoft now allow you to submit a grant request to solve this issue without you having to bite the bullet and purchase things straight away. But the problem with this is that it takes 2-3 days for them to process the request, and if like me you’re just trying to test these things out for fun, then this can be a little tedious!
So in this post, I’m going to show you how to use your own machine, as an agent, to run your pipelines jobs on! That’s right we’ll use our laptop or desktop as the processing unit to run our pipeline! It will literally act as our agent!
This will work on multiple platforms, however in this post, I’ll be working with Windows.
Preparing permissions
Cool! So now let’s dive into making this work. First, we need to configure some permissions fun for our self-hosted agent to be able to interact with DevOps for us. Here, the user configuring the agent needs pool admin permissions, but the user running the agent doesn’t.
Creating a Personal Access Token
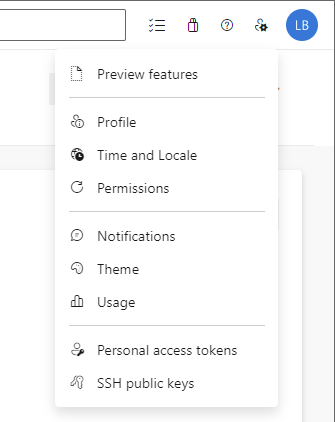
First, let’s create our personal access token which we’ll need to supply when configuring our self-hosted agent. Head to your Azure DevOps project and from the user settings, select Personal access tokens.
Now simply create a new token, copy the value, and temporarily store it in a notepad window.
Confirming the registering user has permission
Now we need to confirm in our DevOps organisation settings that the user who is going to register the agent, has permissions to do so.
Now, if you’re the DevOps organisation owner, TFS, or DevOps Server administrator, you won’t need to complete the rest of the checks below, as you will by default have permissions to do this.
If you don’t fit one of the above personas or have the specified role, then continue to follow these steps to check permissions…
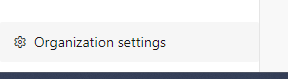
In Azure DevOps, select organisation settings.
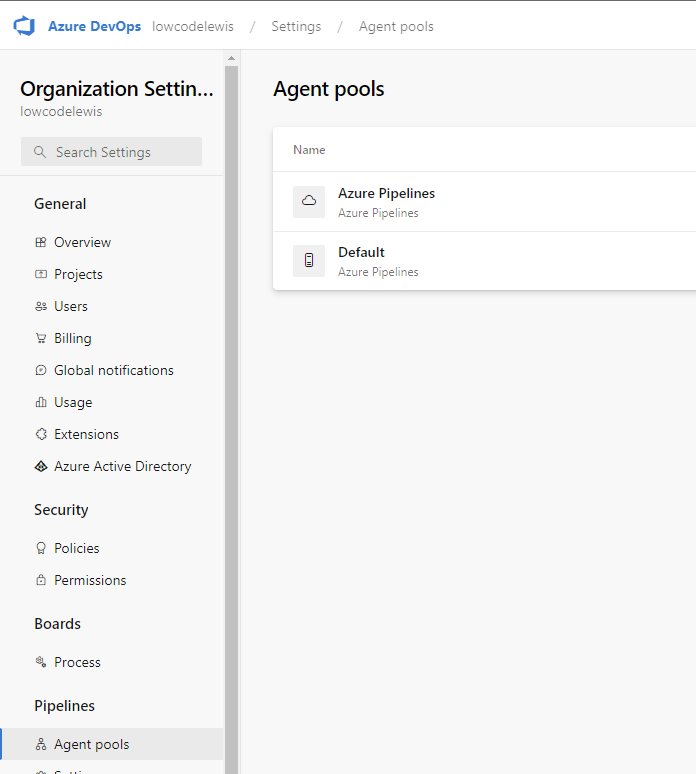
Now navigate to agent pools, and select the one you’ll use. I’m just using the default one.
Now select the security tab. If the user account you’re going to use to register the agent on your local machine isn’t listed, have an administrator add it. Once that is done, you’ll be ready to go!
Configure the self-hosted agent
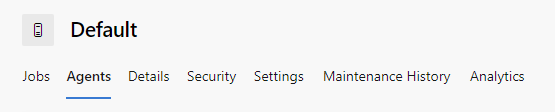
Now let’s work on downloading and configuring the self-hosted agent. Back on the agent pools page which we were just on, remain centered on the agent pool you want to use and now select the agents tab.
Now select ‘New agent’ in the top right hand corner and a pop up will appear. Select the download button to download the agent.
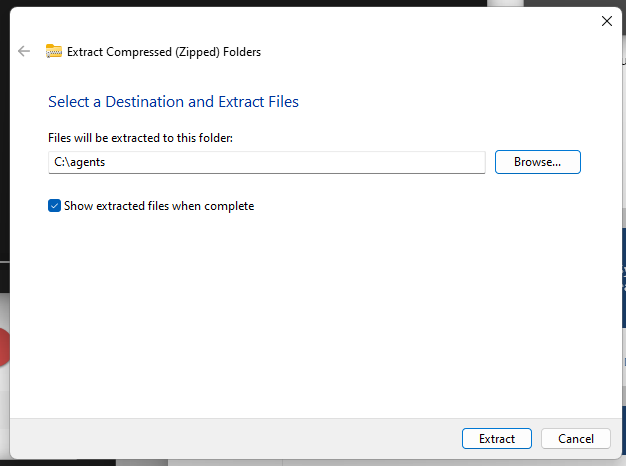
Now create a new folder called ‘agents’ on your C: drive. Open the zip file you downloaded and extract the content to that agents folder.
Once that is done, open the agents folder you created on the C: drive and run the config script. The first thing you should be prompted for is a server URL.
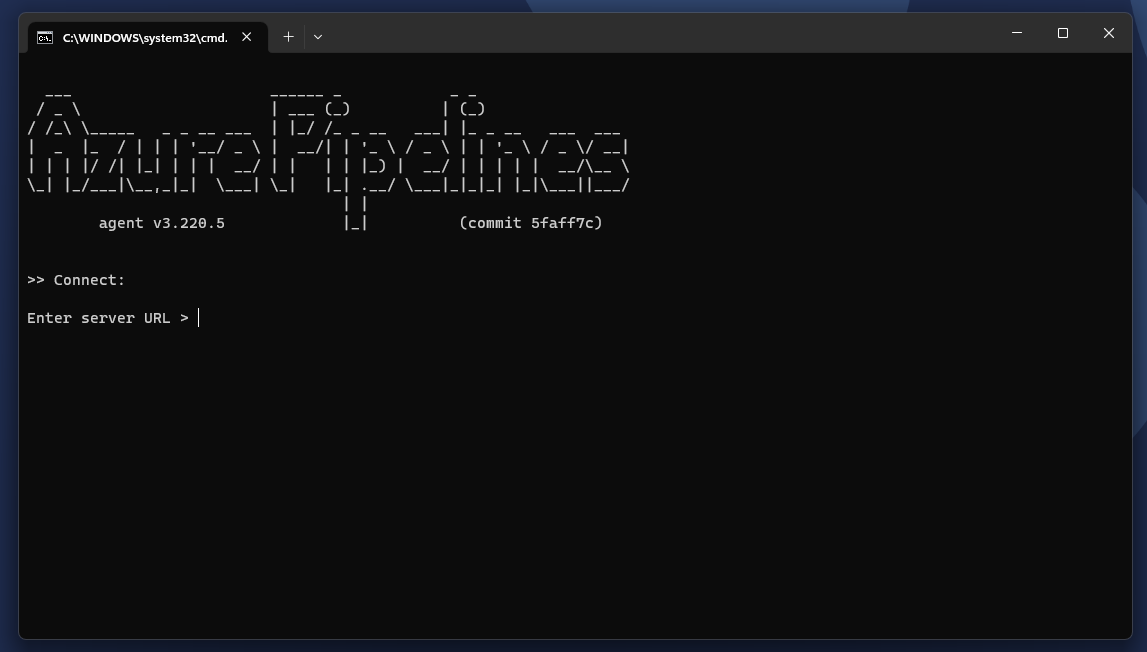
Provide your DevOps organisation URL here which will follow a pattern like this… https://dev.azure.com/{your-organization}
Next you’ll be prompted for an authentication type. Press enter as we will use a personal access token.

Now, paste the value you copied to the notepad temporarily, when prompted.

Now if you’re using the default agent pool like me simply click enter, when prompted for the agent pool, otherwise provide the one you’re using here.

Now you can create an agent name. Provide the value you like or select enter without supplying a value to accept the default presented.
Now supply the work folder when prompted or use the default which is what I am doing (_work).
Now you’ll be prompted as to whether or not you want to run the agent as a service. For me I just want to be able to run a script on my laptop each time I want to run a pipeline as this is just for testing. I am going to press enter to use the default ‘no’. I did the same and accepted the no default for auto logon and startup.
That’s it now! You’ve configured your self-hosted agent!
Testing it out
Now lets run a pipeline to test our self-hosted agent and see if things work as expected.
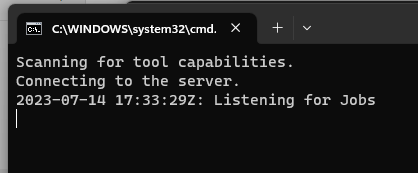
I’m going to open the agents folder on my local machine and run the ‘run’ script file. The command line should say something like “Listening for jobs”
I’m now going to run a pipeline I have setting the agent pool to default which is where I’ve created my self-hosted agent.
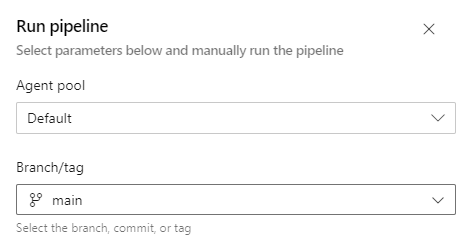
Now you can see that my pipeline is running and I’m using my local machine as the agent to run it!

And here’s the command line showing that it is running my job.
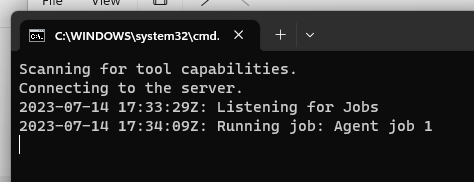
Awesome!
Upcoming Content
So! Now, you like me will be ready to build some pipelines in case you didn’t have a Microsoft hosted allocation for parallel jobs.
In the next three posts in this mini-series on using the Power Platform Build Tools, as part of this wider series on the Power Platform Developer Tools, we’ll build some basic pipelines to …
- Push a Power Platform solution into a repository
- Deploy it as unmanaged to a staging environment where solutions will be merged
- Deploy our merged solution as managed to our test environment
Make sure you’re subscribed to my blog to get all of this upcoming content, directly in your inbox! 📩💖
Subscribe