

Hey Friends! So, I’m back with another post on the Power Platform Developer Tools, this time moving onto something different, but still similar to the last couple of posts, being how we can get started with using GitHub actions for working with CI/CD pipeline scenarios when deploying Power Platform solutions!
These next few posts will be very similar to my last few posts on the Power Platform Build Tools except now we’ll be focusing on how we can use the GitHub actions to achieve a similar thing to what we did with Build Tools! 💖
What are GitHub actions?
GitHub actions basically enable developers to implement automated software development lifecycle scenarios for software deployment and more, right from GitHub repositories!
GitHub actions for Microsoft Power Platform effectively provides an integration with a number of template .yml snippets that we can use to write these workflows which allow us to achieve automated deployment type situations!
Getting started with connections
So, before we start building anything, which we’ll do in future posts, we need to work on getting our environments connected with GitHub. We’ll focus on this, in this blog post! 😎
Service principal / app registration
So the first thing we need to do is create a service principal and give it access to our Dataverse environment. We’ll then use this in our connection in GitHub.
Let’s use the following command in the Power Platform CLI to do this.
pac admin create-service-principalFrom this we will get three values, our client id, tenant id, and client secret which we will now use to configure our connection with GitHub.
If you created your app registration through the Azure portal UI, make sure you add a security role to it by making it an application user in the Dataverse environment you want to connect to, you’ll want to apply the system administrator role here.
Secrets
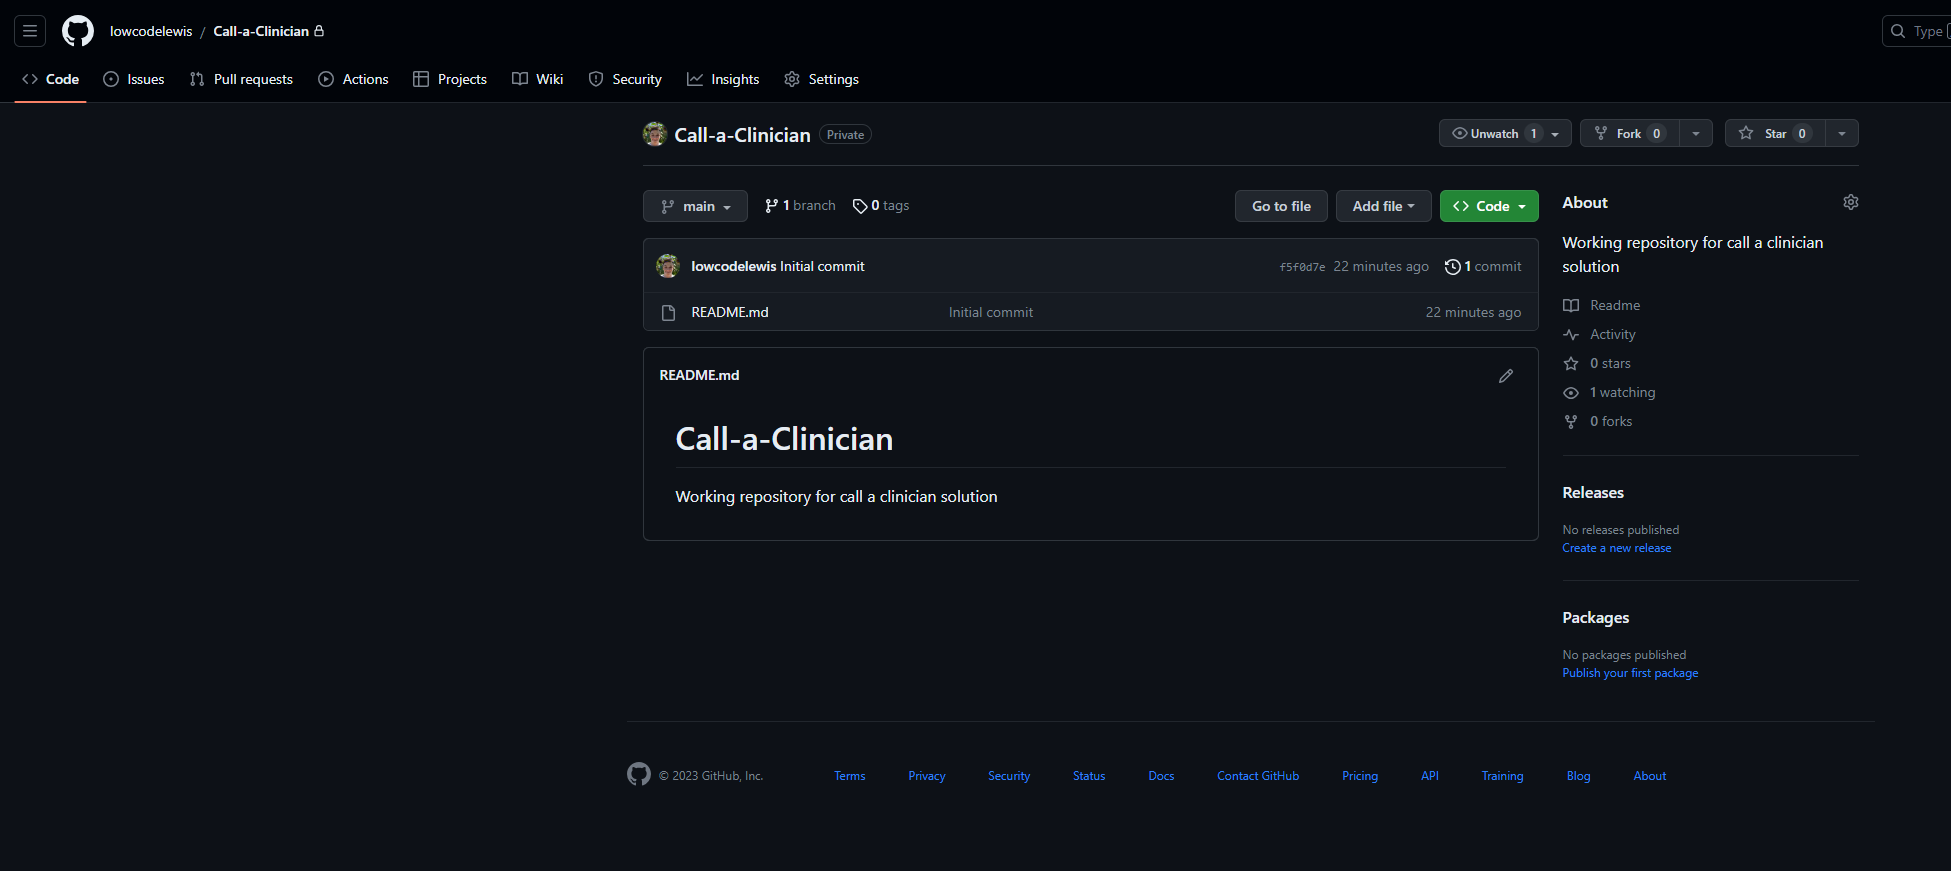
The first thing we need to do is handle our secret. In GitHub we need to store our secrets securely in the settings of a repository we’d like to work in. I’m going to base this on my call a clinician solution I recently released, and so I’ll head to my call a clinician repository to add in my secret.
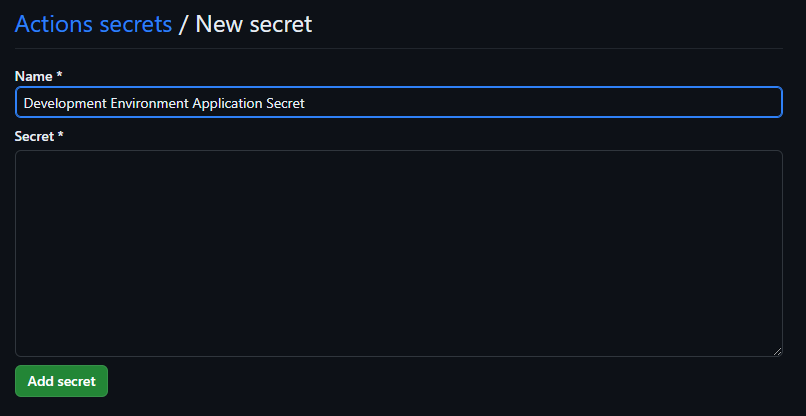
Head to the settings tab and then select secrets and variables, followed by actions in the collapsible menu.

Now select ‘new repository secret’ and paste in your secret to the secret box. Give it a name that makes sense and then select add secret.
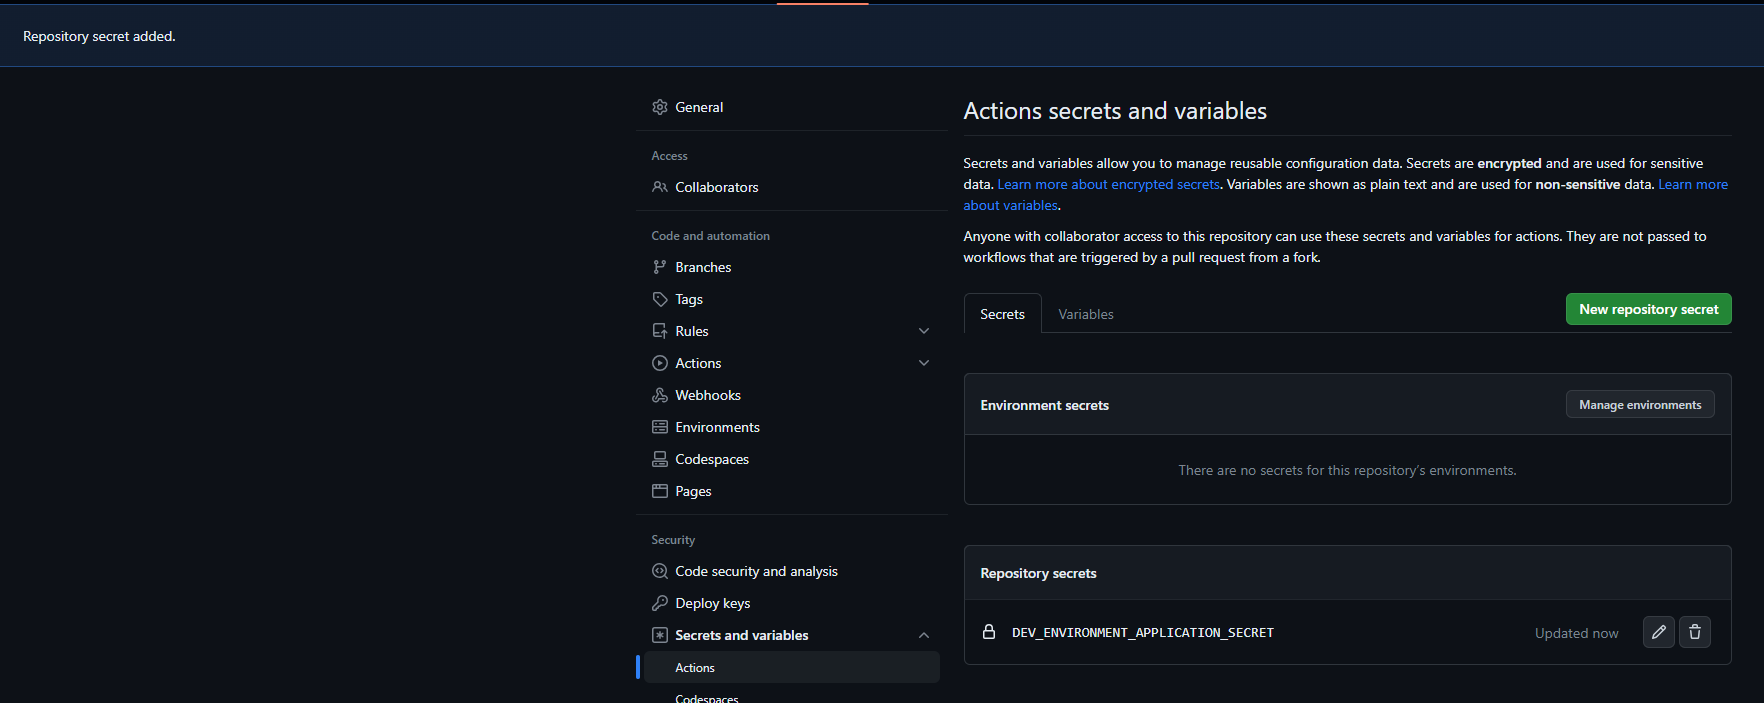
And now we can see, the secret has been created in my repository for use with GitHub actions.
Get started with GitHub actions
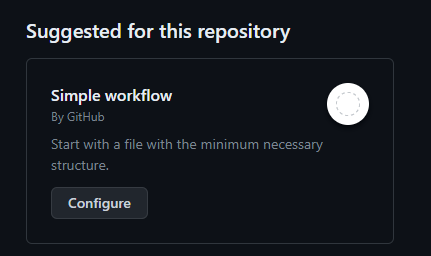
Okay so now let’s look at how we’re going to implement pipeline type scenarios using GitHub actions. We’ll head to the actions tab in our repository and then select configure on the simple workflow.
Take a look at the generated workflow to get a feel for how GitHub actions and yml works. Then replace the yml with the following code. We’ll use the WhoAmI step to test our connection to our Power Platform environment.
name: whoAmI
# Test connection to Power Platform environment with first workflow

on:

  # Allows you to run this workflow manually from the Actions tab
  workflow_dispatch:


env:
#edit your values here
  ENVIRONMENT_URL: '<ENVIRONMENTURL>'
  CLIENT_ID: '<APPID>'
  TENANT_ID: '<TENANT ID>'
permissions:
  contents: write
jobs:
  who-am-i:
    runs-on: windows-latest
    # or you can say runs-on: ubuntu-latest
    env:
      RUNNER_DEBUG: 1

    steps:
    - uses: actions/checkout@v2
      with:
        lfs: true

    - name: who-am-i action
      uses: microsoft/powerplatform-actions/who-am-i@v0
      with:
        environment-url: ${{env.ENVIRONMENT_URL}}
        app-id: ${{env.CLIENT_ID}}
        client-secret: ${{ secrets.YourSecretName}}
        tenant-id: ${{env.TENANT_ID}}
In the above replace the values under env: with your environment and app registration information. Then in the who-am-i action replace the secret name following ‘secrets.’ with the name you gave your secret when you added it to your GitHub repository.
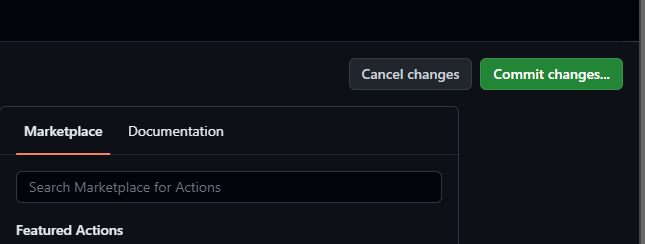
Once you have done that, select commit changes in the edit window…
Now add a description for the changes if you wish and commit the changes directly to the main branch. We’re only testing things out here with a test repository so I’ll commit directly to main.
Now head back to the actions tab to test out your workflow!
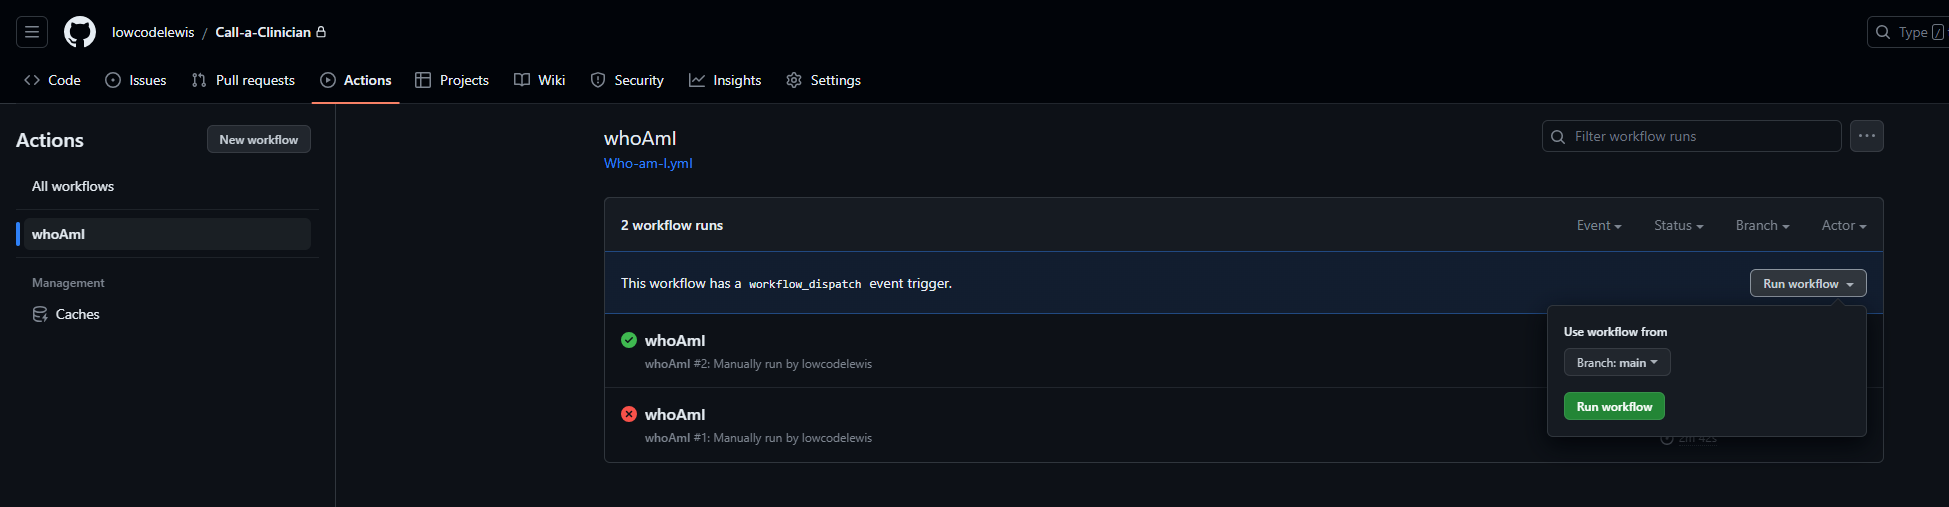
Select the workflow then select run workflow which is made possibly by the workflow_dispatch trigger we added.
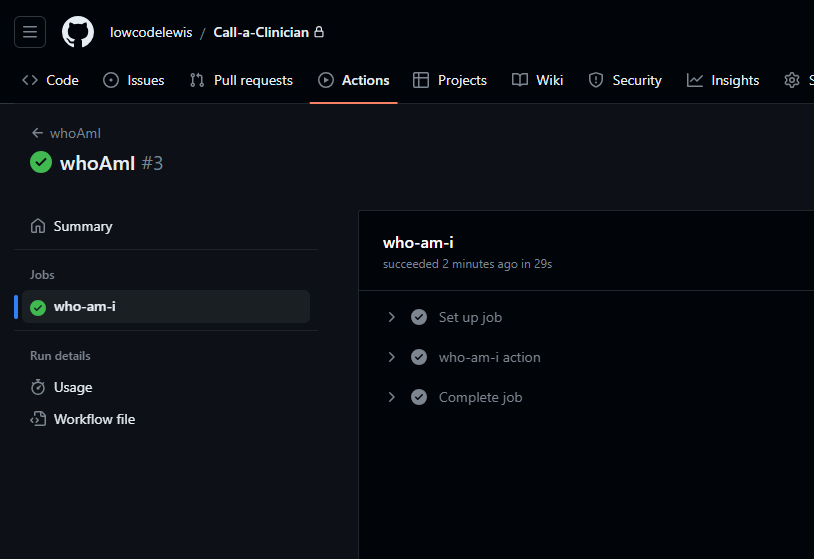
And now I can see that my workflow ran and my environment connection is working! Awesome! We’ve also built our first workflow using the who-am-i step which returns information about the authenticated user, which in this case is my app user from Dataverse.
Upcoming content 📝
In upcoming posts, we’ll continue to work with GitHub actions to build workflows that support CI/CD scenarios and automated ALM scenarios for working with the Power Platform! Make sure you’re subscribed to my blog so you don’t miss out on what’s to come! 💖
Subscribe