

Yay! The final part! Hello friends! 👋 🤩 Thank you for following on in this mini-series / solution build, where we’ve been building a solution to make revision & homework planning easier for students!
In this final part we’ll integrate OpenAI’s chatGPT with our app to return suggestions on how students can more easily complete their work to a high standard! Lets take a look at the final steps…
A final result
So in this last post we’re going to work on producing the my schedule screen which will show our scheduled work from our calendar where the category is either homework or revision. Then when we select one of the scheduled tasks we should get smart suggestions from chatGPT on the right which we’ll grab using an independent publisher connector for OpenAI.

OpenAI API Key
So first we’re going to need an Open AI API key to work with. Head to openai.com and sign in to get started. You can use a personal account for this.
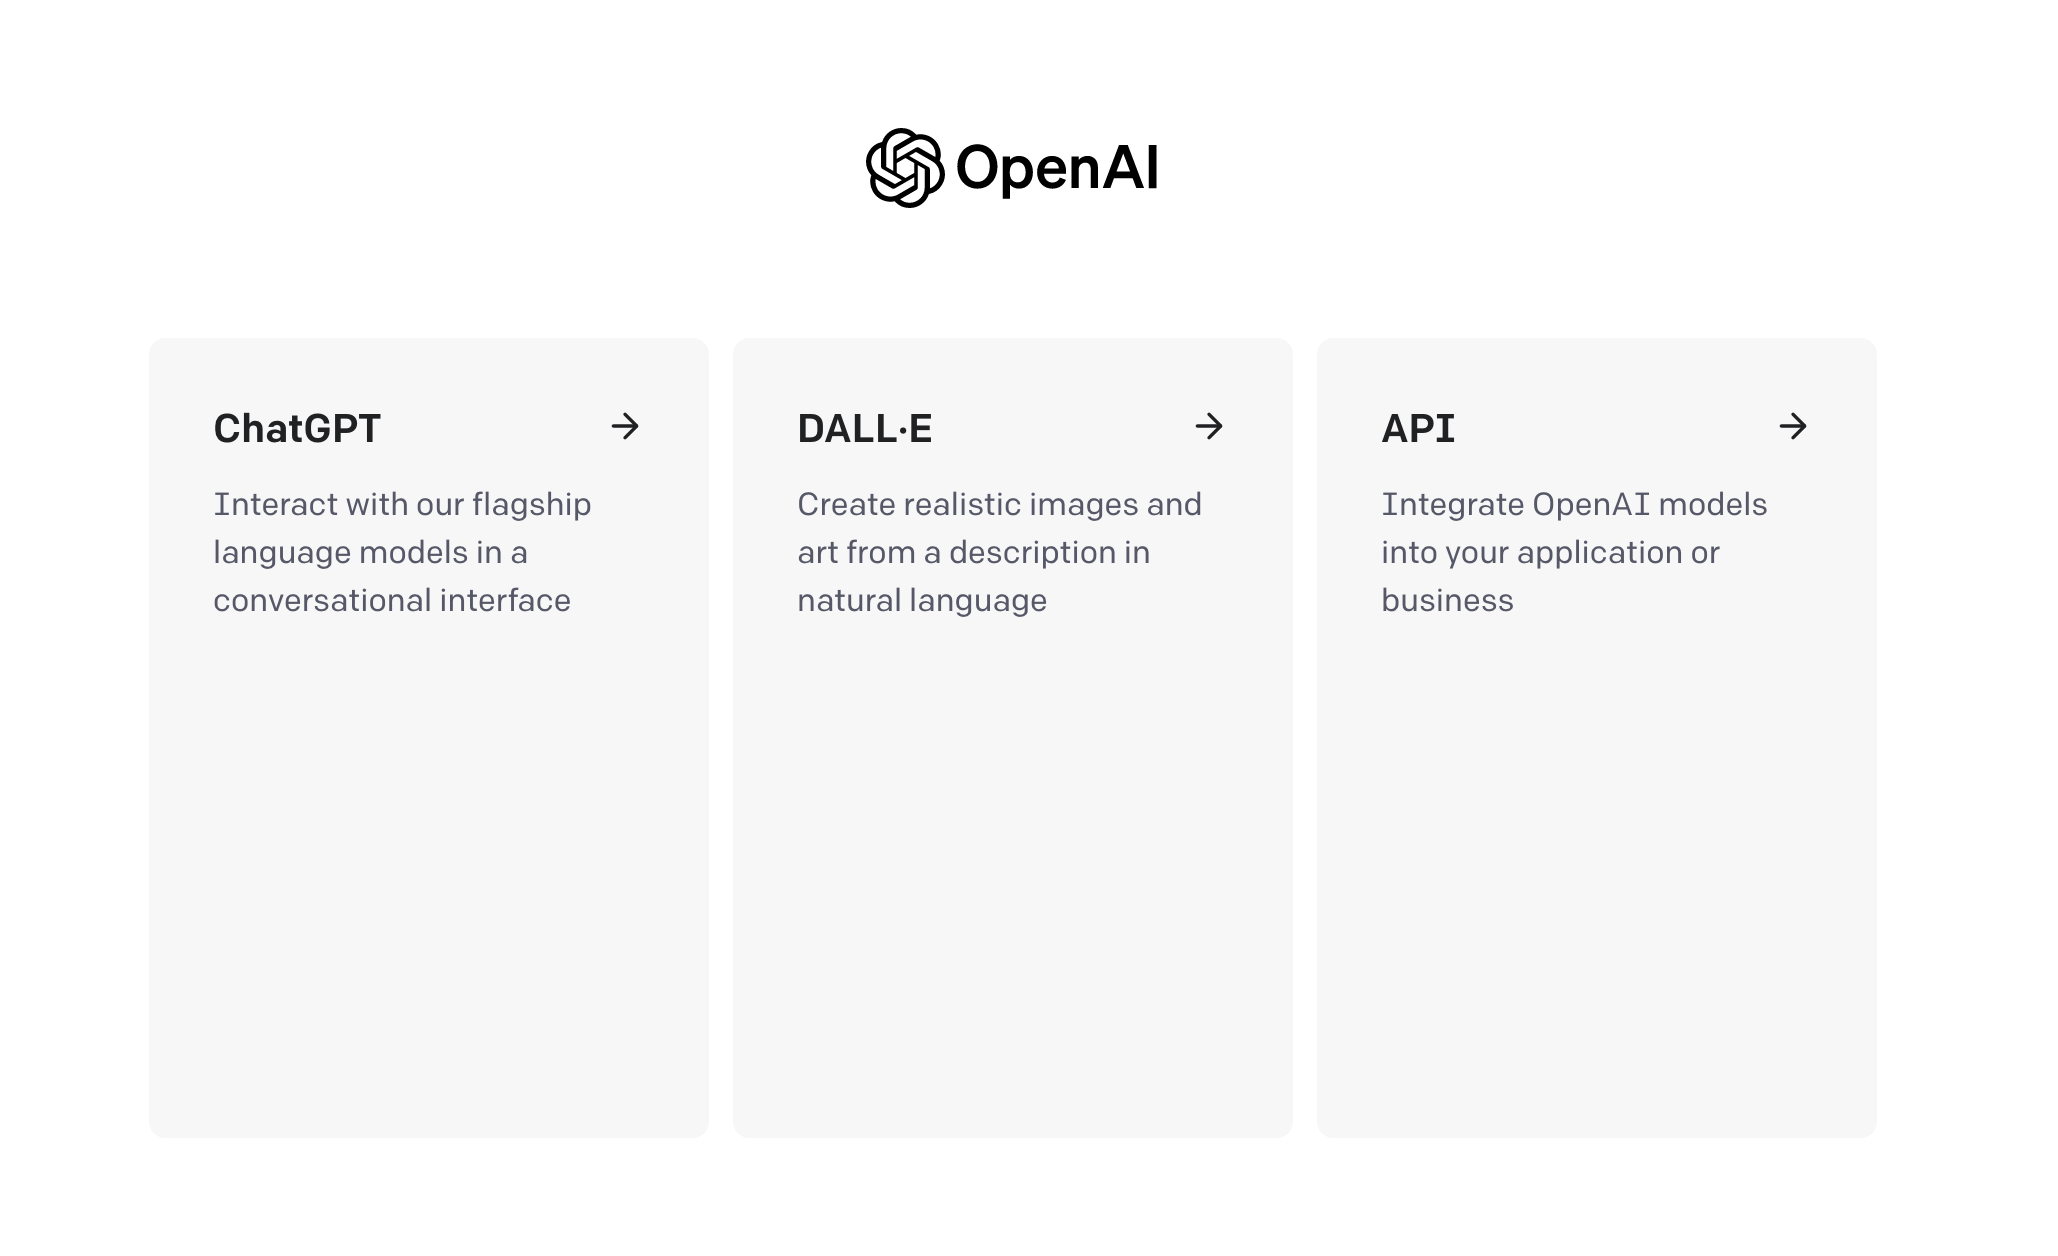
Then select API from the apps OpenAI shows…
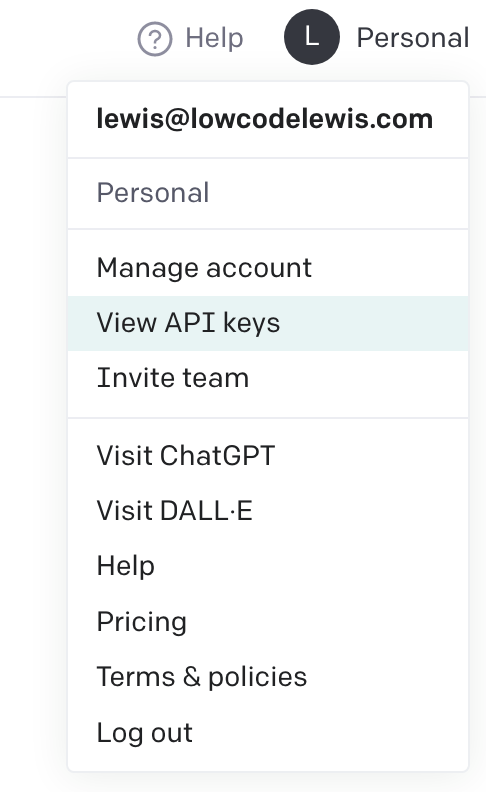
Then in the top right select your profile and select view API keys…
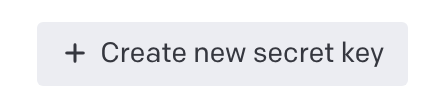
Then create a new key and copy the value. If you don’t have credits as part of a trial left to use the API you’ll need to register a card to use the pay as you go allocations.
OpenAI Power Apps connection
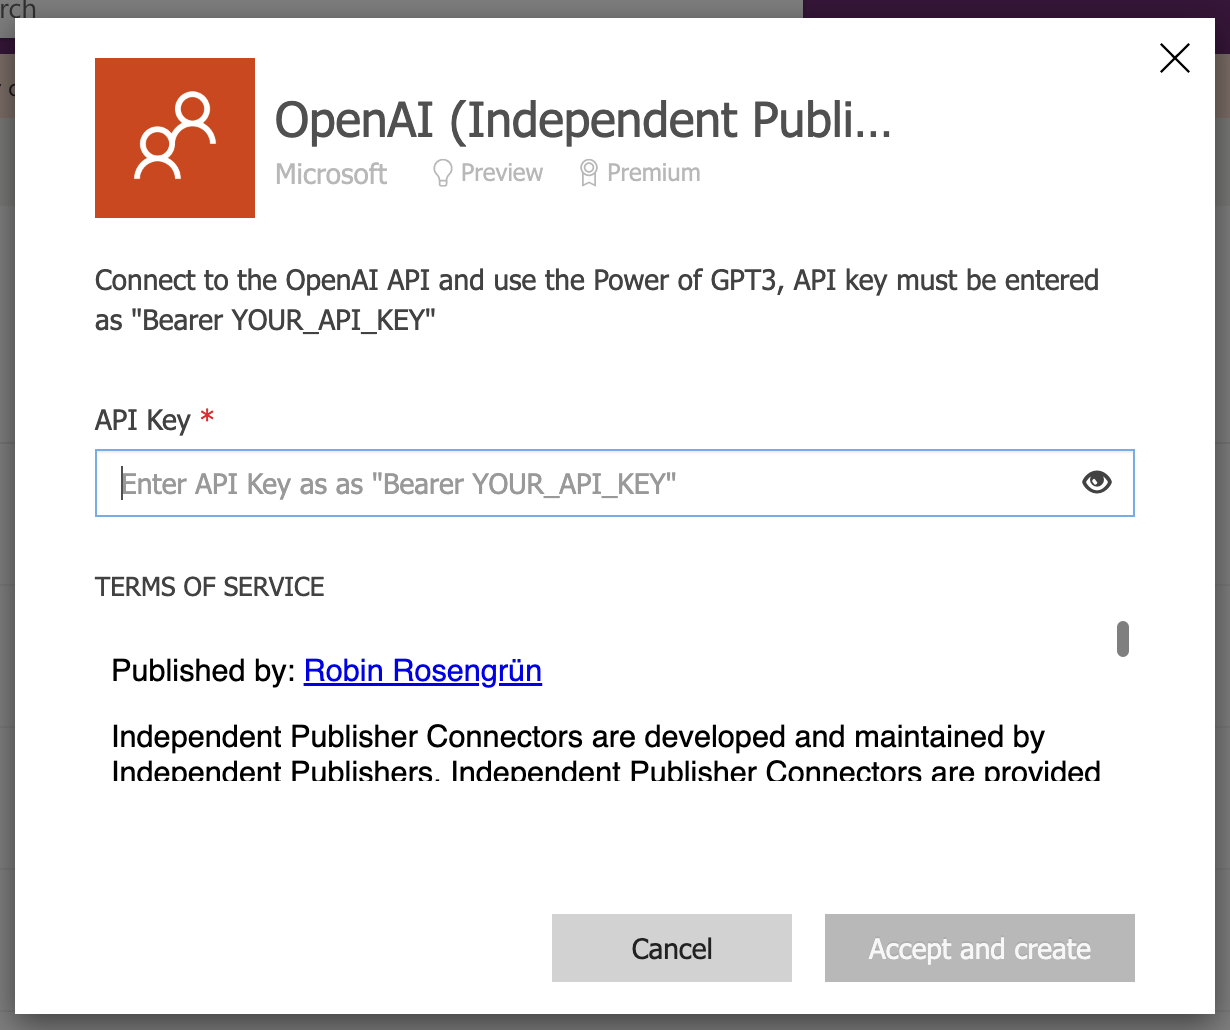
Now that we’ve done that we need to make a connection with Power Apps. We can do that in the connections area of Power Apps or under the data tab from within our app. To create the connection add the connector and then paste the following into the API key input replacing the APIKey value with your API Key.
Bearer APIKey
Schedule screen
Now to create my schedule screen I’ve simply copied my task creation screen and removed the content that was within that screen with the exception of some of the text labels. I’ve also kept the Details List code component control to use with different data.
Start by changing your text labels to match the relevant content that will be on the screen such as changing the title to ‘My schedule’ and then the description below to some information about the screen.
Then move the details list control to the left, and change the items to the following code.
Filter(gblMySchedule,"Homework Task" in Categories Or "Revision Task" in Categories)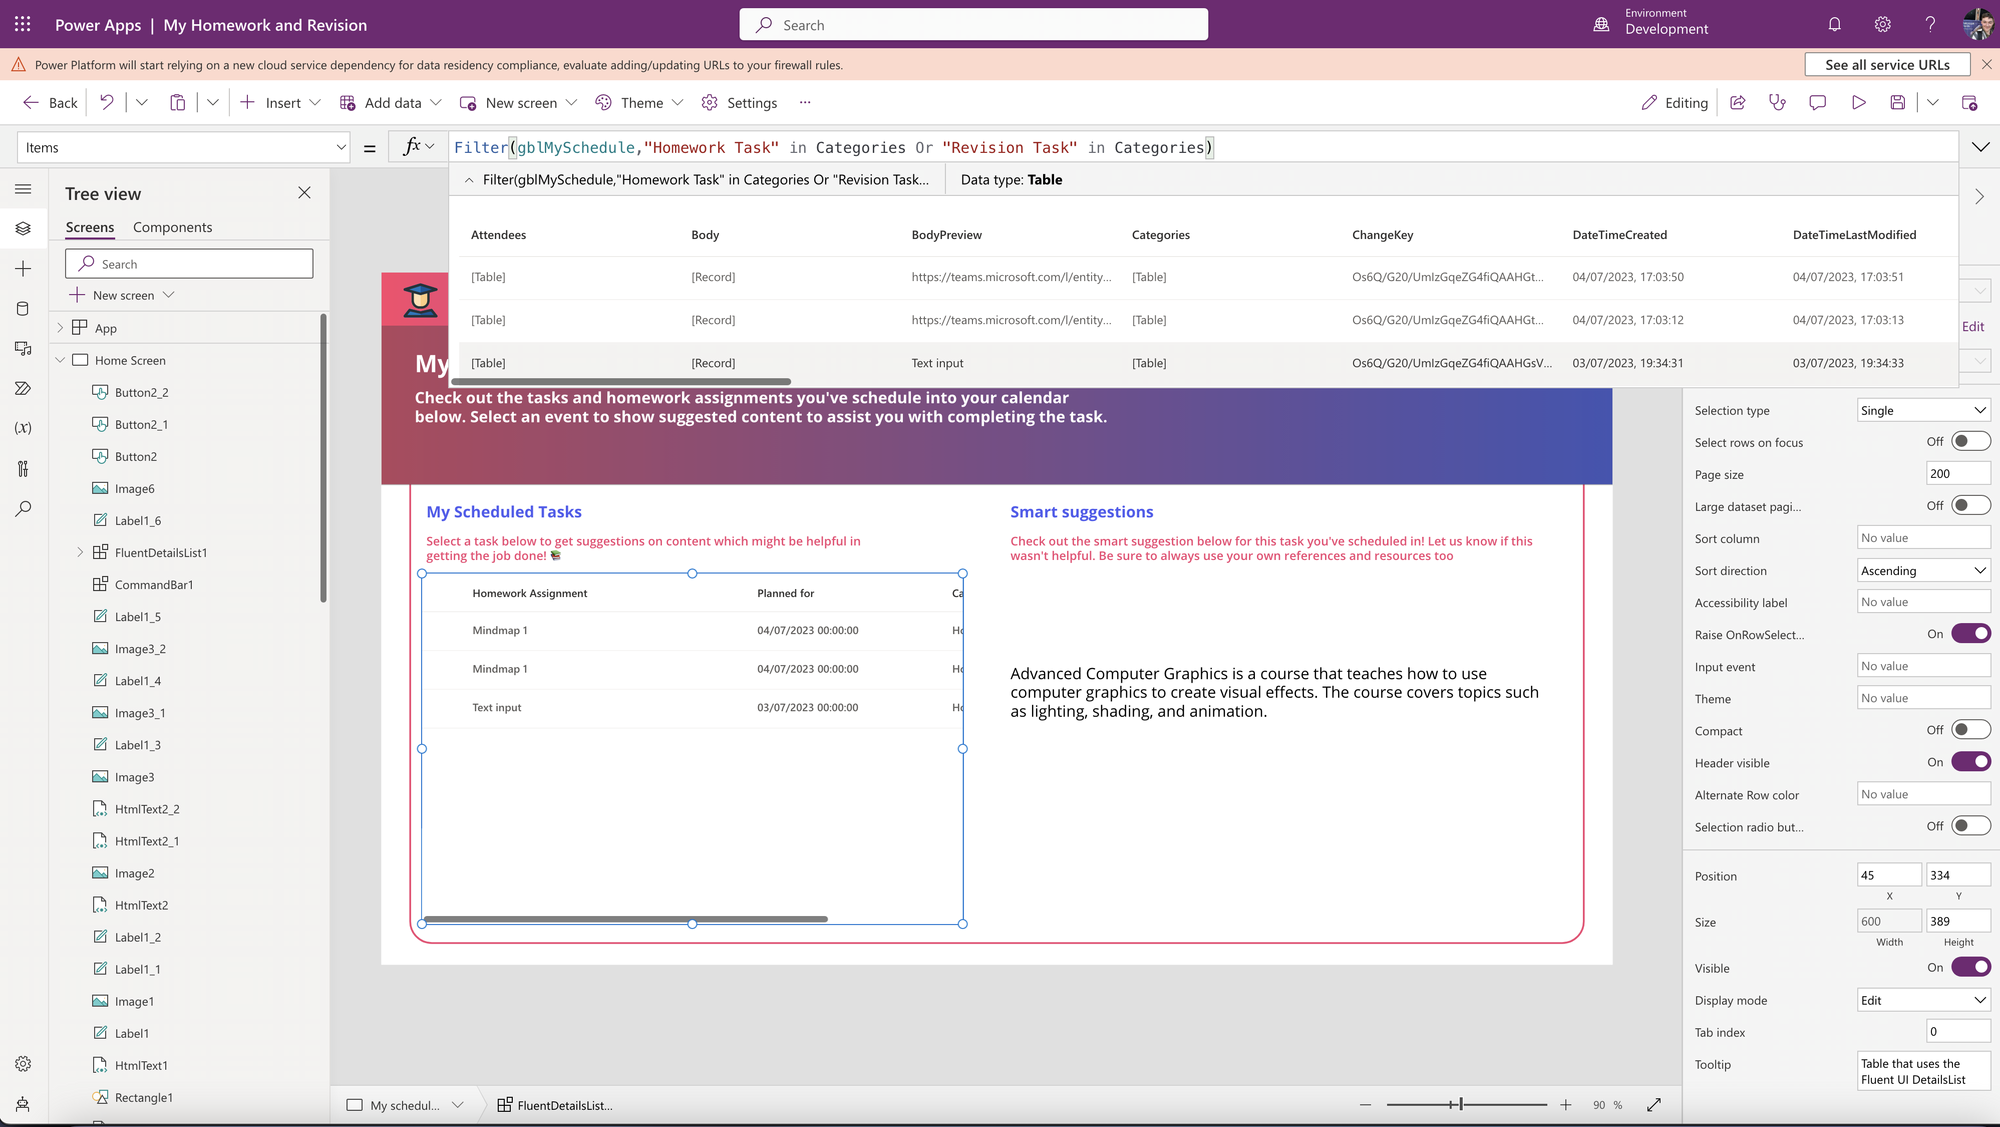
We haven’t defined this variable yet so things won’t work at the moment. In the OnVisible property of the new screen change the code there to the code below…
Set(gblMySchedule,Office365Outlook.CalendarGetItems("Calendar").value);That should make things work. Make sure you add the Office365Outlook connector to your app to be able to use this code though! 💡
Now make sure you’ve got your OpenAI connection in your app and we’ll change the OnChange code of the details list to the following…
Set(
    gblResponse,
    'OpenAI(IndependentPublisher)'.CompletionV2(
        "text-davinci-002",
        "Can you give me resources from the web that would help me complete the following homework task: " & FluentDetailsList1_2.Selected.Subject & ""
    ).choices
)
You don’t have to use the same prompt to the OpenAI API but use something similar, or the same to have suggestions returned…
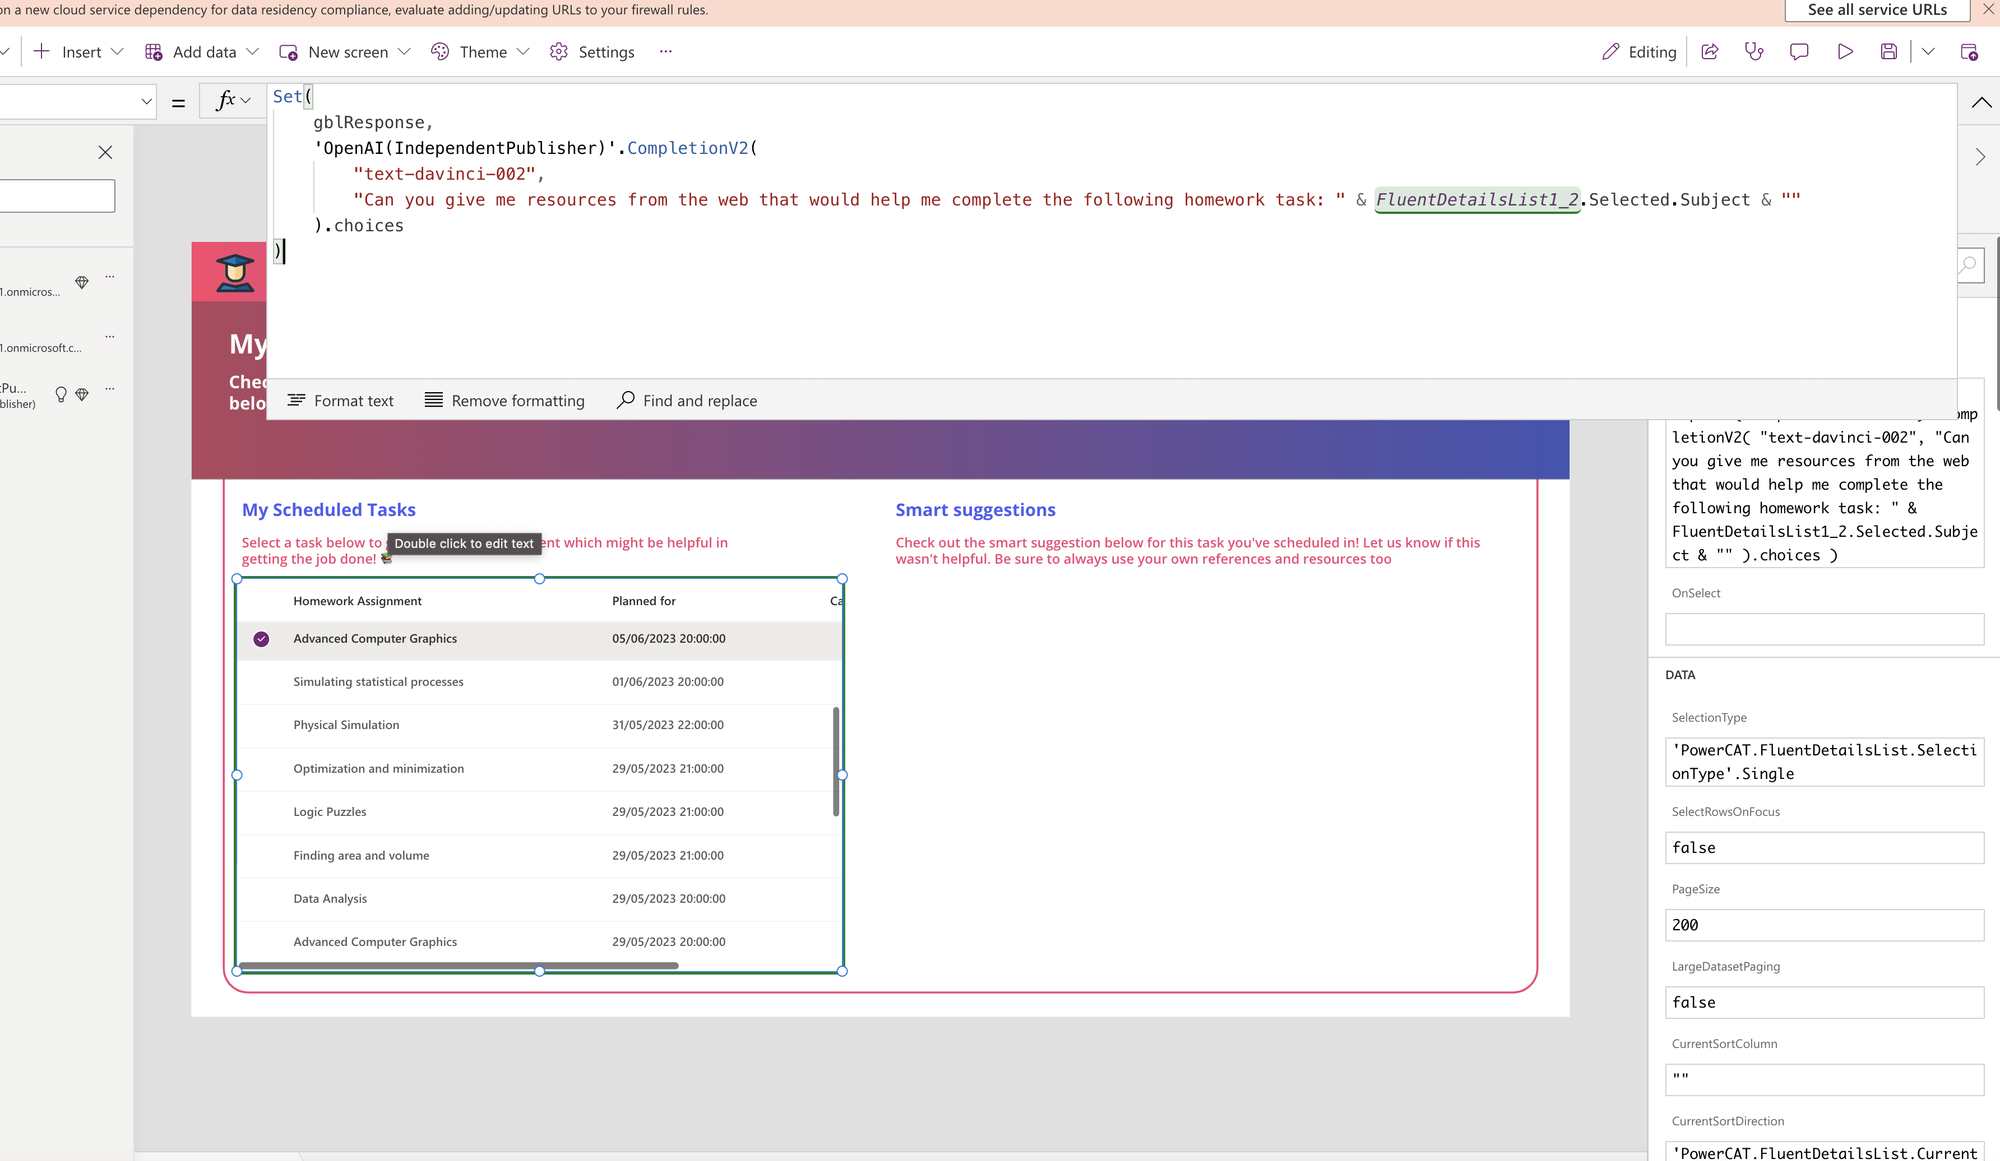
Now on the right side of the screen I’ve added a title of ‘Smart suggestions’ with some text underneath to explain whats going on here. Now I’m going to add a text label under this and populate the Text property with the following code.
First(gblResponse).textNow when I select one of my planned homework tasks, I’ll get smart suggestions from chatGPT on the right which will hopefully help me out with said homework task! What a great simple use of chatGPT in an application! 😎
Upcoming
So! In tomorrow’s post I’ll be publishing the solution file for this solution on my GitHub with installation instructions just in the same way that I did with call a clinician before! Make sure you’re subscribed so you don’t miss this!
Subscribe