

Hi Friends! That’s right, I have another blog post ready for you on the Power Platform Build Tools! 👀💖
In this post, we’re going to focus on how to use the export and import data tools to transfer Dataverse records between environments! This could support all sorts of scenarios like configuration migration in Dynamics 365 scenarios, or basic config migration for custom solutions you develop.
In this example, we’ll very simply move records from one table to another to demo the capability of the Power Platform Build Tools.
Generating a schema file
So the way this works is pretty much exactly the same as using the Configuration Migration Tool to move data between environments, for those of you who have worked with the tool before. We’ll actually use the Configuration Migration Tool to generate a schema for what we need to export and import, and then we’ll let the build tools do the actual export and import part.
So, let’s start in the Configuration Migration Tool, which you can install using the Power Platform CLI.
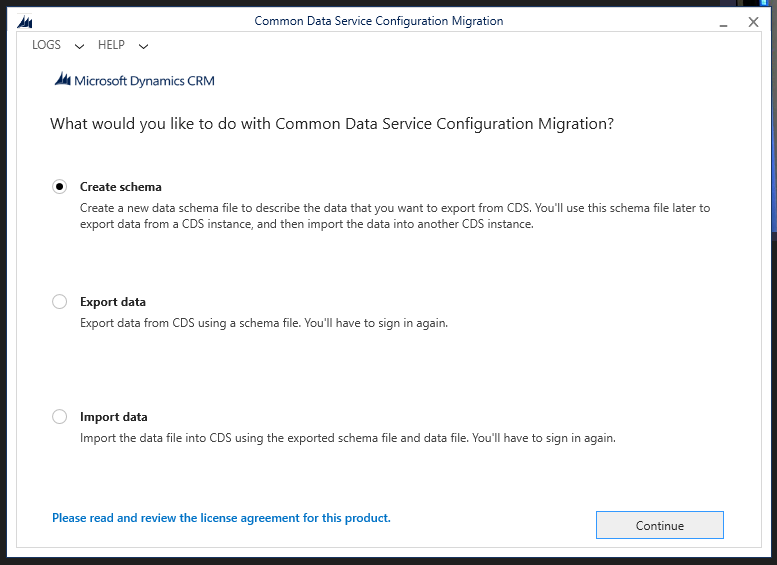
Start by selecting ‘Create schema’. Then select ‘Continue’.
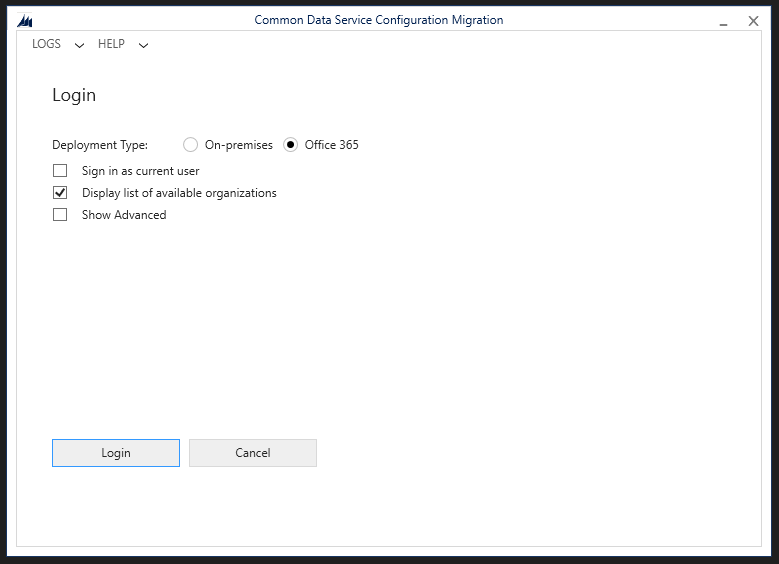
Now I’m going to select to use Office 365 as the deployment type to login with and I’ll choose to display a list of my organisations.
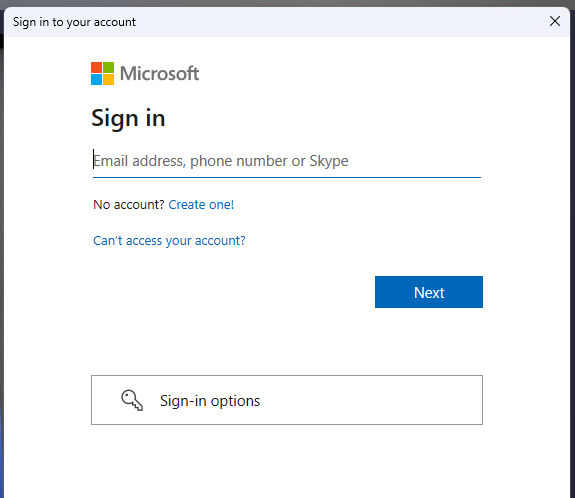
When prompted, enter login credentials.
Now I’m going to select my organisation that I want to use and I’ll come to a page where I can generate my schema.
Here, I need to select the tables and fields I want to have data migrated for to create the schema which will include those tables and fields.
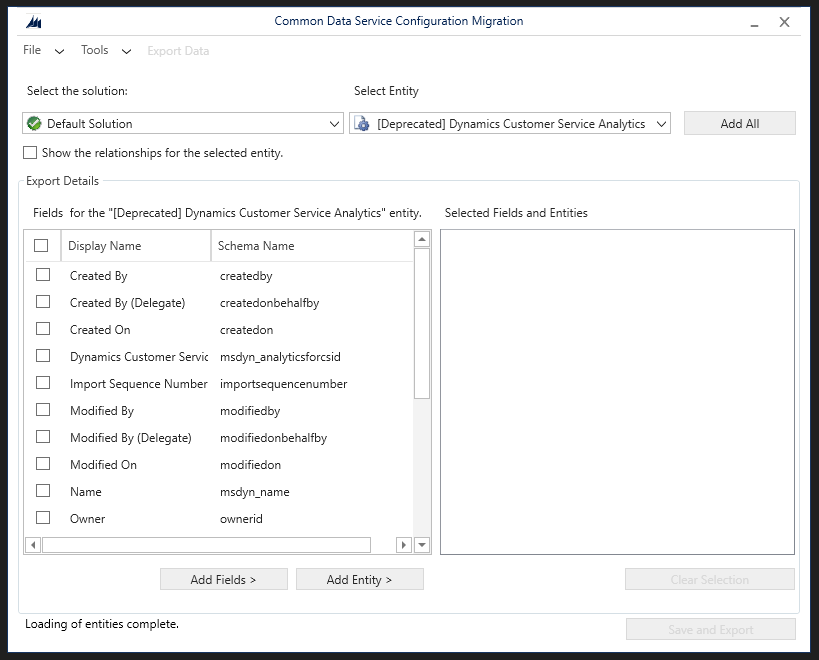
I just want to test this out with the accounts table for now, so I’m simply going to add the Accounts entity and leave my schema there. I could add the tables which this table has relationships with to support those and any lookups, but I’m just testing and we’ll stick to something simple for now.
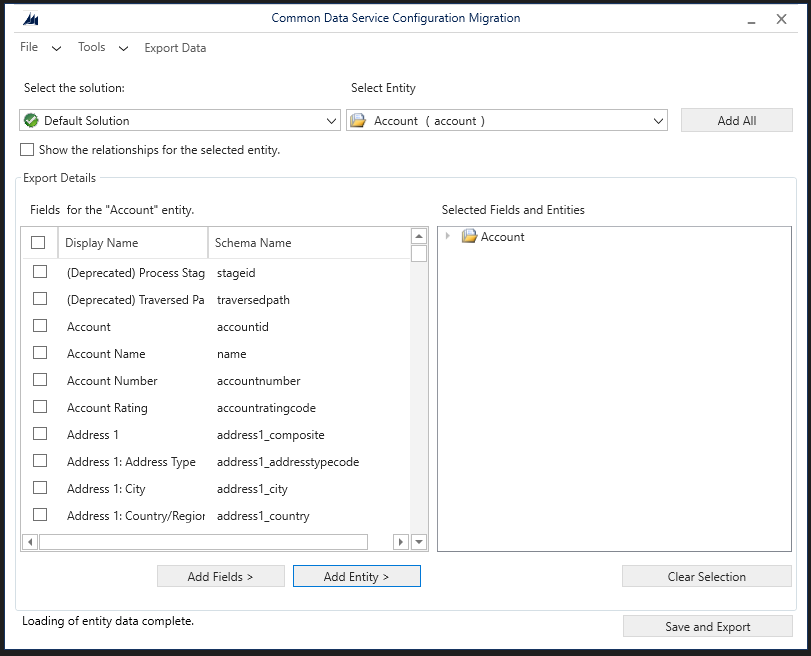
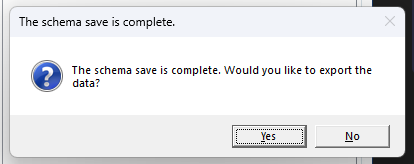
Select Save and Export to generate the schema file.
Select no when prompted to export data.
Uploading the schema file to a repository
Now we need to upload our schema file to our repository in DevOps so we can reference it in our pipeline.
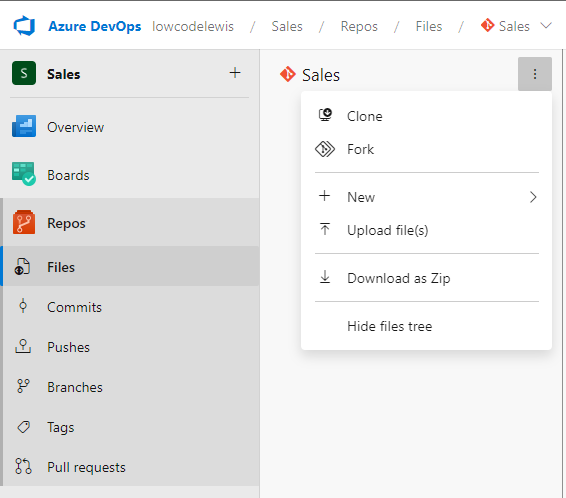
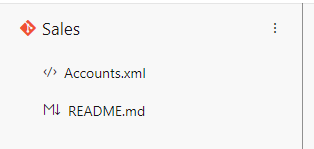
So now I’ve got my schema XML file in my repository I can start to work on my pipeline.
Building the pipeline
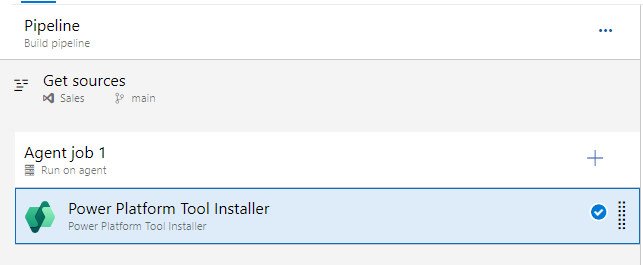
Okay! So now lets build the pipeline. I’m as always going to need to start by adding the Power Platform Tool Installer task to my agent job.
Now I’m going to add my Power Platform Export Data step which will handle the export I need to do to move my data into the next environment with my import.
Very simply, all we need to do here is setup our authentication with our environment
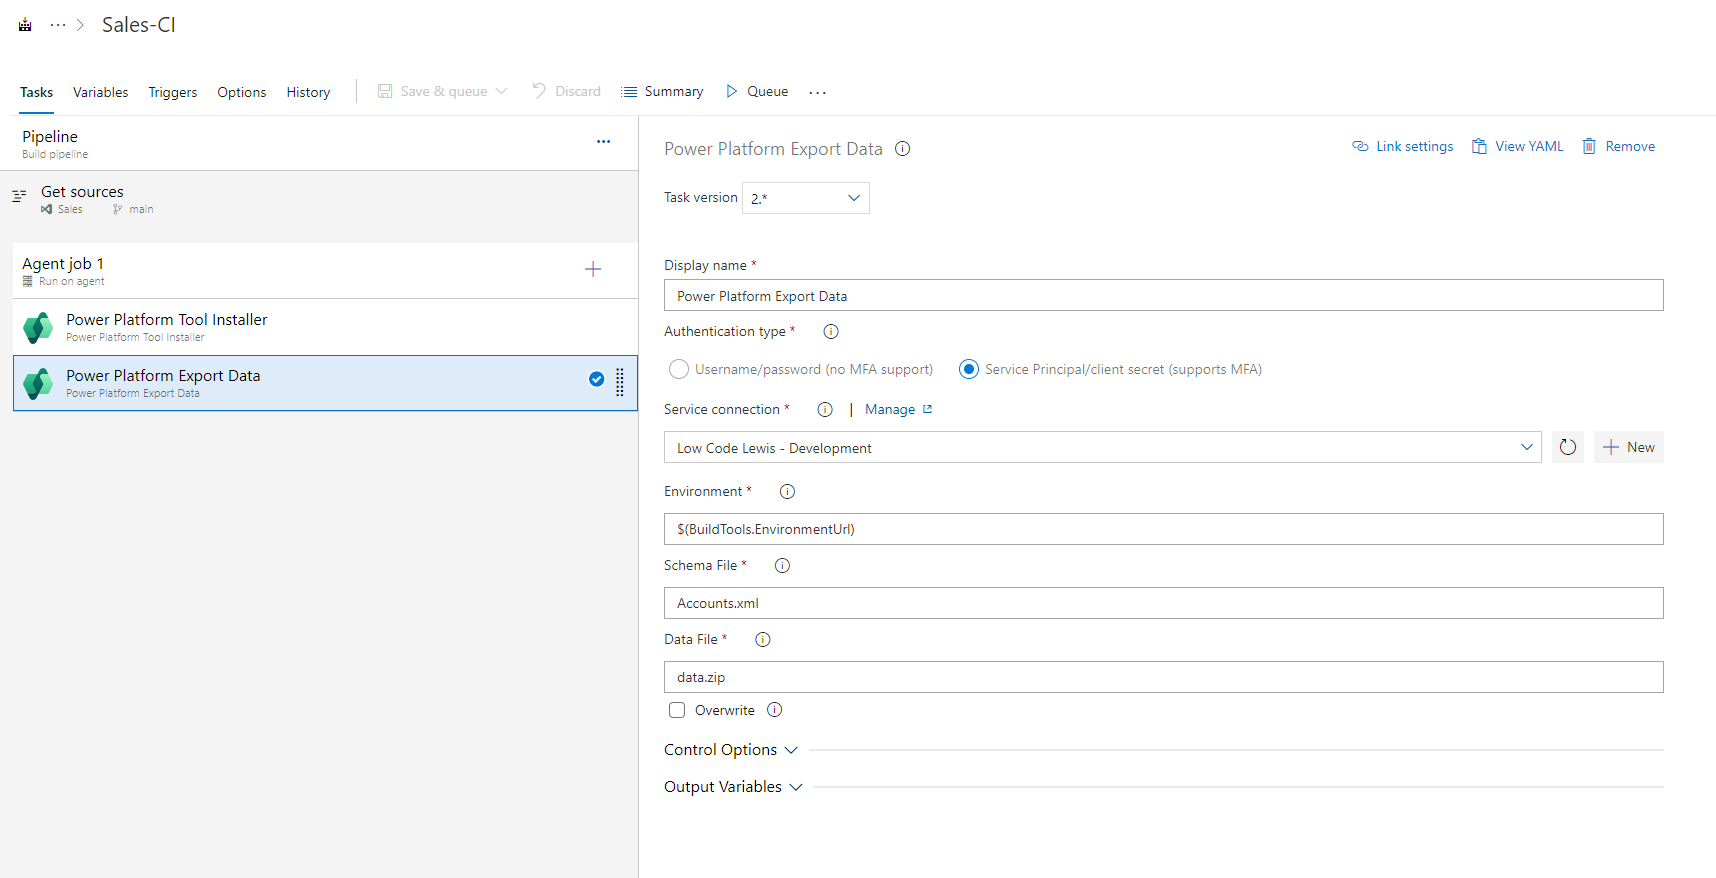
Then provide the name of your schema file from the repository in the Schema File input, ensuring that the pipeline get sources is referencing the repository your file is in.

Now we can move onto the importing of our data. Now you could setup a release pipeline with different stages here like we did in this case, but for now I’m just going to demonstrate the import in this build pipeline.
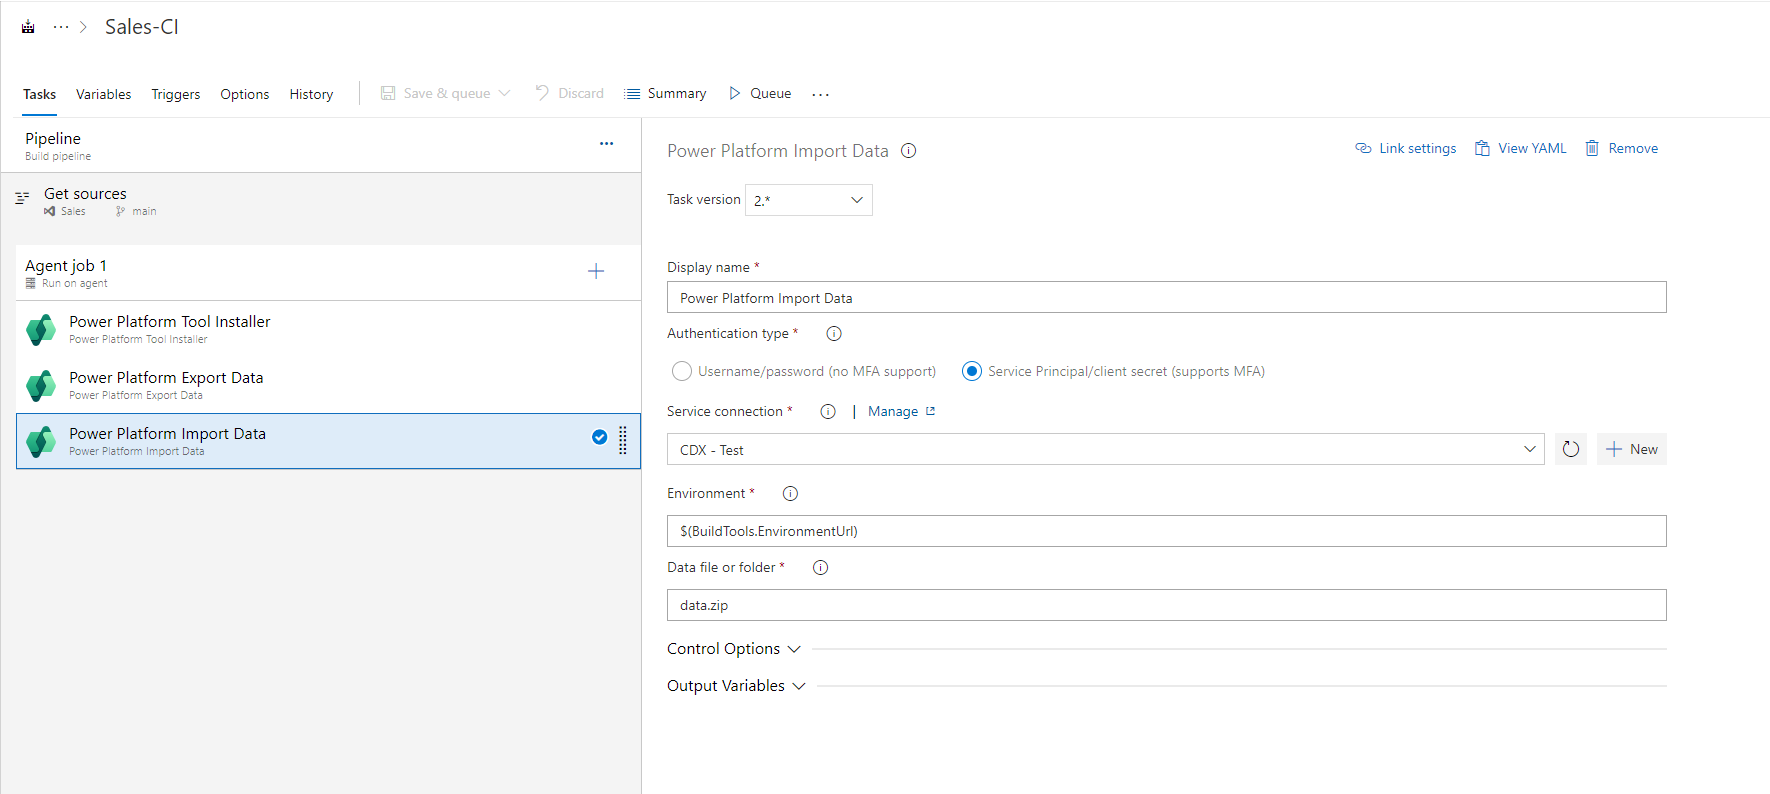
So now I’m going to add the Import Data build tools task…
Very simply, this time I’ll select the service connection for the environment I want to import my data too, then I’ll set the Data file or folder field to the same value I had for the data file on my export step which is data.zip (by default).
Now I’ll save my pipeline and test things out!
Testing things out
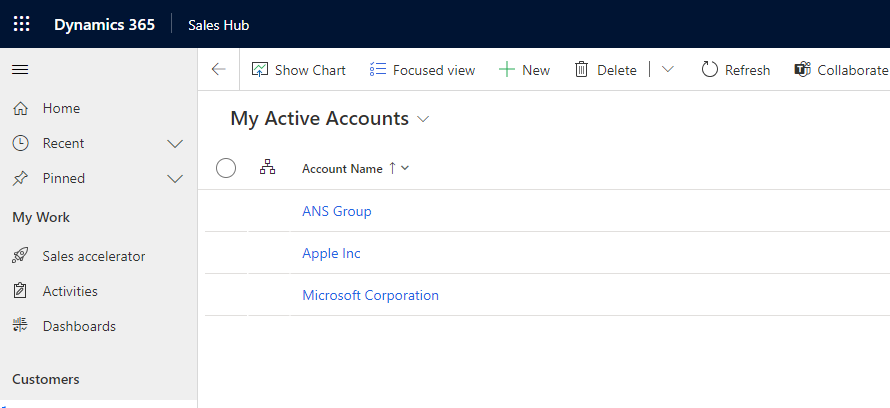
So, in my source environment that I’ve set to export from I’ve got three accounts in Dynamics 365 which I’ll expect to see land in my target environment once I’ve run my pipeline.
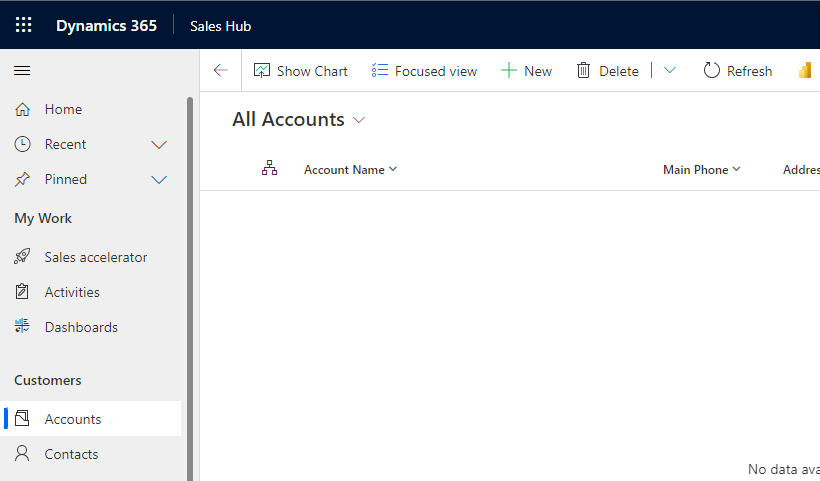
Now check out my target environment at the moment…
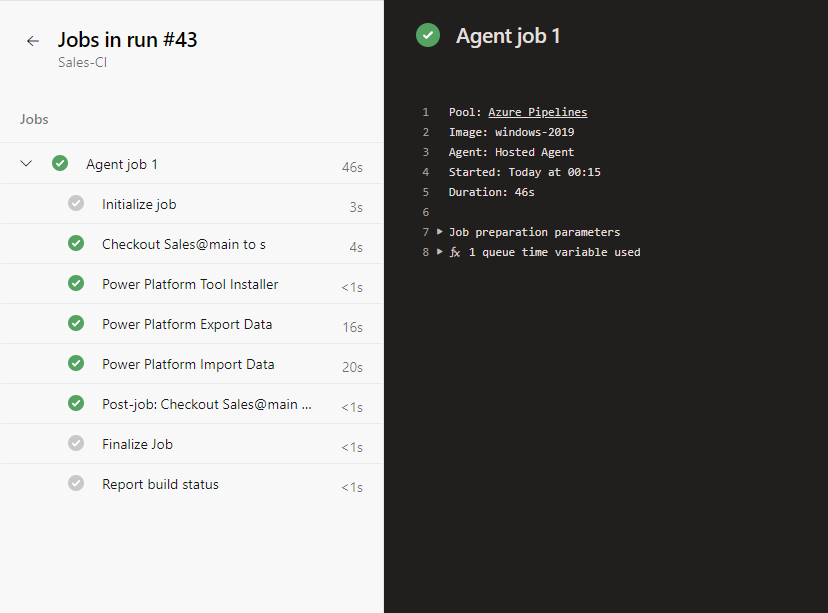
Now I’ll give my pipeline a run and see what happens.
And there we go! I have a successful run.
Now let’s see what my target environment looks like in the Sales Hub.
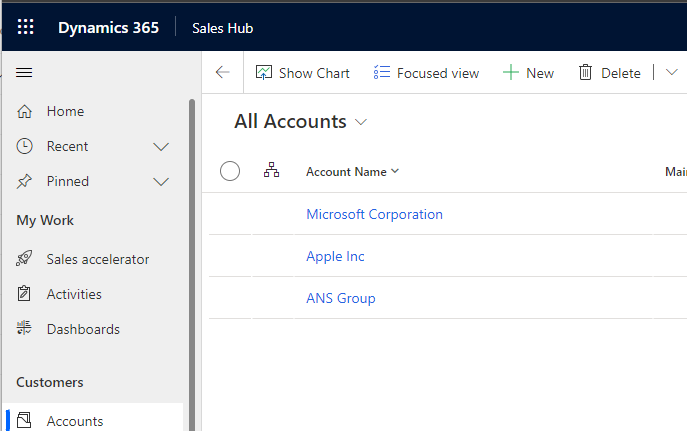
There’s my data! Awesome! I’m able to automate the export and import of data, whatever it is, perhaps configuration data, using Azure Pipelines!
Upcoming content
So! There’s still loads more content to come in this series on the Power Platform Developer Tools! Don’t miss out! Make sure you’re subscribed to my blog to get all of my latest content directly in your inbox.
Subscribe