Ever wondered how some of the awesome #PowerAddicts in this community or just tech contributors in general customise their GitHub profiles with a little more info and a bigger description of themselves? In this post I’m going to show you how to do this really easy step to showing off your contributions as soon as people come across your profile!

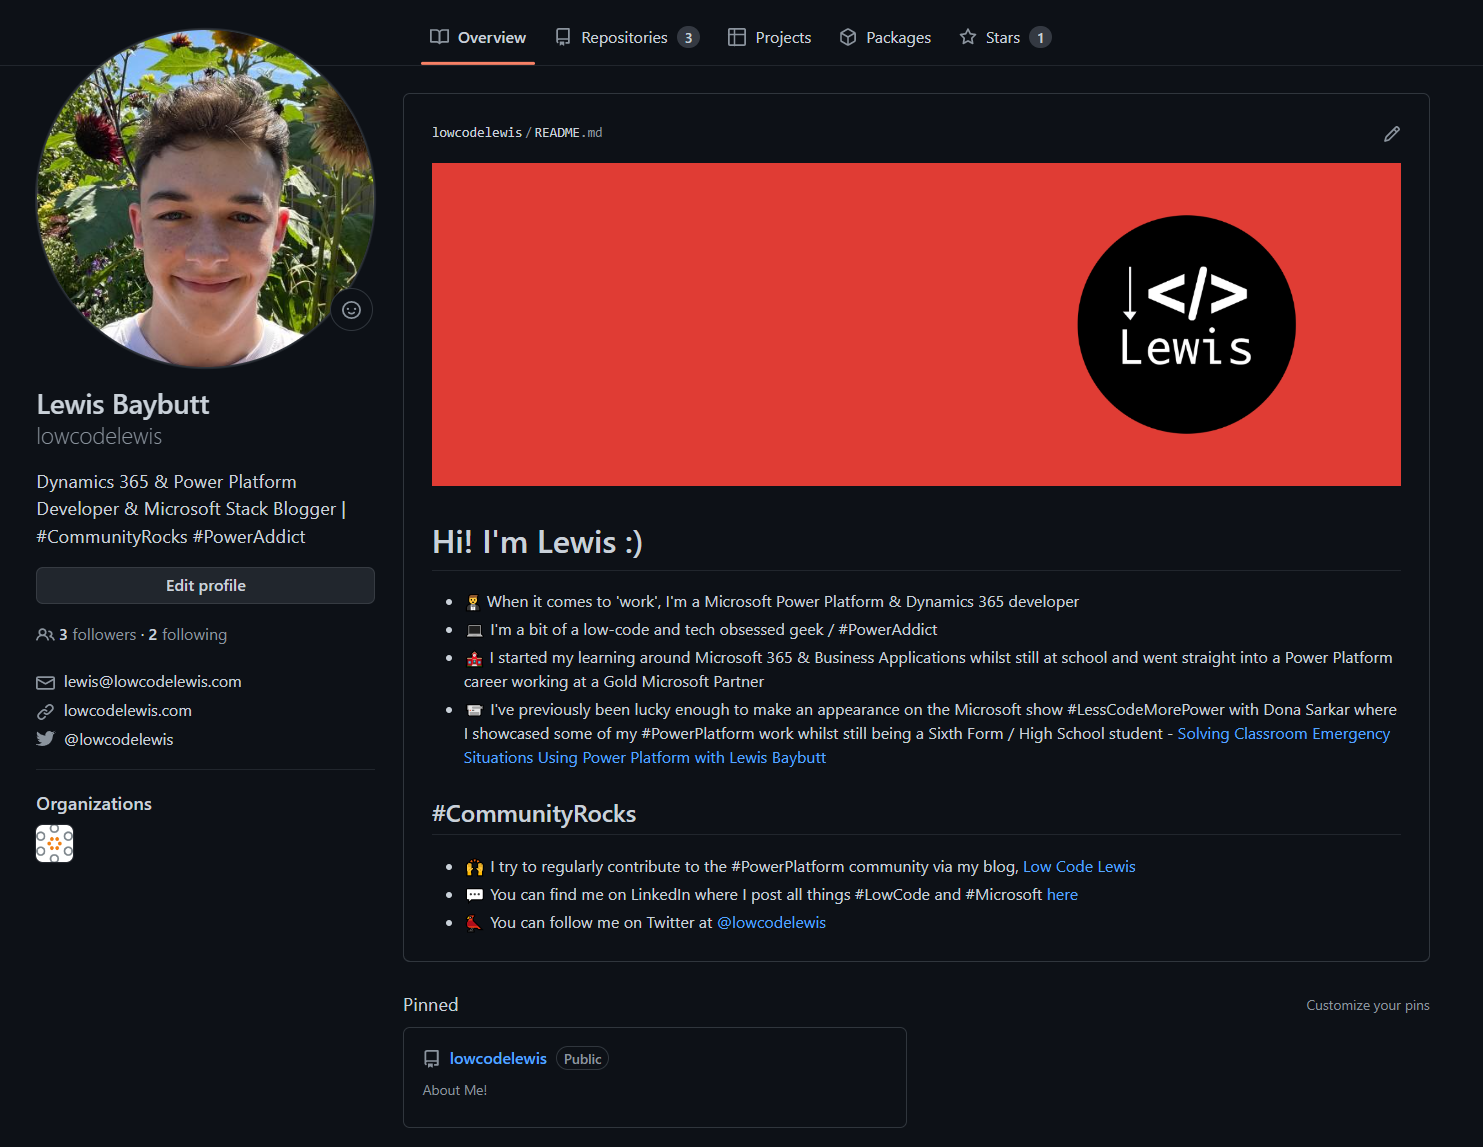
Snap of my GitHub Profile!
Creating your repository
So, the first thing we need to do in our GitHub profile, is create a new repository. This needs to be named the exact same value as our profile username for this to work. So in my case I’m creating a repository called ‘lowcodelewis’ because my GitHub profile username is ‘lowcodelewis’.
When you create your repository, you want to make sure you select the option to ‘Add a README file’. This is what we will use to add a description to our repository which in our case because we’re creating a ‘special repository’ will become the file on the front of our profile to display extra information!

Creating your description – Populating the README.md file
So, now that we have a repository ready, we can start to edit the README.md file to determine the content we will see on our GitHub profile. Simply edit the file and make the changes you wish, then commit the changes for them to be saved and published.
If you want to add photos to your profile description, upload them to your repository and reference them in your README.md file
You can use the raw file from my repository which is attached below to help you with understanding the language to use to populate your file.
 # Hi! I'm Lewis :) * 🤵 When it comes to 'work', I'm a Microsoft Power Platform & Dynamics 365 developer * 💻 I'm a bit of a low-code and tech obsessed geek / #PowerAddict * 🏫 I started my learning around Microsoft 365 & Business Applications whilst still at school and went straight into a Power Platform career working at a Gold Microsoft Partner * 📹 I've previously been lucky enough to make an appearance on the Microsoft show #LessCodeMorePower with Dona Sarkar where I showcased some of my #PowerPlatform work whilst still being a Sixth Form / High School student - [Solving Classroom Emergency Situations Using Power Platform with Lewis Baybutt](https://www.youtube.com/watch?v=gIzEzz_4eFQ&t=59s) ## #CommunityRocks * 🙌 I try to regularly contribute to the #PowerPlatform community via my blog, [Low Code Lewis](https://www.lewisdoes.dev/) * :speech_balloon: You can find me on LinkedIn where I post all things #LowCode and #Microsoft [here](https://www.linkedin.com/in/lewis-baybutt-8628171bb/) * :bird: You can follow me on Twitter at [@lowcodelewis](https://www.twitter.com/lowcodelewis)
Linking your README.md file to your profile
So, we have one final step to make our README.md file appear on our public profile. Now again, this will only work in our special repository where our repository name is the same as our profile username.
Go to your repository and simply click ‘Share to profile’ in the highlighted box next to your repository files.
And there you have it, you’ve now got a more detailed profile description for your viewers to read on your GitHub profile!
If you have any questions or thoughts about this post, pop them in the comments below, and if you liked this post or found it helpful, be sure to subscribe for more content!

