

Are you getting to grips with different chat and communication channels in Omnichannel for Customer Service, and perhaps noticing ever so slight differences in the agent experience between different channels? One of the things I noticed when working with different workstream types and channel types is the notification format that an agent gets for a new work item.
I noticed that by default for live chat notifications, agents see these for much longer than say a record based work item, and they also get an accept and reject button as opposed to just a button to open the work item!
In this blog post, I’ll show you how we can make small customisations to the agent notification that is delivered to users for them to accept new work items from when using the ‘push’ functionality for workstreams in Omnichannel for Customer Service.
Workstream
So, we’re going to make the change here on the workstream we want to affect work items for. This has to be changed at the workstream level and isn’t customisable at the environment level or lower levels such as the routed queue.
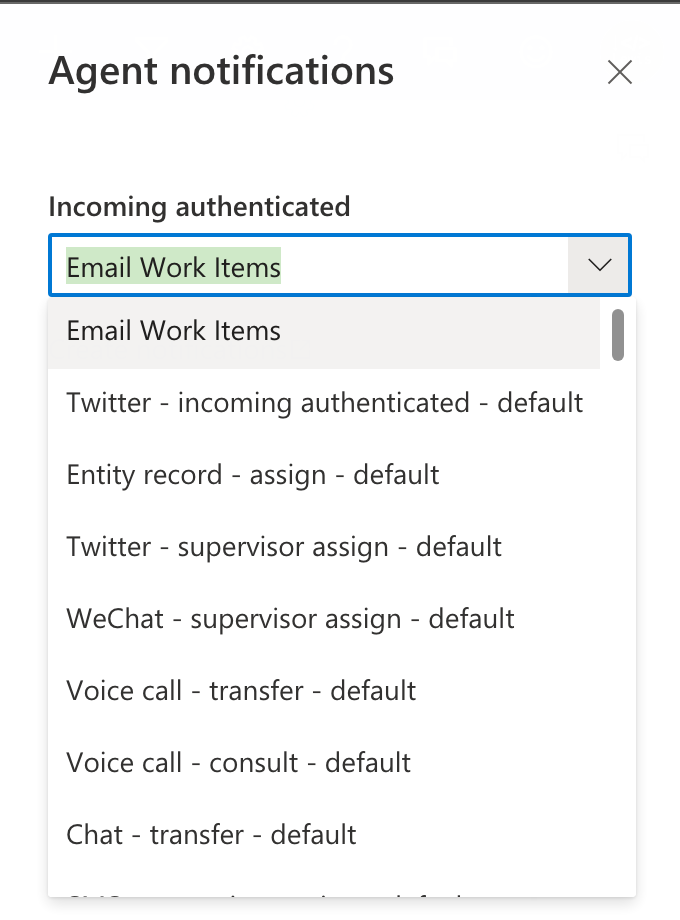
I’ve got a workstream here configured for routing record based work items. Let’s scroll to the bottom of the form and open the advanced settings. Here you’ll notice we have options for the agent notifications.
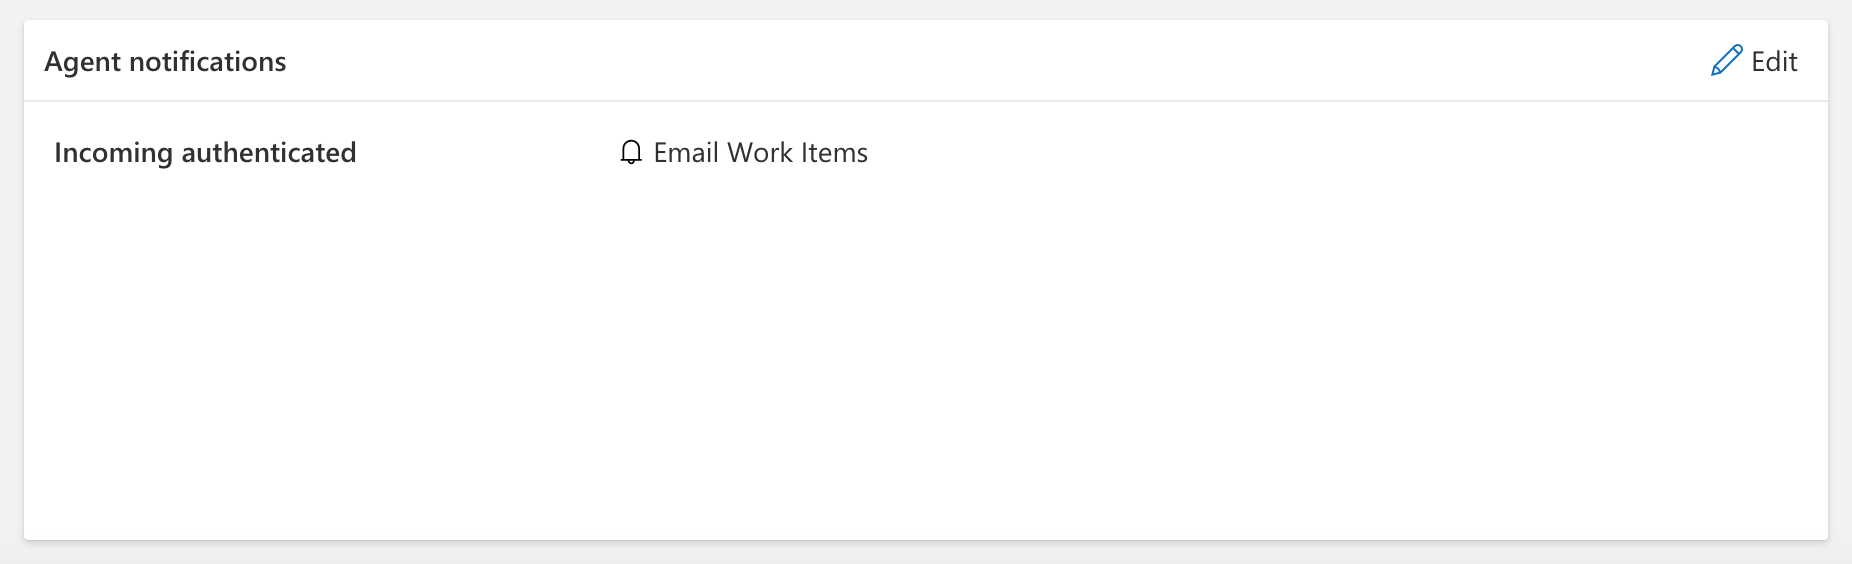
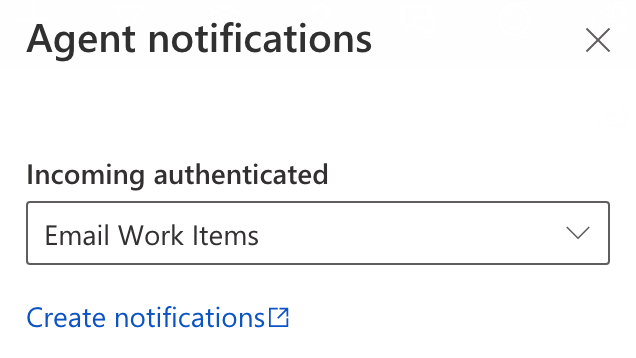
In order to customise a notification, we’ll need to create a new one that fits our needs as the ones available out the box aren’t customisable. Select ‘create notifications’.
Creating the notification format
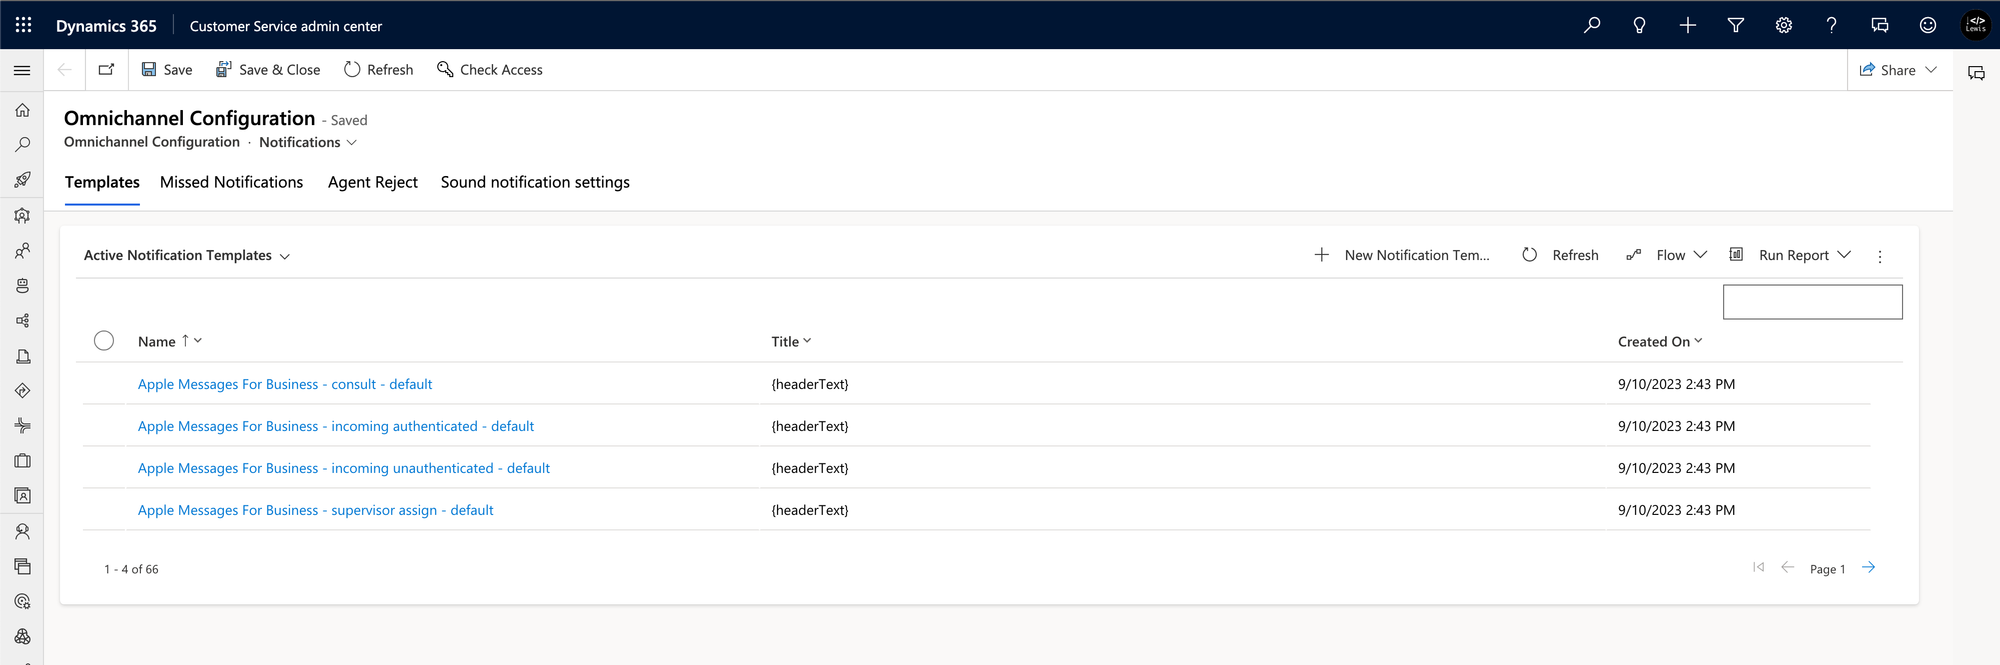
In the subgrid on the page that loads select the New notification template button to create a new template which we’ll utilise in our workstream.
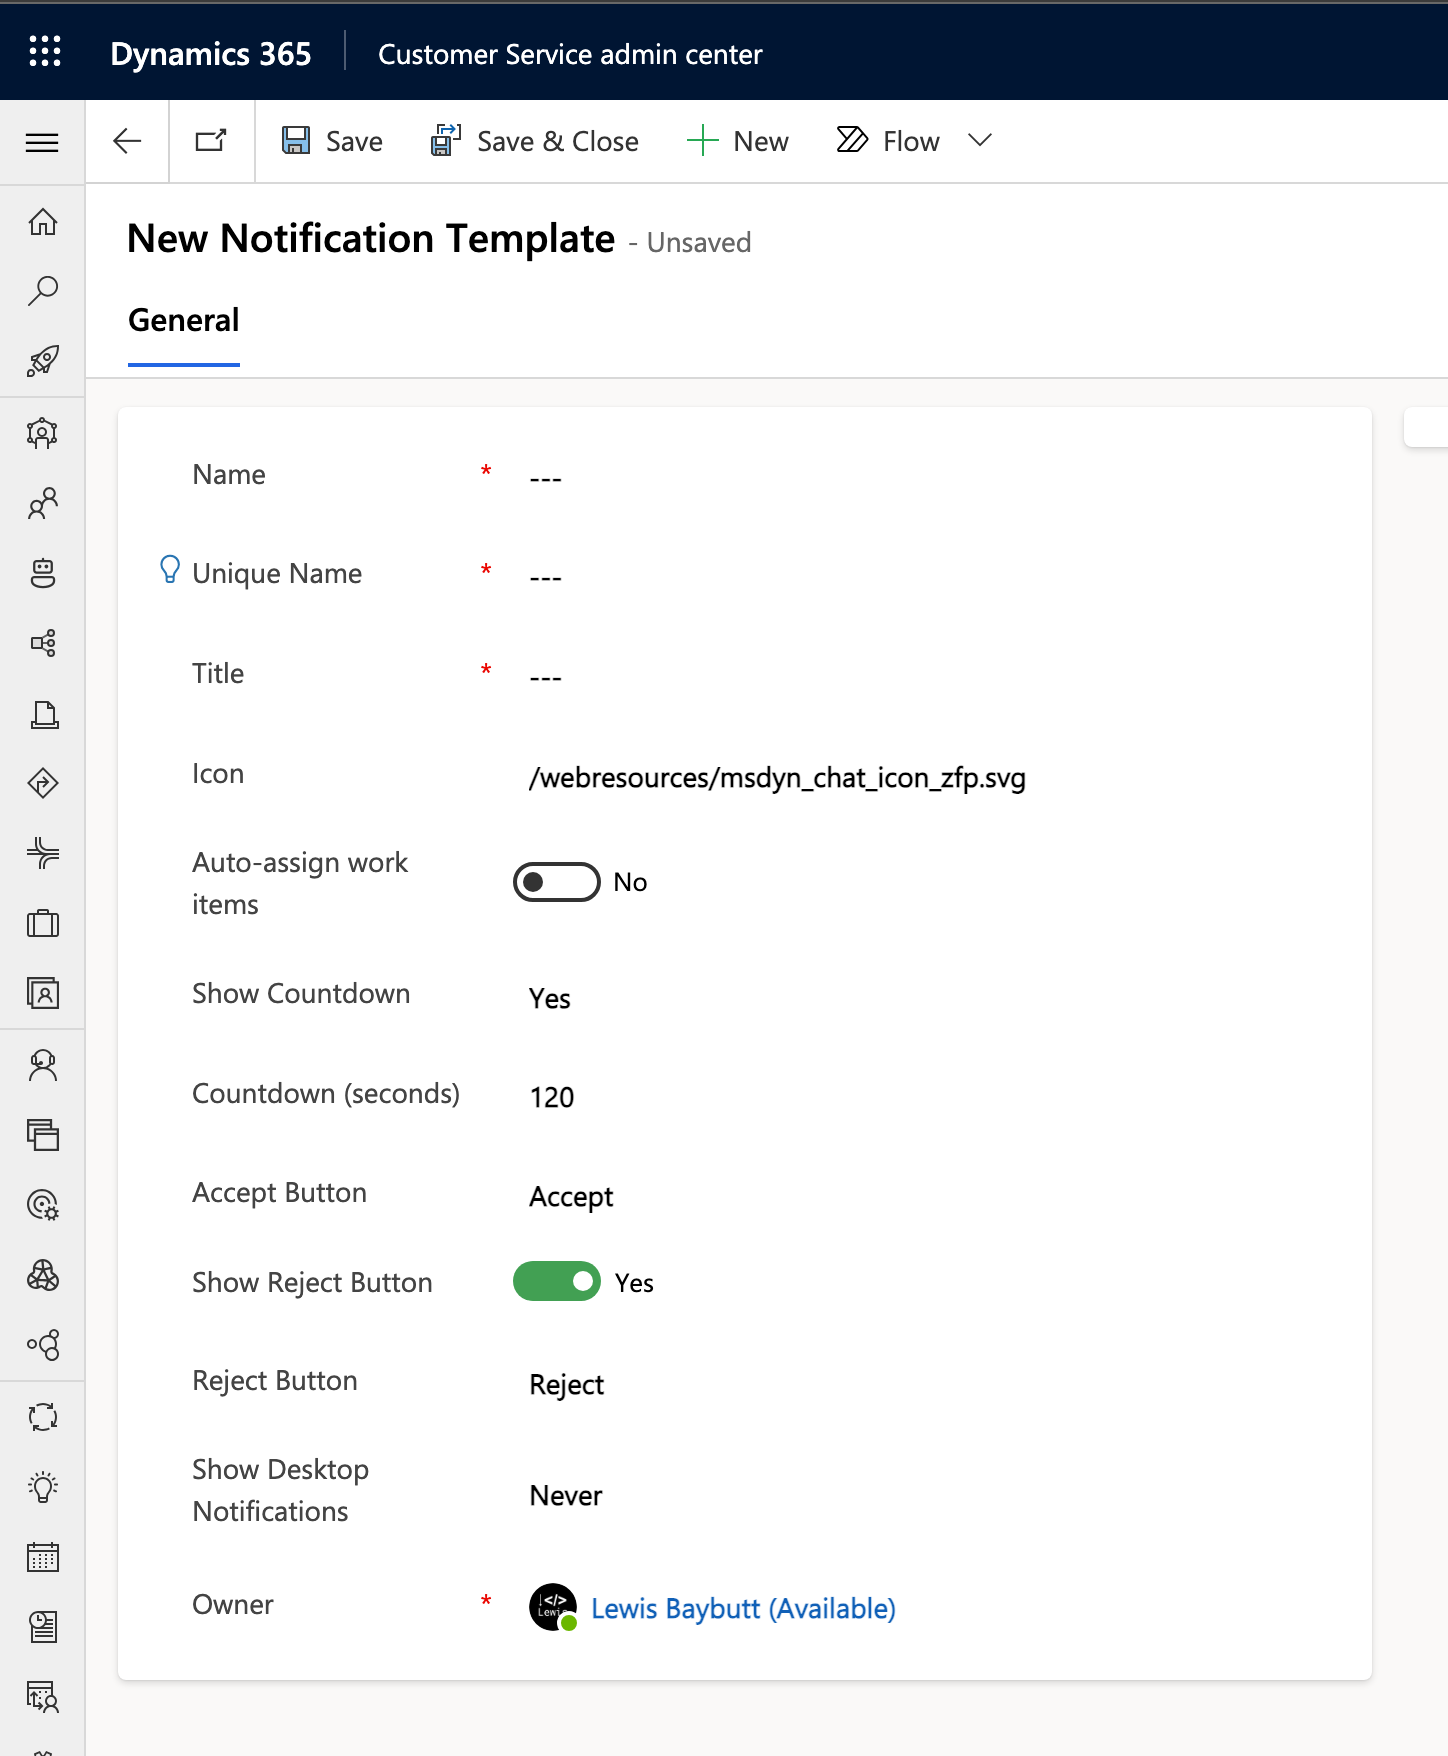
From here, use the form that appears to create your new notification template. Give it a name and unique name to identify it separately from other templates. Then input the title that should show on the notification. You can then configure the rest of the options as you wish to manipulate the UI of the notification with the few options we have.
Once you’ve done this, save the notification template and head back to your workstream.
Applying the new template to a workstream
Now in the same place in the workstream that we started at which navigated us away to create a new notification template, select the dropdown and now select the template you created!
Now you’ll notice that any work items that get pushed to agents from the workstream you’ve applied this template to, push notifications to agents using the template you just created! Simple! 🚀
Did you like this content? 💖
Did you like this content? Check out some of the other posts on my blog, and if you like those too, be sure to subscribe to get my posts directly in your inbox for free!
Subscribe