

Want to remove the need for unnecessary screens in your canvas apps and want to start to build beautiful interfaces? Microsoft have recently been doing lots of work in terms of the capabilities we have to work with for building modern interfaces and a lot of this has been by bringing modern, fluent 2 based controls into Power Apps!
In this post, we’ll look at how to use these new modern controls to build tabbed interfaces in canvas apps! Stay tuned friends! 🚀
Enabling modern controls
First before we can do anything else, we need to enable modern controls in canvas apps. To do so, in your apps settings scroll down on the general page and switch on modern controls and themes.
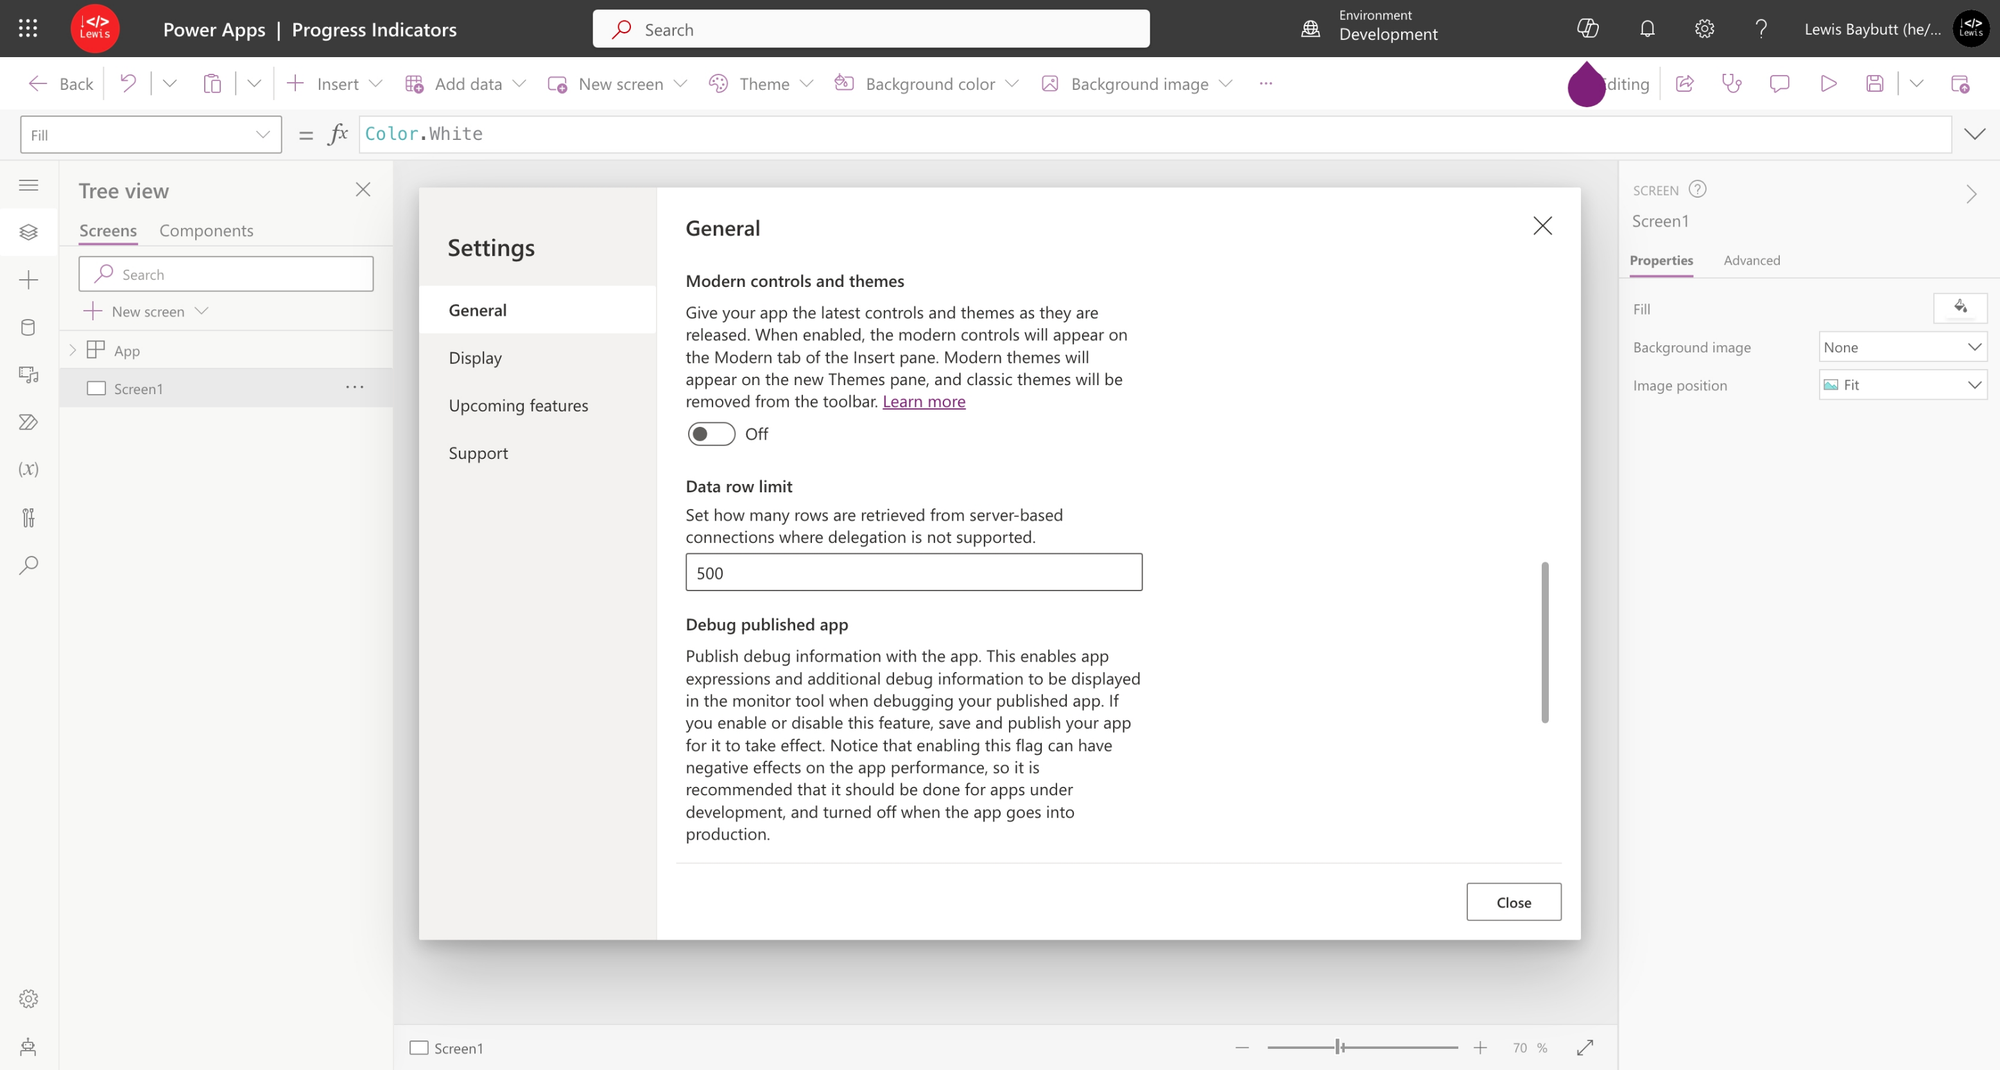
From here we’ll be able to add modern controls into our application!
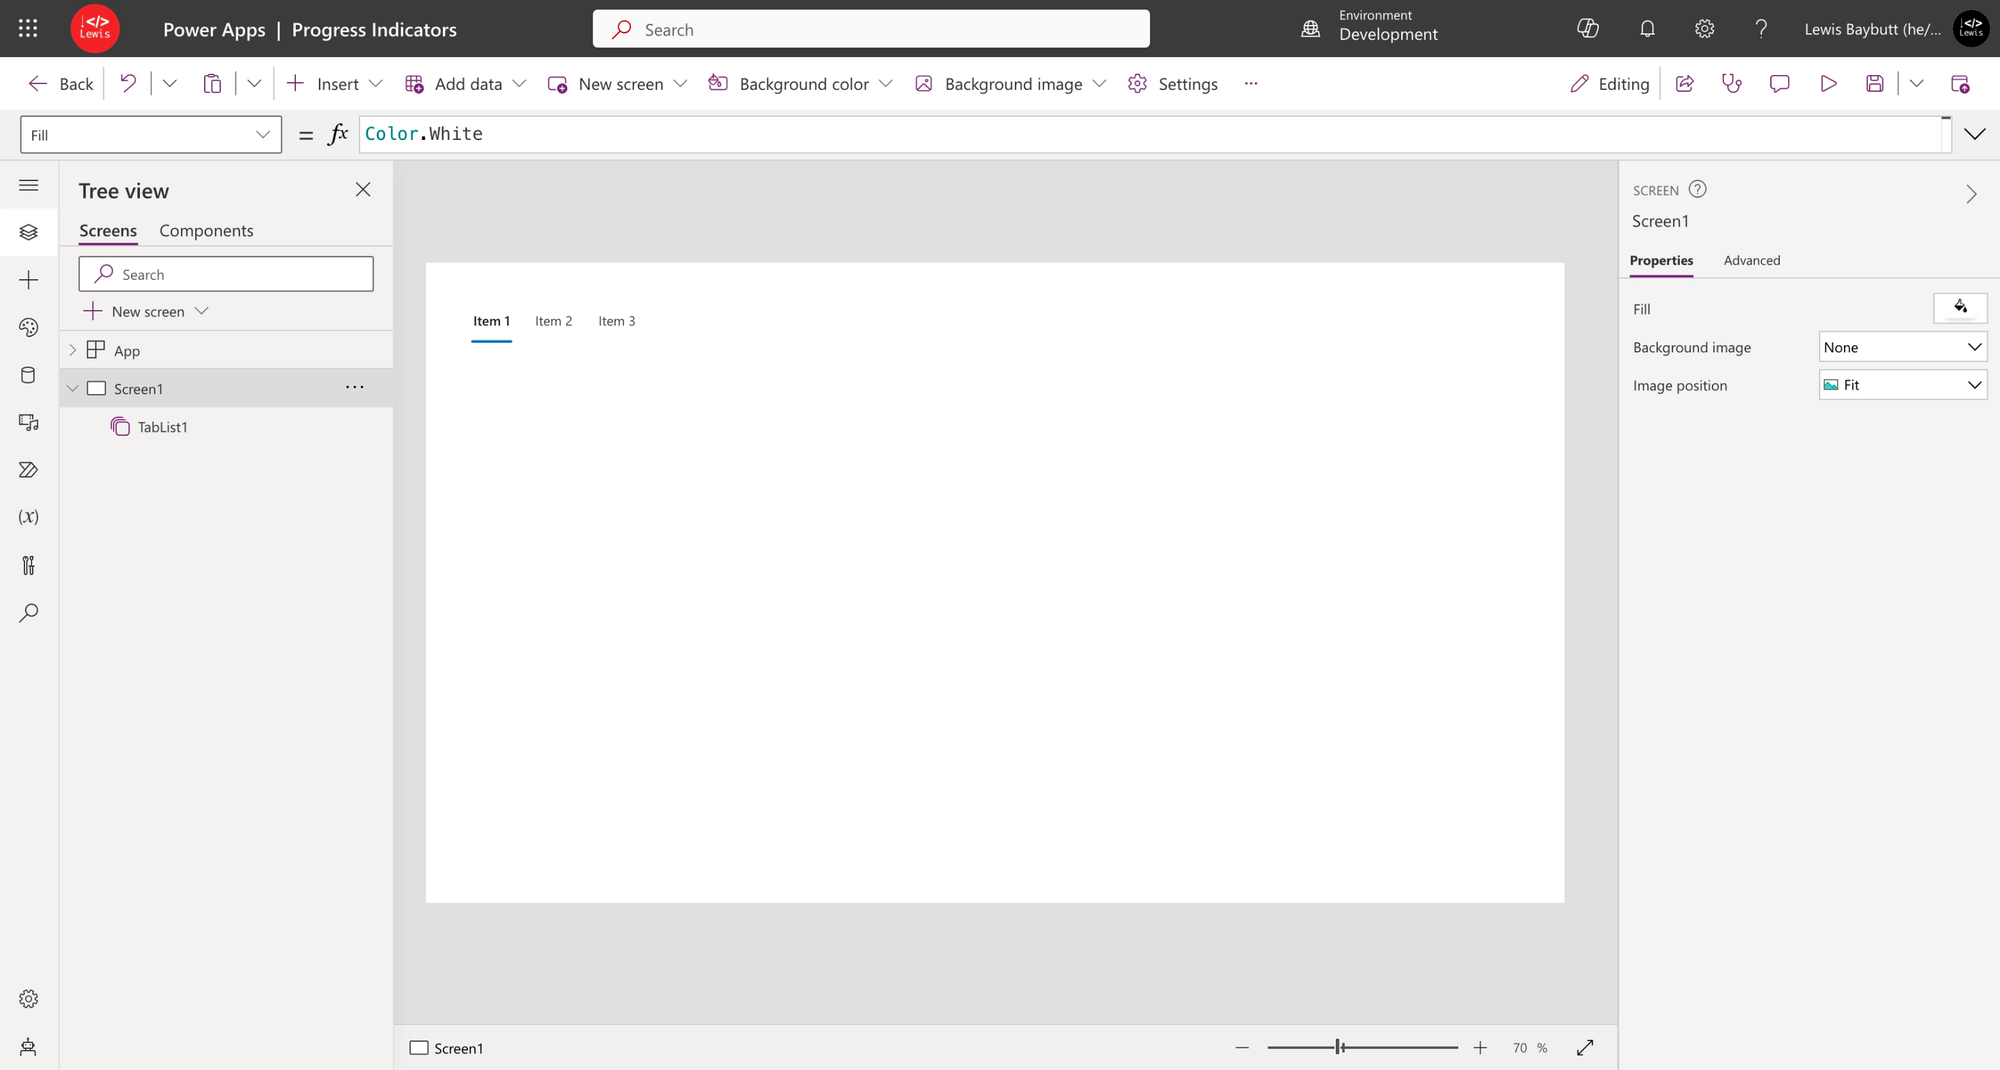
Adding a tab list
Now we can go ahead and add a tab list control to our application. This will be the part of the UI where people can select the various tabs to flick between the different categories of content. This could be various form fields or various individual controls or anything really! 🚀
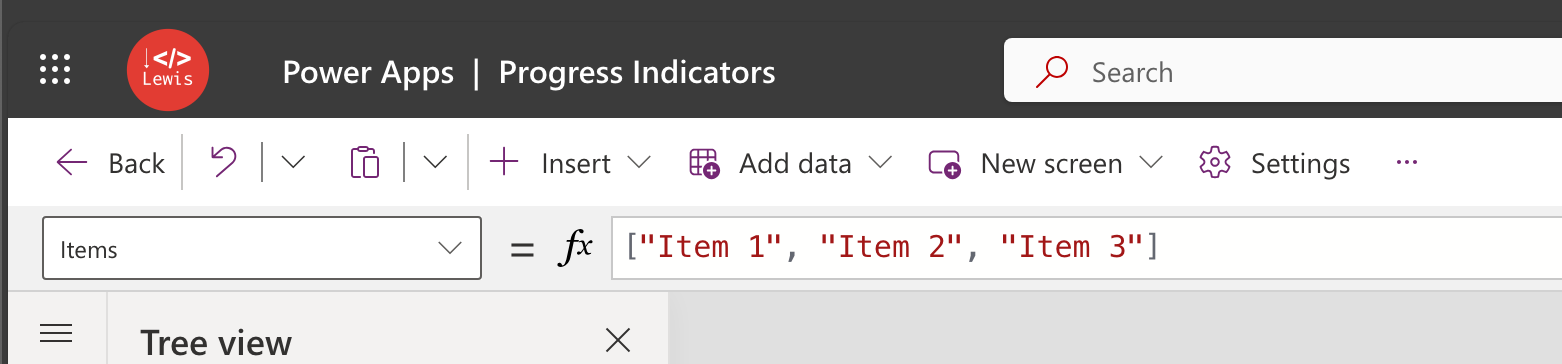
Now check it out, I have my tabs which I can adjust using the items property of the tab list control…
Now to be able to make this functional I need to be able to assess which tab is selected outside of the tab list control and then reference this from other controls. It might be that I make things visible or not depending on the selected tab value, or I conditionally update content like text. But either way, I need to be able to get hold of the value. Let’s look at how we can do that…
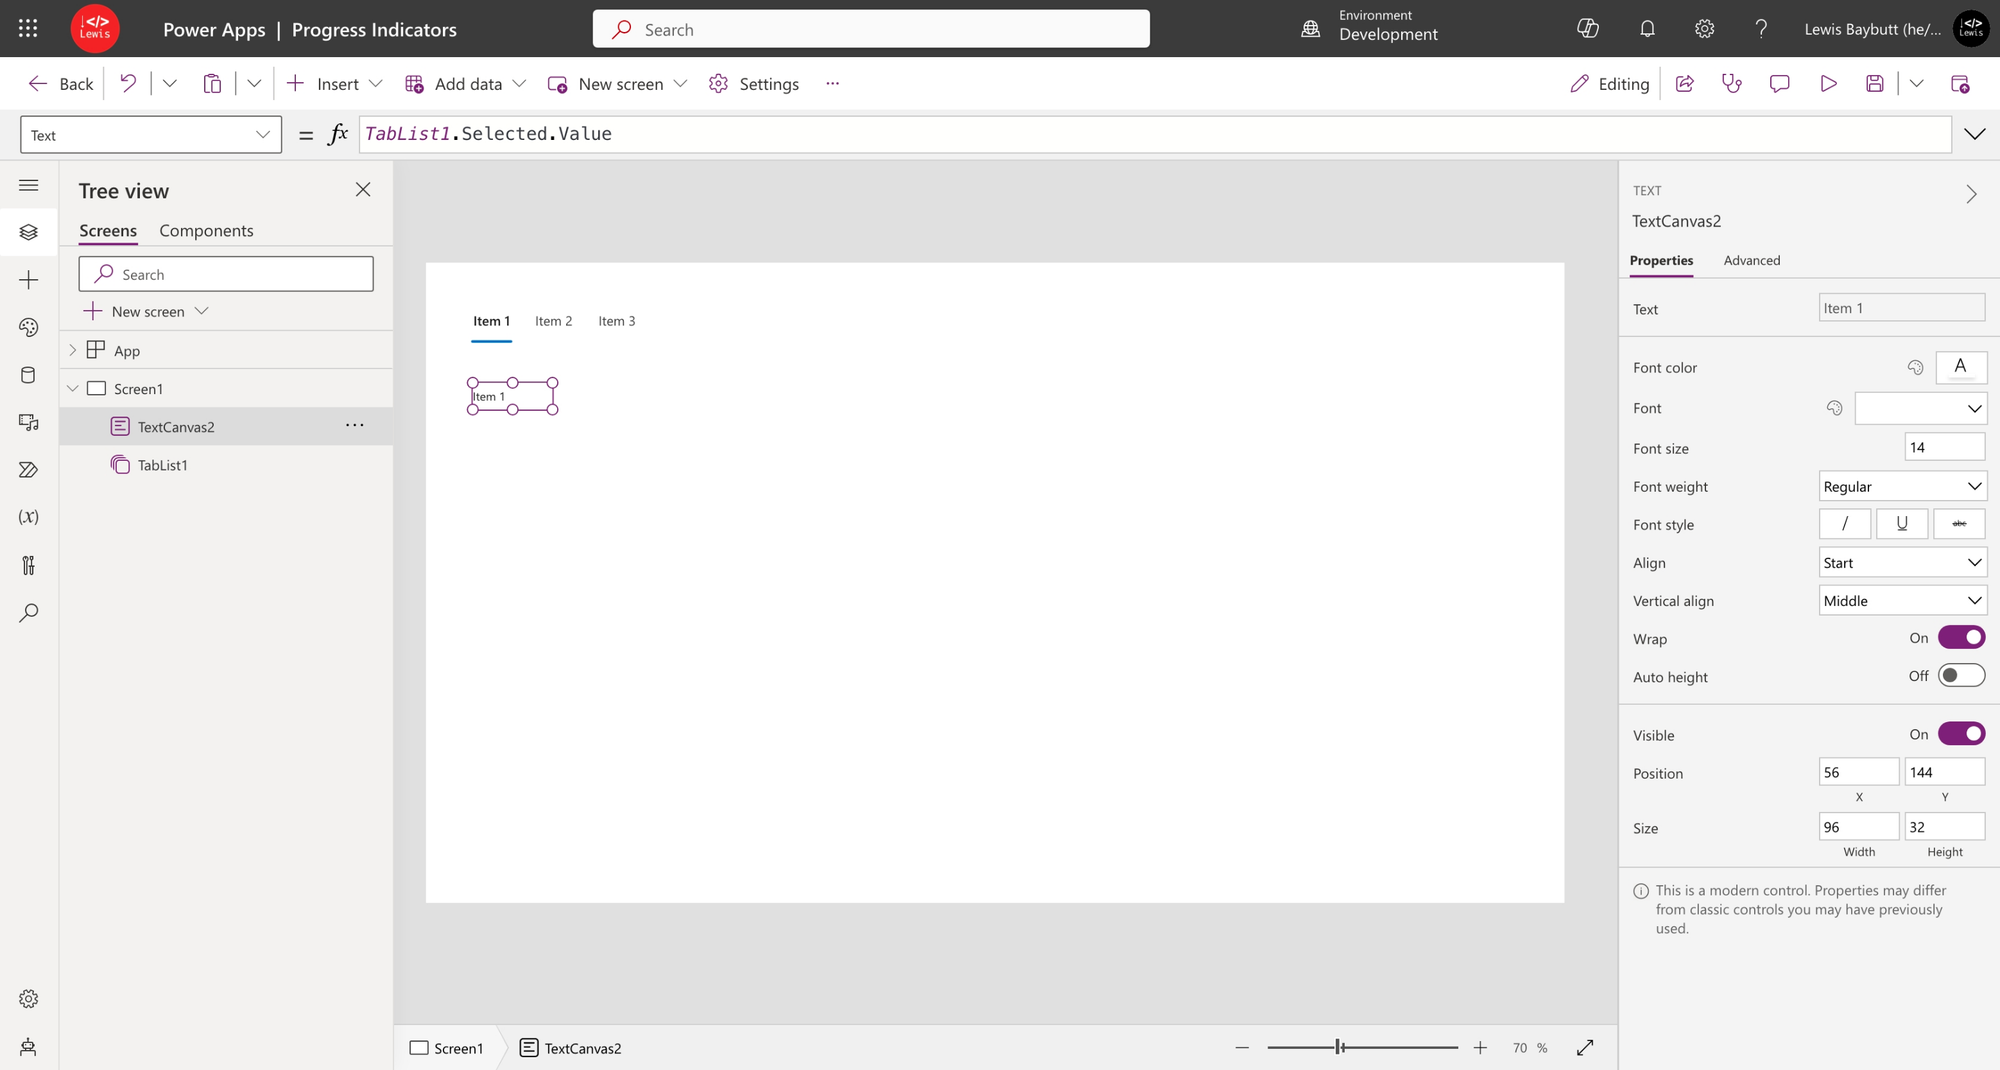
I’ve simply added a text control to my screen and I’ve updated the text property to use the following formula referencing the tab list control.
TabList1.Selected.ValueEnsure you update your formula to reference the correct name of your tab list control. Now as you can see I’ve got a value returned which shows the same name as my tab.
Conditionally showing content based on tab
So using the same type of logic as above, to conditionally show content based on the tab selected, I’d need to apply the following code in the visible tab to the controls relevant that should be shown for the corresponding provided tab value in the formula.
TabList.Selected.Value = "Desired Value"Now for the next chunk of controls that should be shown for a different tab apply the same approach but replace the value in the speech marks to reflect the tab that you want to be selected for these controls to appear!