

Ever wanted to spice up your views or lists of records in your model-driven apps and Dynamics 365 apps a bit? I’m sure you’re familiar with the idea on other platforms of conditionally formatting a view of data or an element surfacing data based on the data being surfaced. For example, I may have a choice column or optionset in my dataset and I want each value to have a different colour assigned to it which it then gets highlighted in when surfaced, well, this is conditional formatting!
So in this blog post, we’ll take a look at how to apply this kind of conditional formatting to a view in a model-driven app or Dynamics 365.
Issue management
So lets look at a view I have on a table in Dynamics. Here I have a table for managing issues and a view on this table to look at all of the issues created.
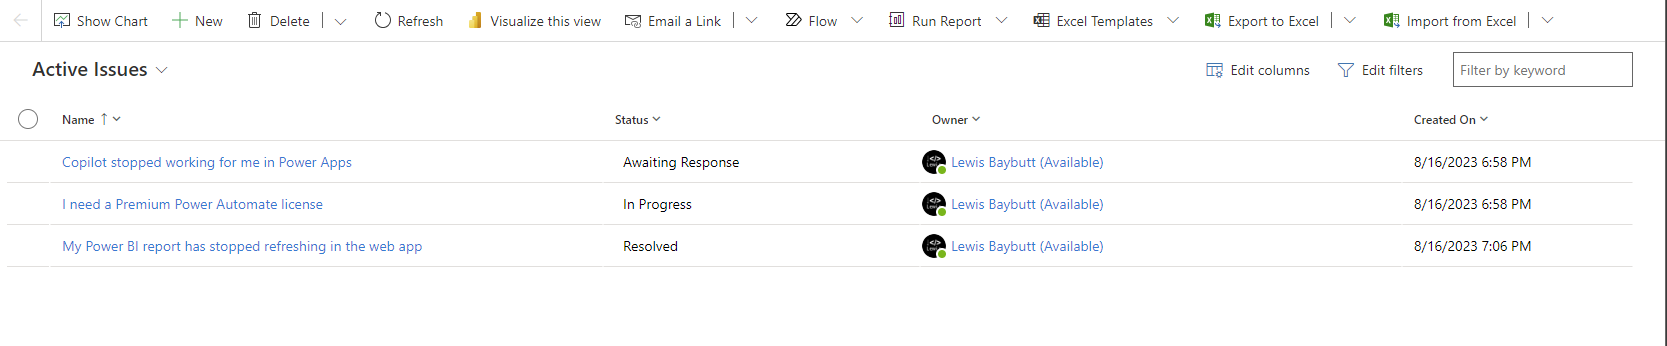
You can see I have three records here each with a different status. Now these statuses indicate different levels of urgency or priority to an extent. If something is resolved it isn’t at all urgent, so we don’t want to alarm users about that, but if something is awaiting a response, we need to make that clearer.
We’ll achieve this using conditional formatting.
Choice column
First we need to configure the colours each of the values in our choice or option set should be. We can do this by going to the choice in Dataverse and then assigning colours to each of the values.
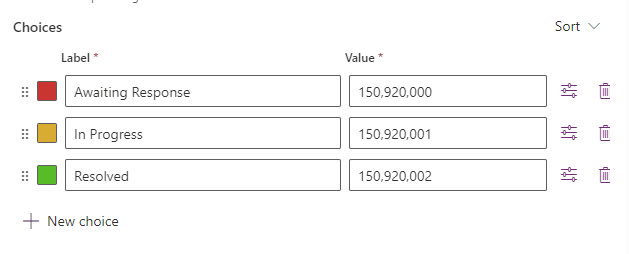
You can see on the choices there are coloured squares to the left of each of them. Simply select this square to change the colour that corresponds to the choice.
Changing the view
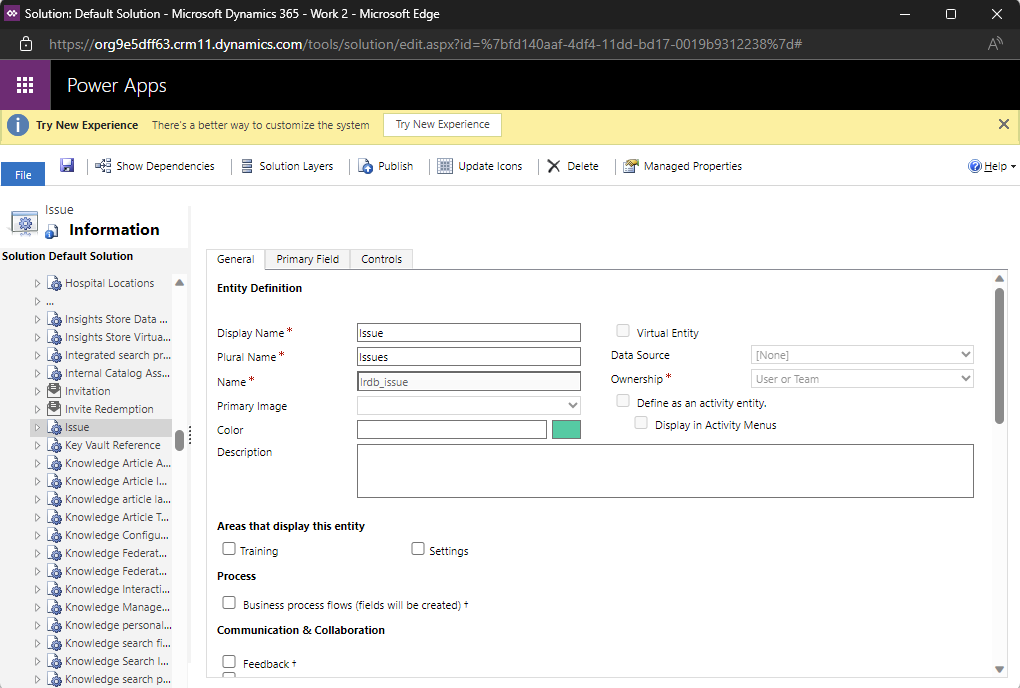
Now we need to make a configuration change to the table in the classic editor where we used to apply customisations to Dynamics 365.
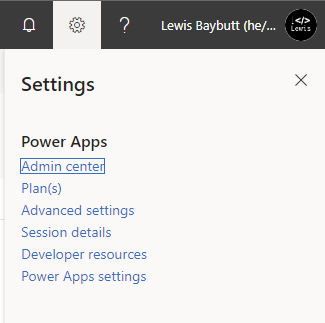
Select the settings icon in the menu bar at make.powerapps.com and then select Advanced Settings.
Now select the toggle on entities to expand this and show all of the tables in your environment. Then select the relevant table to make the change on.
Now we need to select the controls tab on the table. Then select to add control.
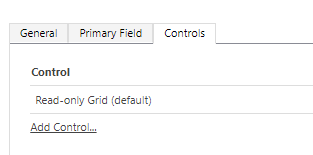
Then add the Power Apps Grid Control.

Now you’ll need to set the ‘Enable OptionSet colors’ property to yes so that the colours for choices show.
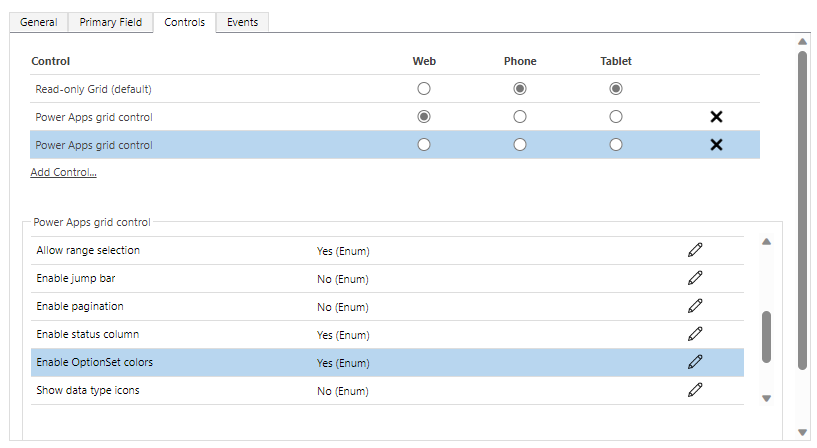
Once you’ve made the changes hit the save and publish button.
Now refresh your app and check out the pretty colours!
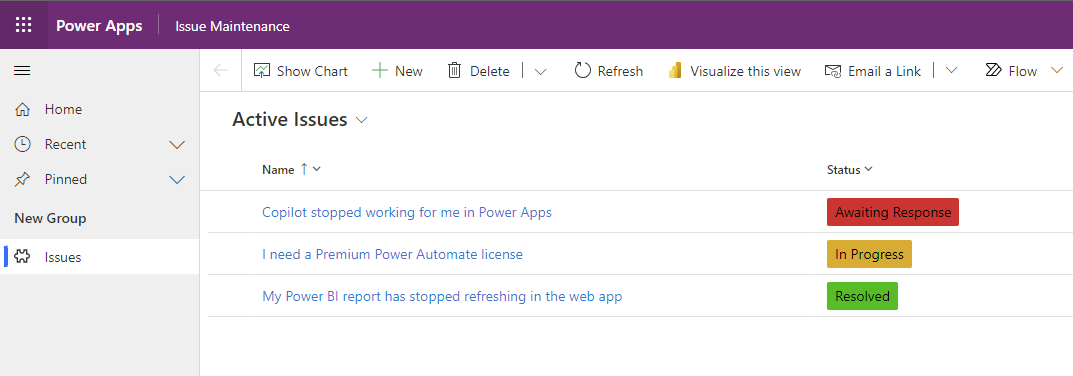
Check it out! That’s it! That simple! But… if you didn’t quite manage to get this working on your table, drop a comment below and I’ll see if I can help 🙂
Liked this post?
If you liked this post, be sure to drop a like and subscribe to my blog to always get my latest content.
Subscribe