

Final steps! In my last 3 posts we’ve been building a solution using Microsoft Graph for a healthcare scenario of needing to request assistance from other clinicians with specific skillsets who are available at the current moment in time without unnecessary manual steps. So far we have…
- Designed a very basic Dataverse schema and canvas app to support the solution
- Created a Custom Connector to retrieve Presence information from Microsoft Graph for a clinician
- Surfaced this presence information in our app using the custom connector
Today we’re going to add an icon into our gallery that we can select to send a message to that clinician, finishing off the automation of this process which would waste huge amounts of time if it were to be consistently executed manually.
Adding the icon
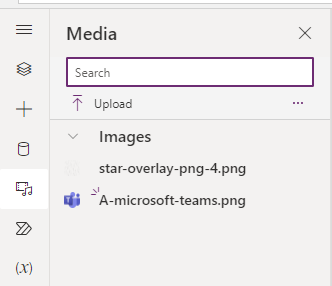
So first I’m going to grab an image of the Microsoft Teams logo with a transparent background and I’ll upload it into the media area of my application.
Now I’ll add this to my gallery of clinicians and layer an invisible button over the top of it to make it responsive and so it appears as clickable.
Getting the app ready for a flow
So now we want to create a flow that will accept multiple input parameters and then use the values to send a contextually populated Teams message to the clinician we would like support from. One of the things we need to have presented to the clinician is the location we are in. We need to be able to configure this in our application.
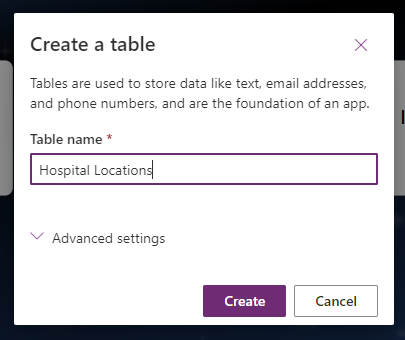
For this, I am going to create a Dataverse table of ‘Hospital Locations’ where we will simply use the name field as a list of locations we can select from when we launch the application, or on the skill selection screen in case this app is used by clinicians on a mobile basis where they will move around with the device needing other clinicians to support them in multiple locations.
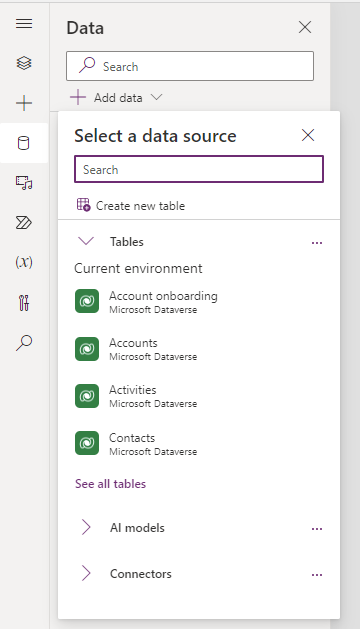
I’m going to select the data tab, and select to create a new table.
As you can see I’m just creating a table of Hospital Locations which I’ll only utilise the name field from.
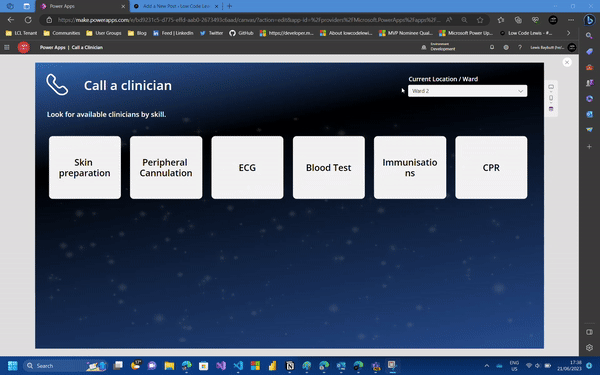
Very simply I can create a dropdown control in the top right hand corner of my skills screen. I can set the Items to my Hospital Locations table referencing the name field and then I will add this formula to my OnChange property.
Set(gblCurrentLocation, DropdownCanvas1.Selected.Name)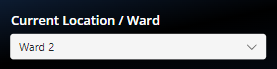
Now I’ll select a location so that my app has this stored and I’ll select one of my skills. Now I need to configure my Teams button to send my message to the clinician I’d like support from.
Configuring the flow
To start configuring the flow I’m going to head to the Power Automate tab in Power Apps and select create new flow.
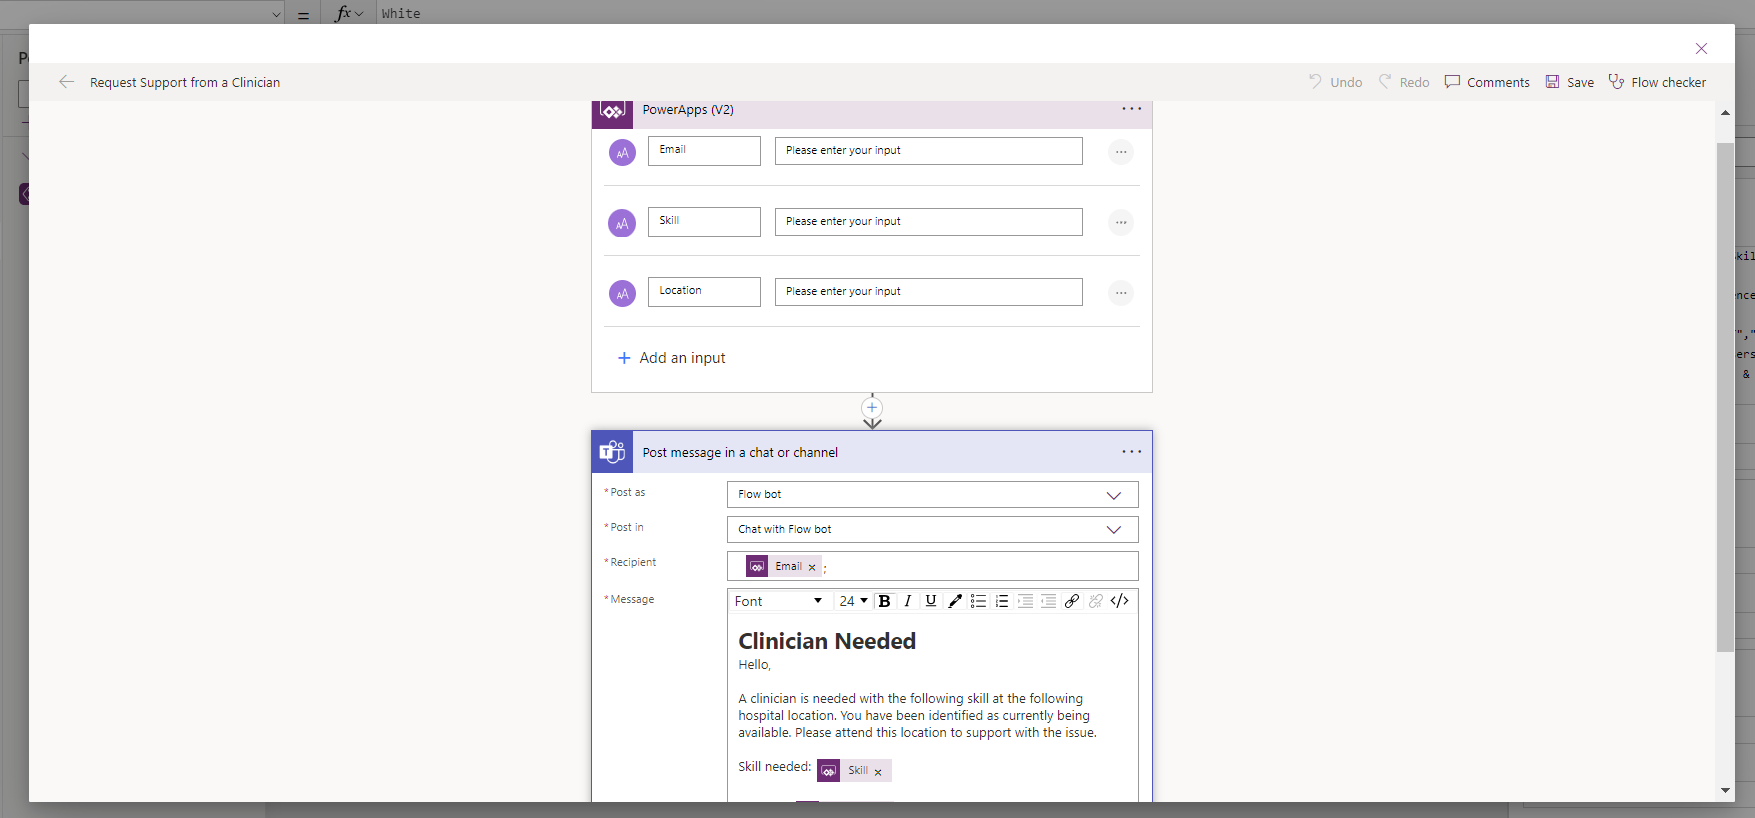
The first thing I need to do when Power Automate opens up and I can start editing my flow, is replace the trigger with the V2 Power Apps trigger to make it possible to use input and output parameters. I’ll then add three inputs to the trigger for the following pieces of information.
- Clinician Email Address
- Skill Needed
- Current location
Once I’ve done this I’ll add a Microsoft Teams step to my flow to send a chat with a flow bot to someone, and I’ll compose the message I want to send to the clinician.
My flow is now looking a bit like this. You can see in my Microsoft Teams step I’m referencing the dynamic content from my trigger where I’ve created my input parameters.
Trigger the flow from the button
Now in the button in my gallery I’m going to change the OnSelect property to reference and trigger my flow, and pass in the input parameter values I need in my flow to send the clinician the message.
I’ll do this using the following Power Fx formula.
RequestSupportfromaClinician.Run(ThisItem.'Primary Email',locSkill.Name,gblCurrentLocation)Now when I select the button, it’ll send a Teams message to the clinician who I’ve clicked it against requesting their support with the relevant skill at the current location the app is set to! Check it out…
Upcoming Content
In future posts in this series on Microsoft Graph, I’ll publish a working solution for Call a Clinician, and we’ll move onto other solution examples for different industries for building with ecosystem context to deliver solutions with greater impact and better UX.
Make sure you’re subscribed to my blog to get this upcoming content directly in your inbox. 📩
Subscribe