

Time to get presence information with a custom connector! If you read my blog post from yesterday you’ll know exactly what I’m talking about. If you didn’t make sure you read it first, before continuing with this post! In yesterday’s post, we started to build a solution which we’d use context (contextual data) in to deliver improved user experience and more impact points. This solution was a call a clinician solution with the view of being able to select a clinical skill, and have a list of clinicians returned with information easily viewable in the list on their availability.
In this blog post, we’re going to work on the second part of building this solution which is building the custom connector. There’s a number of different parts to this part, so get ready for some fun building across Power Platform and Azure!
If you’ve been enjoying this series on using Microsoft Graph and context to build low code solutions with greater impact points and better user experience, then stop holding back! Make sure you’ve subscribed to my blog to get my posts, still currently going on this series, directly in your inbox! 📩
SubscribeApp Registration
First we need to create an application in our Azure Active Directory tenant which we will use to authenticate against Graph with. Follow the instructions here to create an application in Azure Active Directory.
Once you’ve created your application, you’ll need to add the Presence.Read.All delegated permission for Microsoft Graph.
Copy down the values for the following things and temporarily store them in a notepad somewhere.
- Application (client) ID
- Tenant ID
- Secret Value (once you have created a secret)
Azure Key Vault
The next thing we’ll need to do is configure an Azure Key Vault to store our client secret in securely. This is best practice for working with secrets when developing on the Power Platform. It isn’t wise to just store a secret in a text environment variable, connector, or flow where it could be seen by others.
Microsoft.PowerPlatform provider
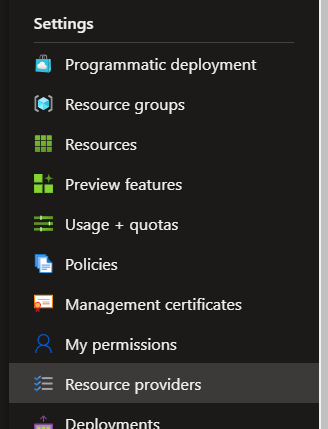
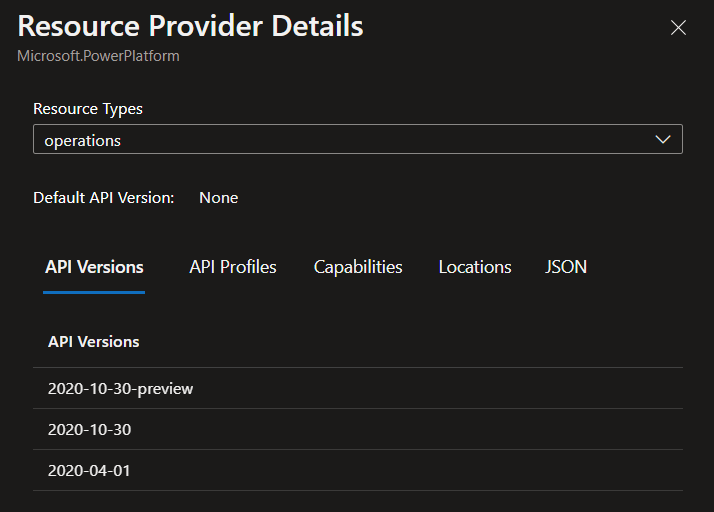
To do this head to a subscription you can use in your Azure Portal. First we need to head to resource providers under Settings and ensure we have registered the Microsoft.PowerPlatform provider.
Resource group
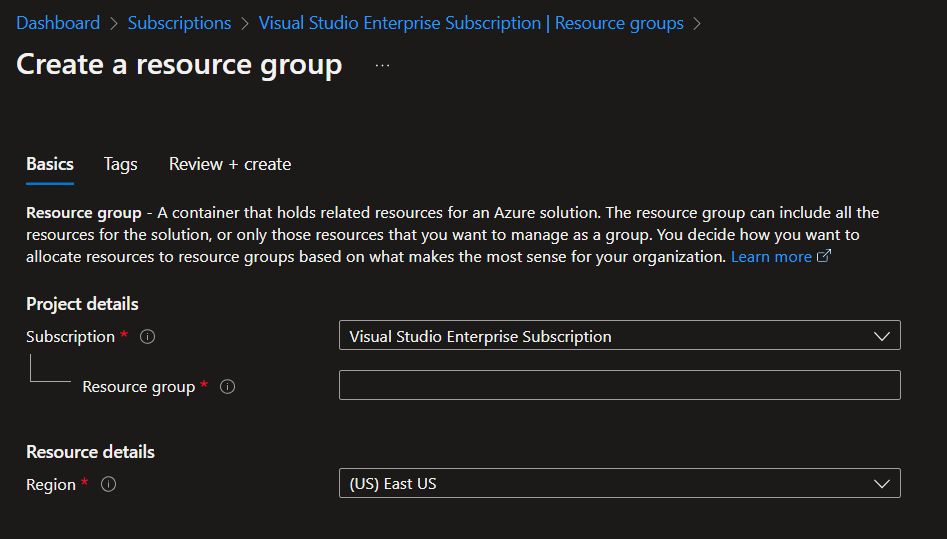
Next we’ll need a resource group to create our key vault in. If you already have a resource group that would be suitable to use within the subscription we just registered the Microsoft.PowerPlatform provider for, you can use that, otherwise create a new one.
Simply just give it a name and region and set it to the subscription we just registered the Microsoft.PowerPlatform provider for and select review + create.
Key Vault
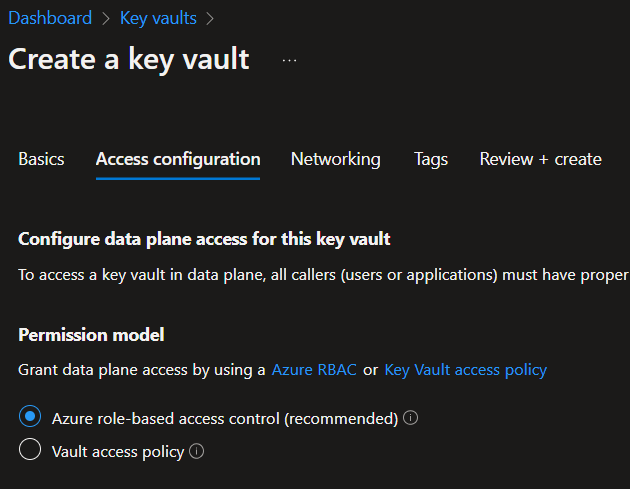
Now we can create our Key Vault. Search for Key Vaults in Azure and create one. Select the subscription and resource group you want to use or that you just created. Then give your key vault a name and set the appropriate region.
Next you can set the access configuration to use Azure RBAC (Azure role-based access control) and we will leave all other options as they are.
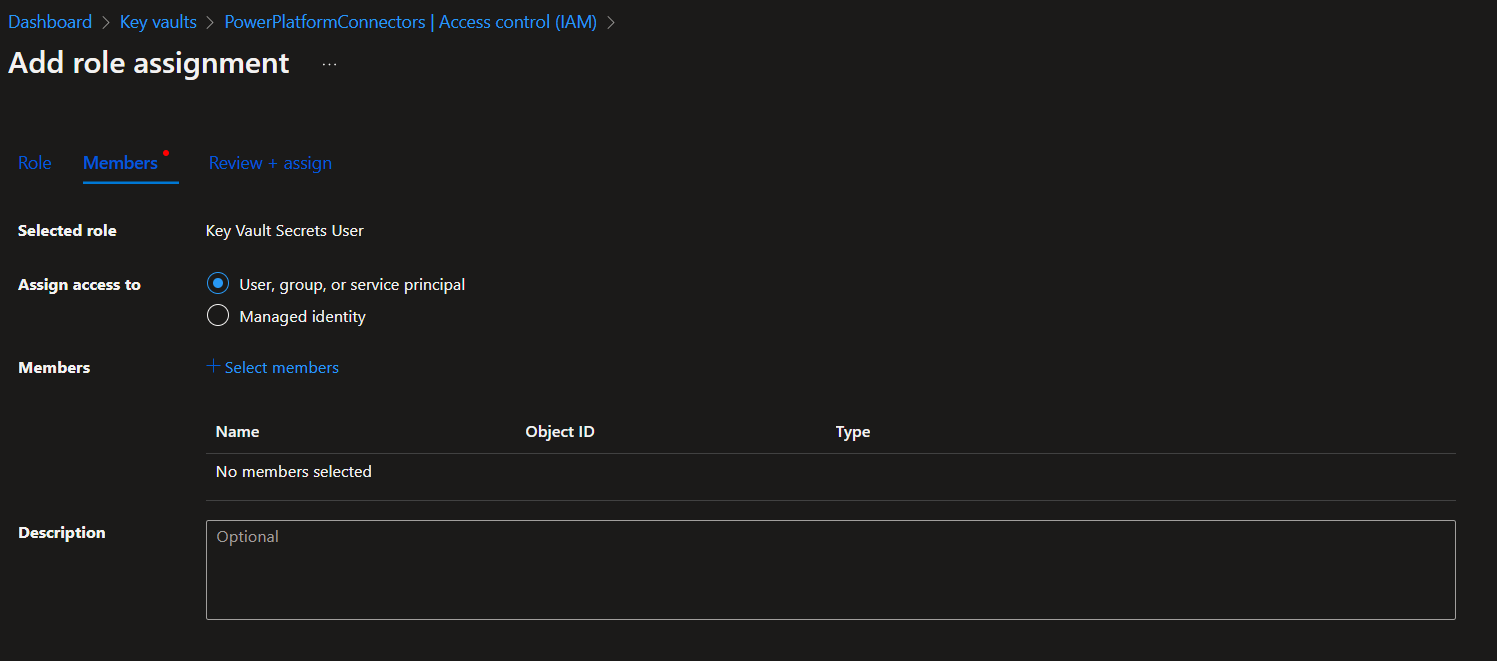
Now, once we have our key vault setup. A developer in Power Platform is going to need to create an environment variable to reference the key vault. Prior to this being possible we need to add some role assignments to give that person access. We also need to add some access for the Dataverse service principal.
Add the Key Vault Secrets User role within your new key vault to both the user who will create the environment variable, and to the Dataverse service principal (00000007-0000-0000-c000-000000000000).
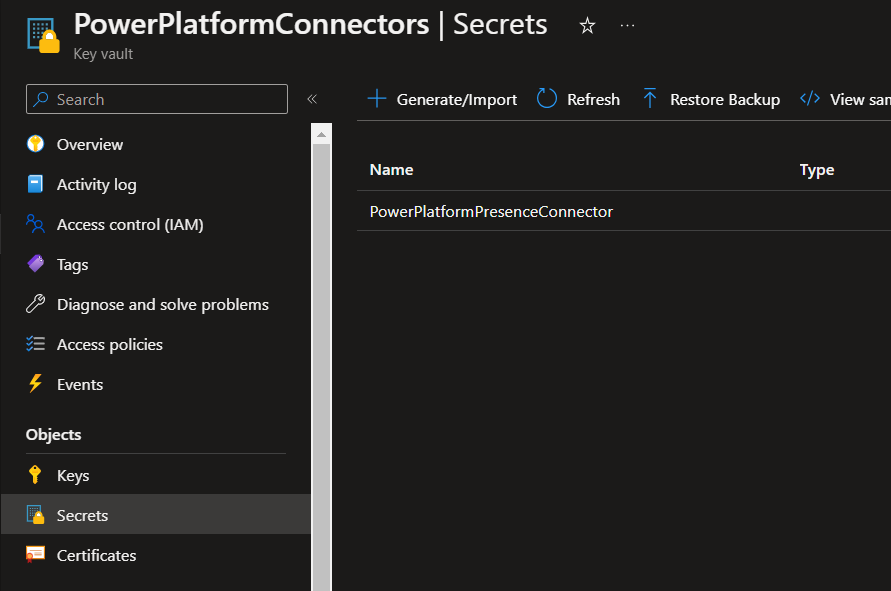
Next we can add our secret to our key vault. To do this head to Secrets under objects. Then select Generate/Import.
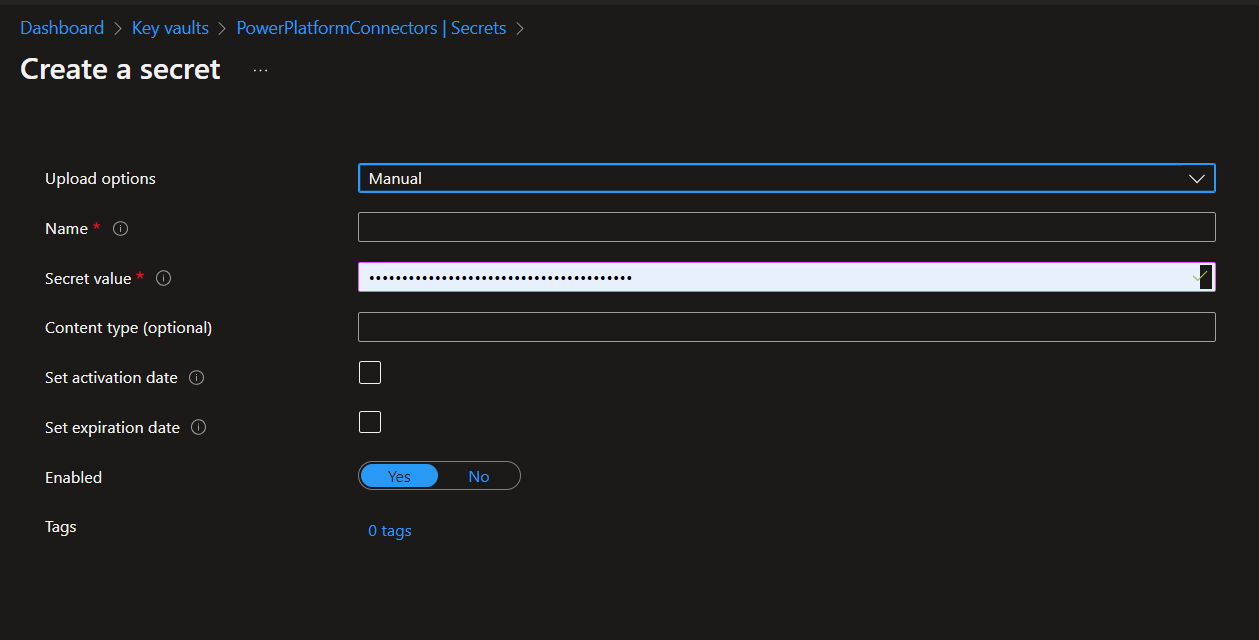
Select the manual upload option and then give the secret a name that describes it. You could match it with its description in your app registration for ease if you like. Then paste in the secret value that you temporarily stored in a notepad, to your secret value input. You can then set the date the secret was activated and when it will expire if you like. Then select create.
Following all of that you will need to copy the following details for us to start to move into Power Platform.
- Azure Subscription Id
- Resource Group Name
- Key Vault Name
- Secret Name
We’ll need these details to get hold of the secret from Key Vault in Power Platform in a moment when we build our connector.
Environment variables
Next we’re going to need to create some environment variables in our solution which we’ll reference in the custom connector we’re about to build. Create the following environment variables in the solution you created if you followed my blog post from yesterday.
| Variable Name | Variable Type | Value(s) |
|---|---|---|
| Presence Connector Authorisation URL | Text | https://login.microsoftonline.com |
| Presence Connector Client ID | Text | Client ID from the app registration you created (temporarily copied to notepad 😉) |
| Presence Connector Host | Text | graph.microsoft.com |
| Presence Connector Resource URL | Text | https://graph.microsoft.com |
| Presence Connector Secret | Secret | Paste in the values copied from your setup of Azure Key Vault. |
| Tenant ID | Text | Tenant ID copied from Azure Active Directory |
Environment variables to create for building your presence custom connector
Next we can use these values to reference in a custom connector we’re about to build for retrieving people’s presence information.
Building the custom connector
Now lets start to build our custom connector for getting peoples presence details which we’ll in a later post use in the app we created yesterday to show clinicians availability at the current moment.
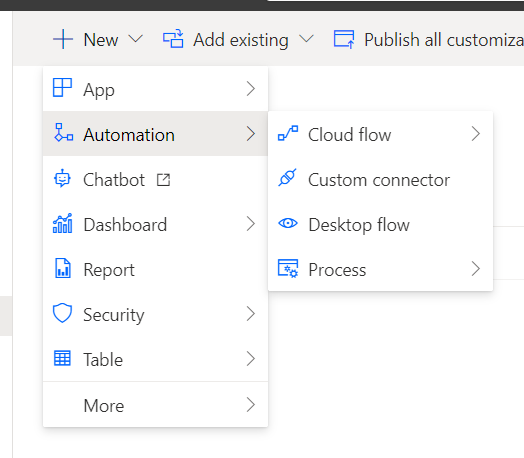
In my solution I’m going to select new, then automation and finally custom connector. Do this to start to build your connector.
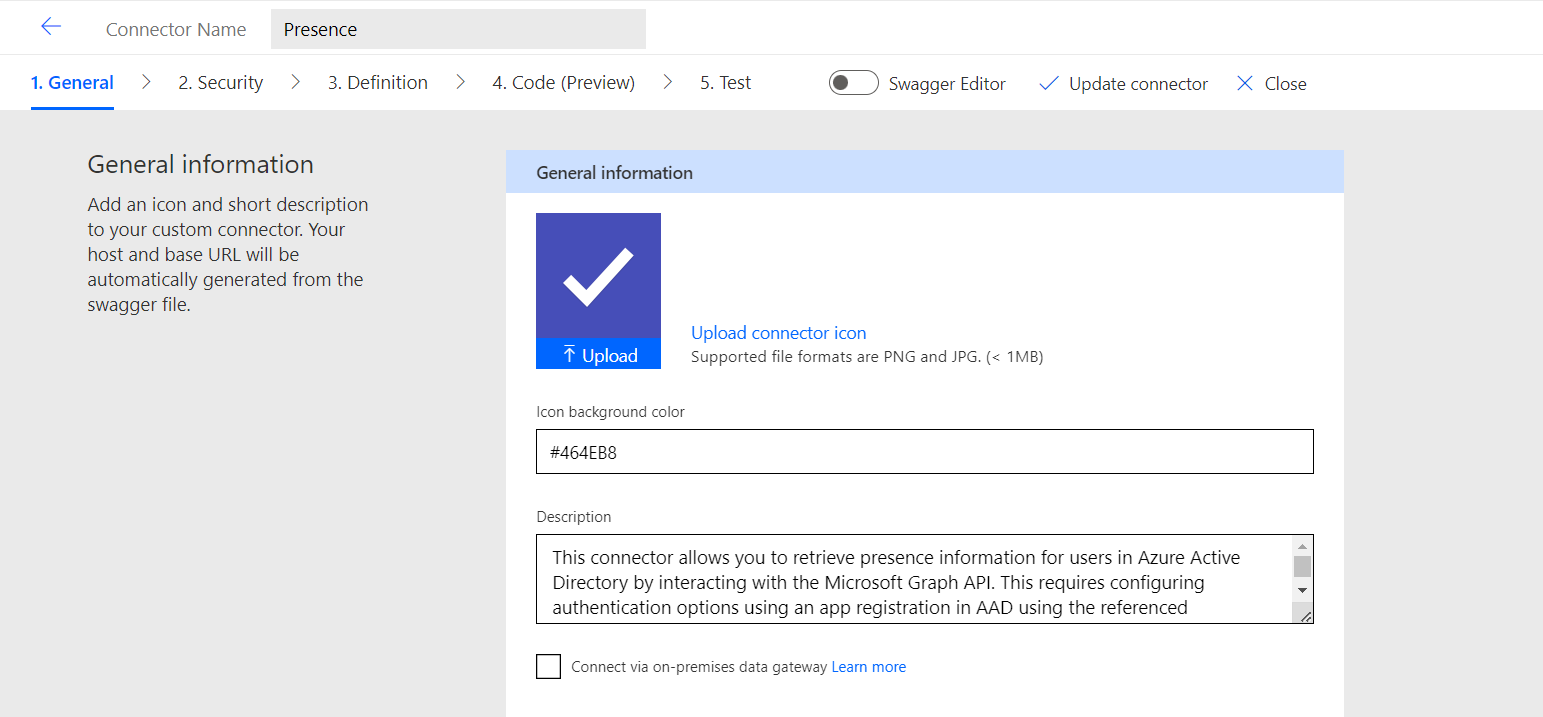
General
Now we can start to build! I’m giving my connector a name of presence, you can call yours the same or something similar depending on your wishes and requirements 🙂
Next give your custom connector a bit of a description and add an icon and background colour if you wish.
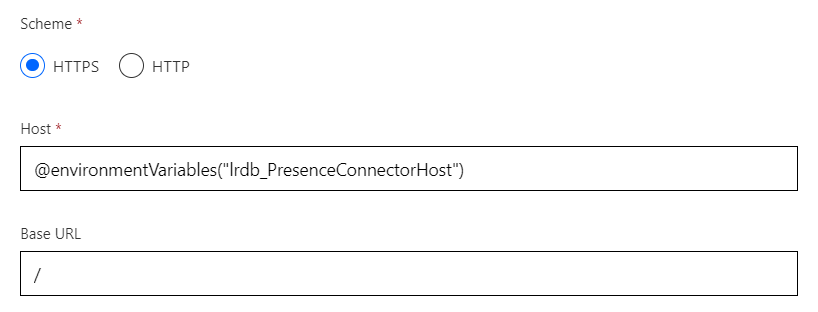
Now you can set the host to the following value. If you’ve been creating this as you’ve gone along and you’re not using the solution file that I provided at the end of this mini series, then you’ll need to change the name of your environment variable within the double quotes to match the internal name of your environment variable for the host.
@environmentVariables("lrdb_PresenceConnectorHost")Set the scheme as HTTPS and the base URL hard coded as /.
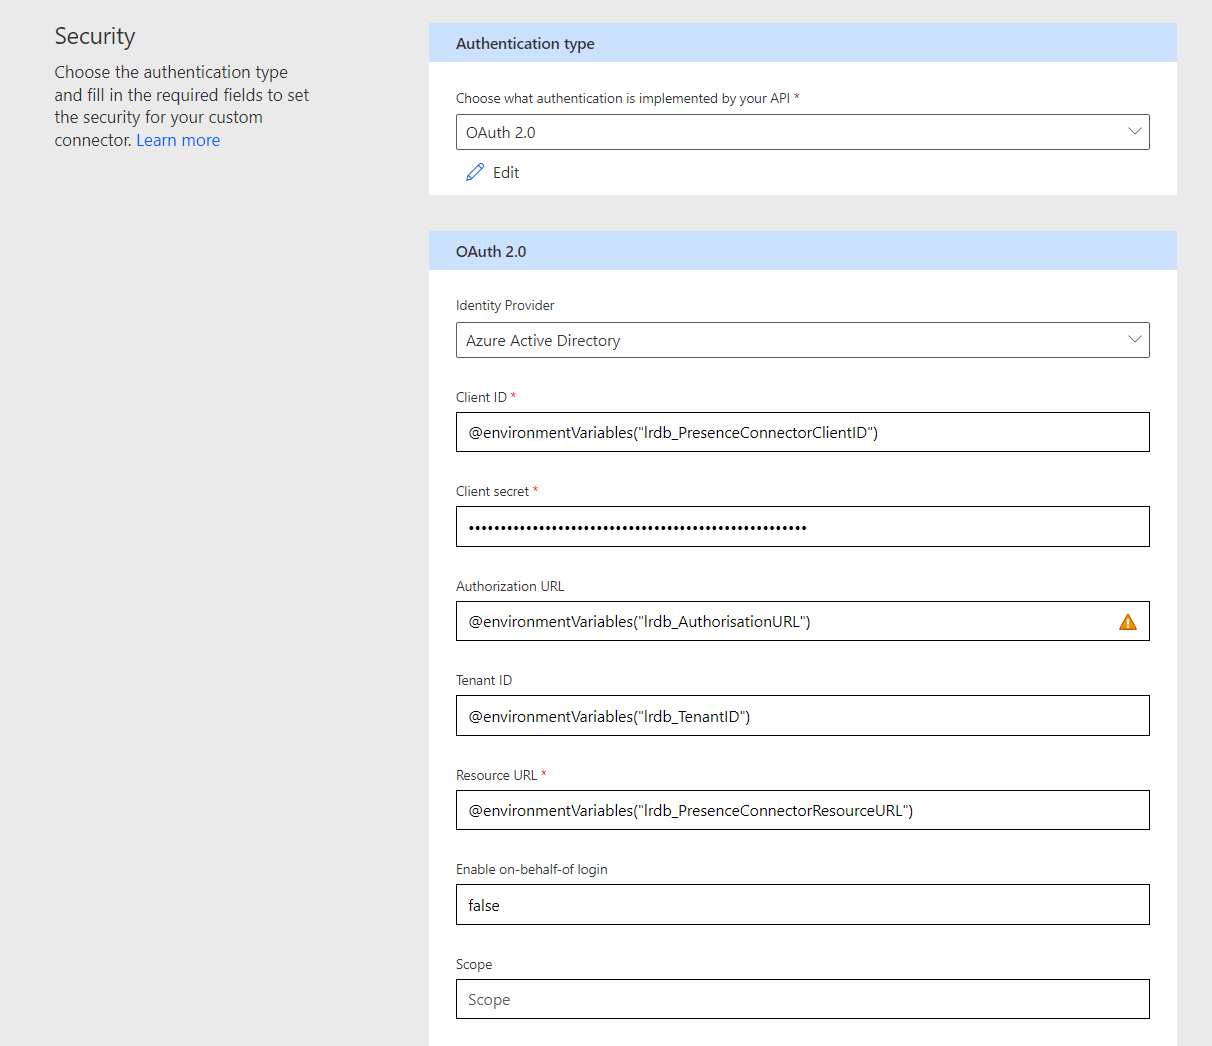
Security
Now move to the security tab within the custom connector editor.
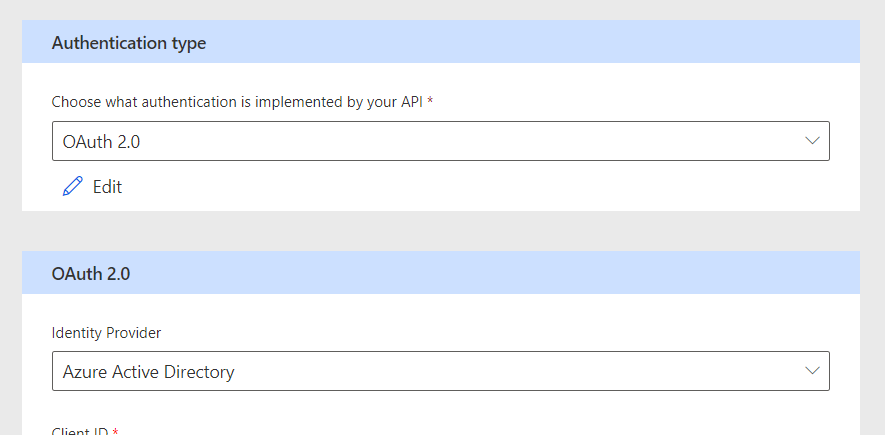
We’re going to set the authentication type as OAuth2.0 and the Identity Provider as Azure Active Directory.
Now reference all of the other environment variables in their corresponding fields in the same way that we just did it in the general screen for the host.
Definition
Now move on to the definition part of the custom connector. Start by adding an action and then populate the following inputs.
| Input | Value |
|---|---|
| Summary | Get presence details for a specified user |
| Description | Get a users presence by specifying their object ID from Azure Active Directory. |
| Operation ID | get-presence |
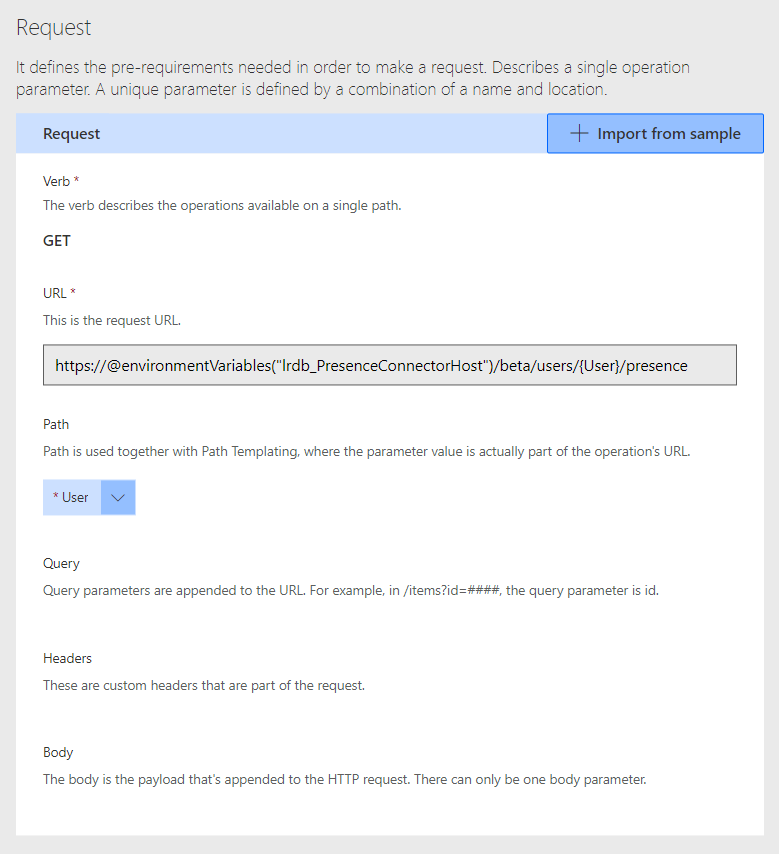
Then under request select Import from sample, set the Verb / Method as ‘GET’ and use the following request URL as a sample.
https://graph.microsoft.com/beta/users/{User}/presence
Things should now look a bit more like this with a request URL that has magically referenced our environment variable, and a dynamic value for our User ID in the path area.
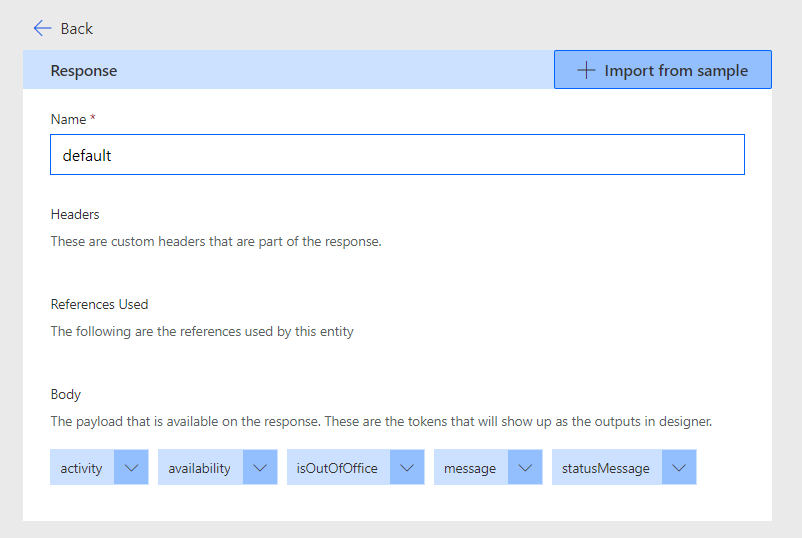
Now lets work on shaping the response that will come back. This will give us options for dynamic content to reference in Power Apps and Power Automate. Select add default response.
Now paste the following in the body input.
{

    "availability": "Offline",
    "activity": "Offline",
    "statusMessage": null,
    "outOfOfficeSettings": {
        "message": null,
        "isOutOfOffice": false
    }
}
This isn’t the full template of a response that would come back from the call we’re making to Microsoft Graph but it includes the content that we want to be accessible easily to us as dynamic content. Therefore I have only included these properties.
If you select the default response block you’ll now see the following blocks of dynamic content available in the response body.
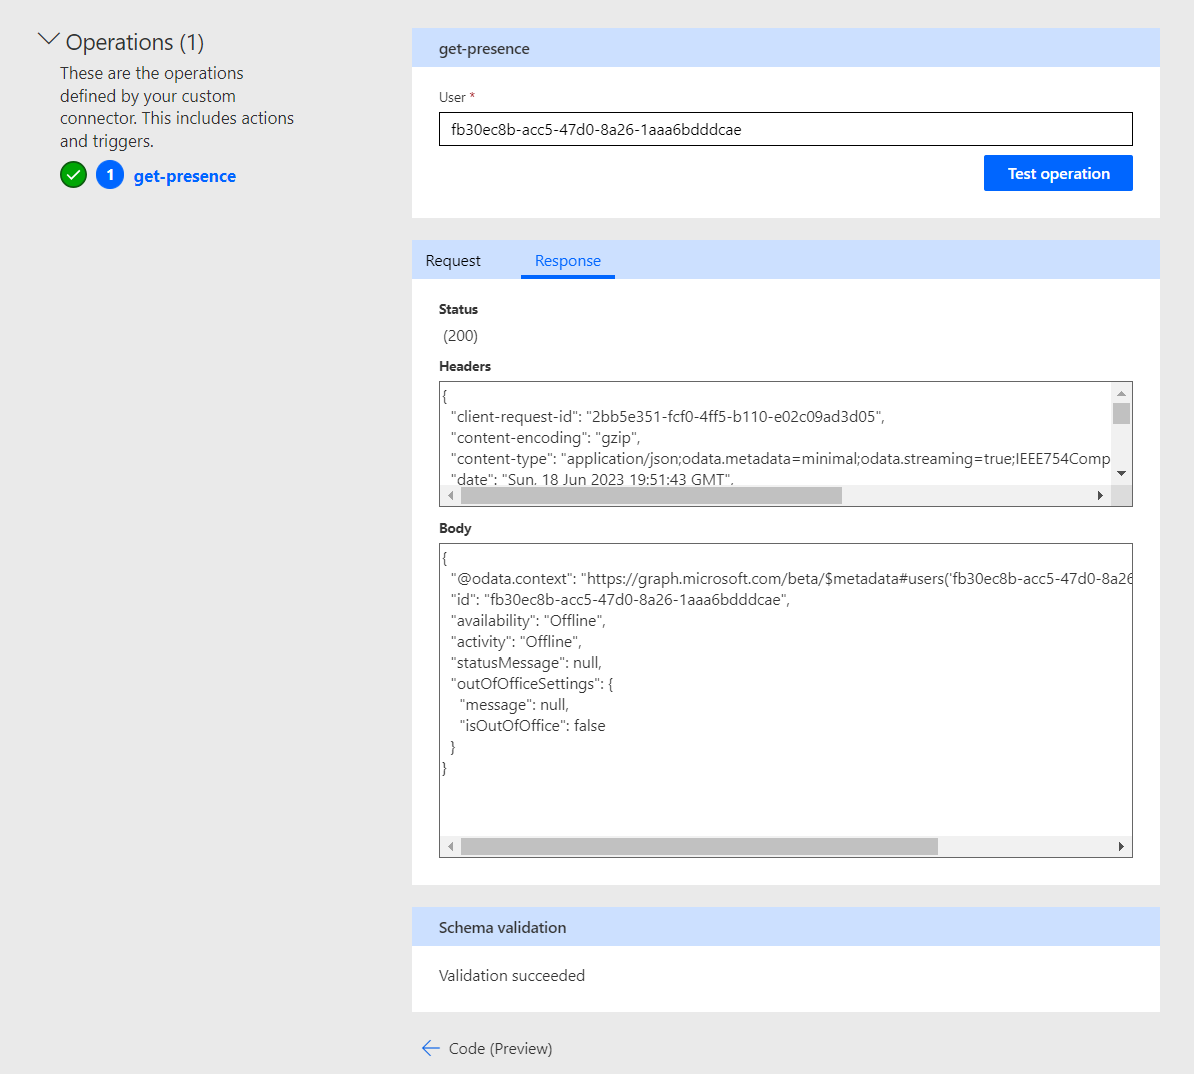
You can now select save custom connector and head to the test area.
Select new connection to create a connection for your connector. Then supply a user ID from Azure AD to the User input on your get-presence operation and select Test operation.
I’ve tested my operation and I can see that I’m getting back a response from Microsoft Graph which is giving me information about the individuals availability through presence.
Overview
So in this post, we built a custom connector, using best practices, to interact with Microsoft Graph and retrieve presence information for a person. In my next post in this sub-series to my wider series on working with Microsoft Graph and contextual data when building with low code, we will use the custom connector we have built to display presence information for our clinicians in the app we created yesterday. That will leave us almost done.
At the end of this series I will make some GUI enhancements to the application I have built during this series, ensure accessibility requirements are met, and then this solution will become available on my GitHub for you to check out and test in your own environments! There will also be a model driven app for configuring the skills against clinicians.
Remember if you’re enjoying this series on working with Microsoft Graph and contextual data when building with low code to deliver solutions with better user experience and more impact points, make sure you subscribe to my blog to get the next posts in this series directly in your inbox!
Subscribe