One of my favourite features in Copilot Studio is the ability to use Azure AI Search as a knowledge source, enabling developers and makers to build AI agents using an enterprise ready AI search service, without a single line of code needed to build a custom agent ready user experience or web application.
When working with organisations around Copilot agents, its more often than not that I come across requirements that end up solutioned with Azure AI Search in the mix. Copilot Studio has a number of knowledge sources out-of-the-box which facilitate RAG (retrieval augmented generation), however the heavily promoted 1500+ connectors in the Power Platform I find are a little better utilised for task scenarios or very particular data retrieval scenarios, as opposed to for achieving grounded responses from an AI agent. We also have a few new capabilities in the mix now since Microsoft Build and the last couple of months of developments from Microsoft including the ability to use the Model Context Protocol in Copilot Studio. Stay tuned for upcoming content from me on using some of these new capabilities including things like multi-agent orchestration.
In this post, we'll focus on building Copilot Studio agents with Azure AI Search as a knowledge source to facilitate RAG, including mapped citations to an original data source such as a custom system or application.
A scenario
I'm going to build a Corporate Benefits assistant for the purposes of this guide. We'll build an agent that employees can use to understand the benefits they have at Contoso Electronics. We're going to use some sample data on health plans available for colleagues from the Microsoft repository here. Download the .pdf files within the health plans folder.

Storing the files
To begin with, we'll start in Azure. In a resource group, if you don't have one already, create a storage account. You'll use blob storage to store the files you want your agent to reason over. You might already have this if you're building an agent to reason over content in a custom application. Azure storage may already be your backend.
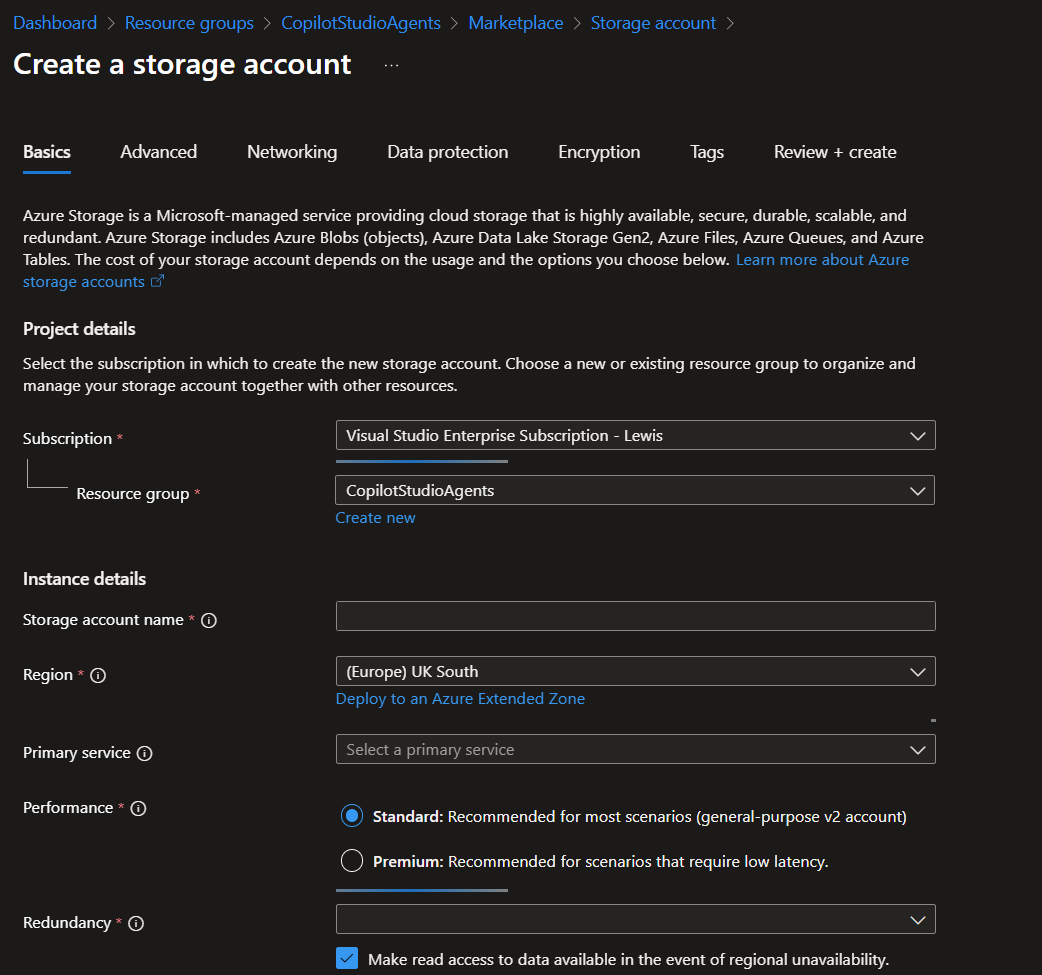
Once you've created the storage account you can either use the storage explorer in the Azure portal for the next steps, or other tools such as the desktop storage explorer or API for example. Create a container within Blob containers and call it health-plans.
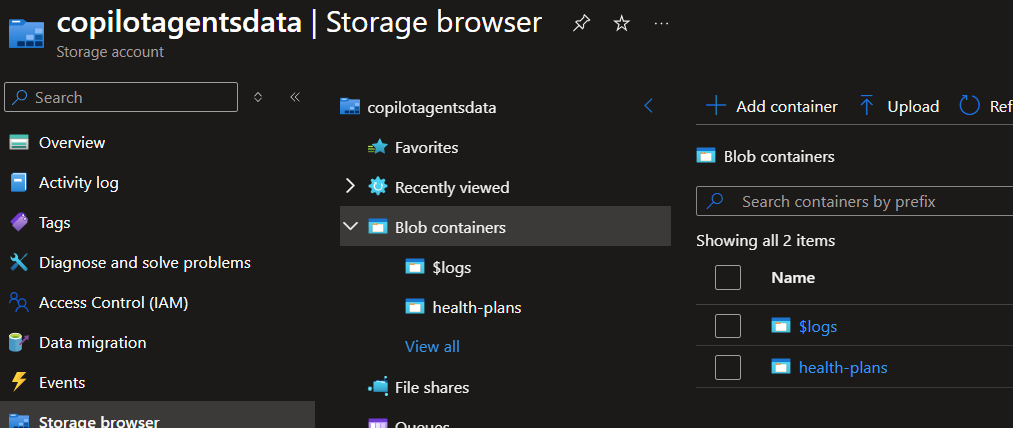
Then, inside the container, upload the PDF files but do not include the .pdf extension. You can rename the files you upload if you need to.
Adding the citation links to the files
The next thing to do is add metadata to the files for the citation. This should be a URL to the actual location of the file you want to point the citation to, or the interface the file will be displayed in from a user perspective.
You can see in this example, I have added a sourceUrl property to the file, and I've added a SharePoint link to the corresponding file in a document library. We might not use SharePoint commonly here, given Copilot Studio has a SharePoint knowledge source, but you might do this in a pro-dev scenario, or you may use a different platform that you'd point your citations to.

Creating the search index
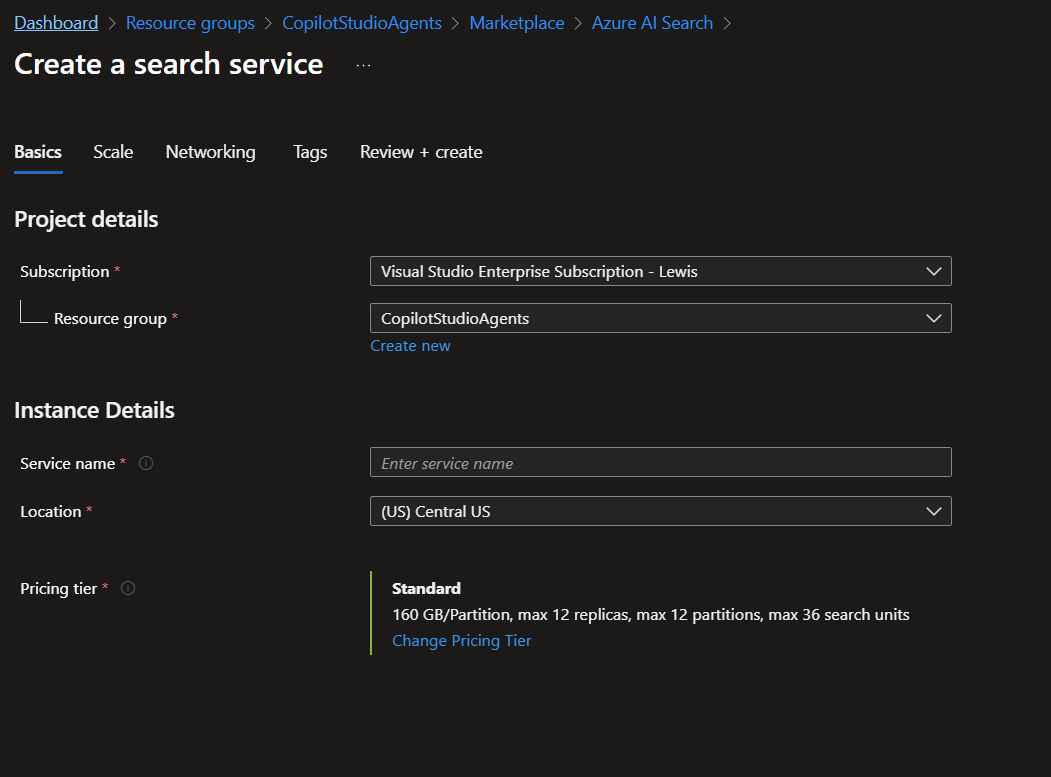
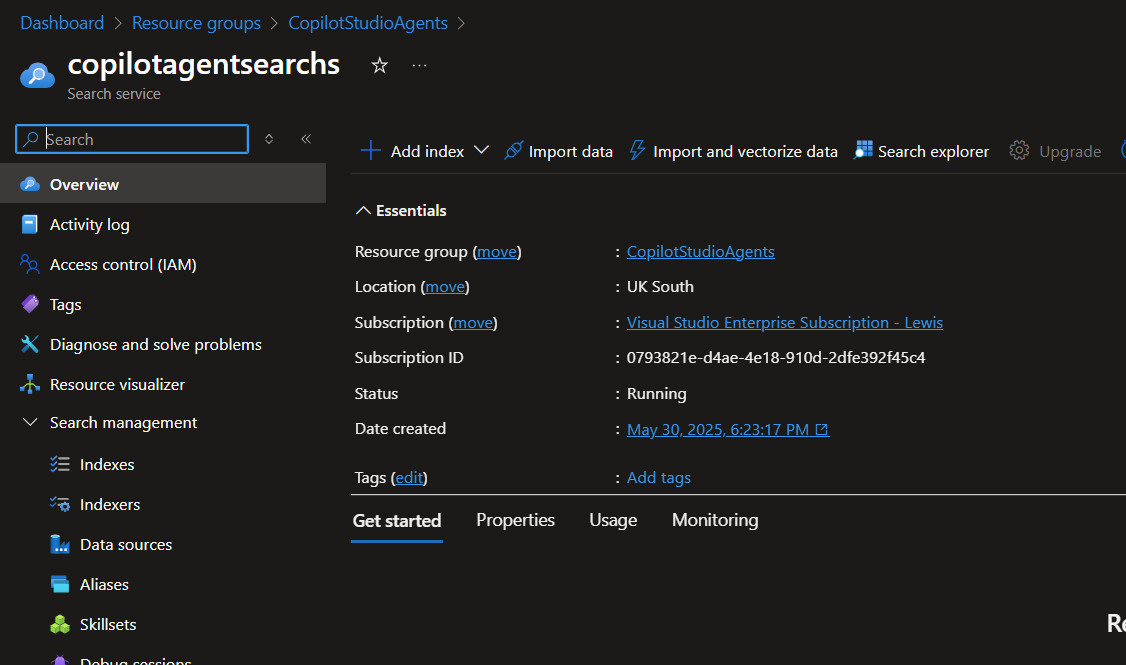
Next we can create a vector index within a deployed Azure AI Search instance. If you haven't got an instance deployed yet, you can create one in the same way you deployed a storage account in a suitable resource group.
Within the search service, select import and vectorise data to get started. Then select the data source relevant to your scenario. If you're following these steps exactly then select Azure Blob Storage.
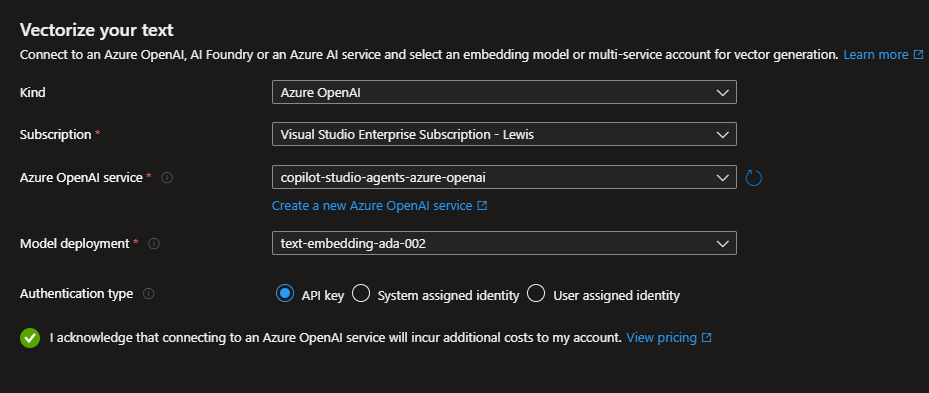
Then within the setup, select RAG and proceed with configuring the data connection by selecting your storage account and blob container. Next you'll need to connect to an embedding model for vector generation.
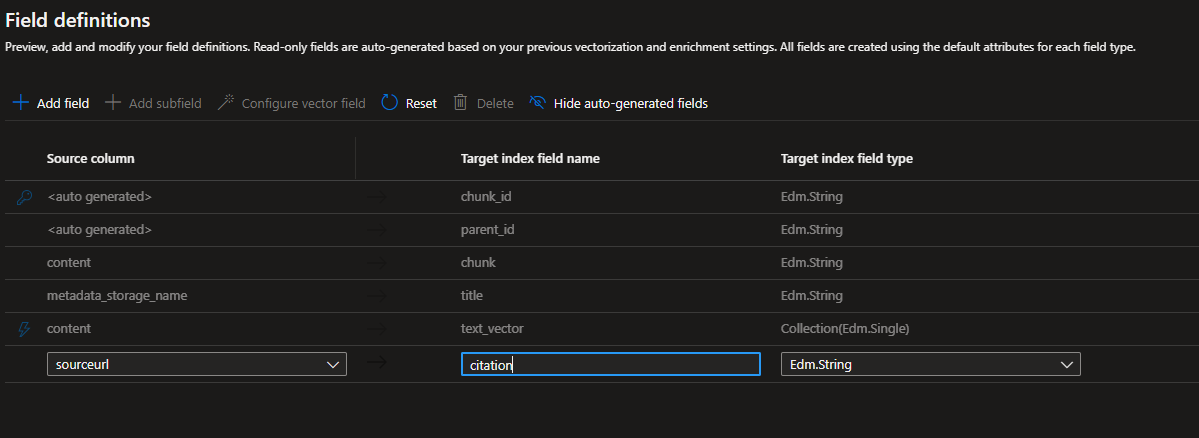
On the next page, I didn't select to vectorise images or extract text from them as these aren't relevant to my use case. Now you need to select preview and edit under 'Index fields' to map metadata. This is what controls the mapping of the citation.
I'm adding a new field and setting the source column as sourceUrl, and then I'm going to call the target index field name 'citation'. Copilot Studio will either use the metadata_storage_path field when it is included in an index, or it will interpret whichever field contains a complete URL link as the citation. I only have one field including a full URL, so I can call it anything.
Testing it out
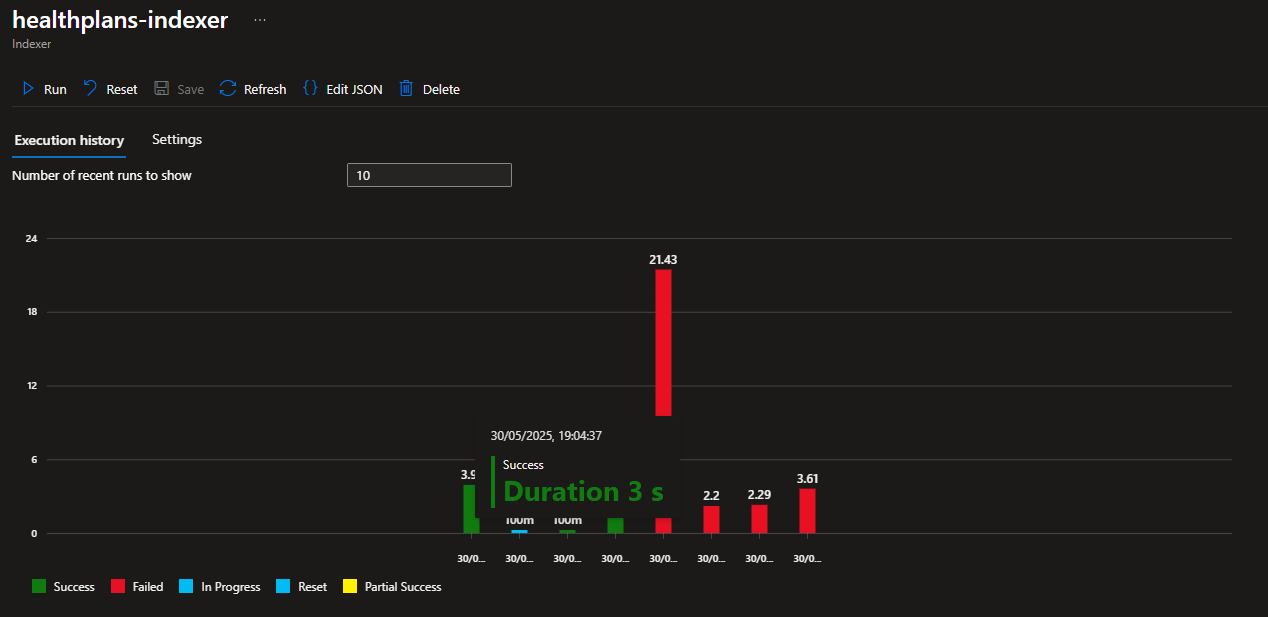
Now, make sure the indexer you created by following the process of importing and vectorising data has successfully run. This will be what results in you having a populated index.
We can also step into the created index under 'Indexes' and execute some search queries to observe whether the appropriate citation is returned somewhere in the response.
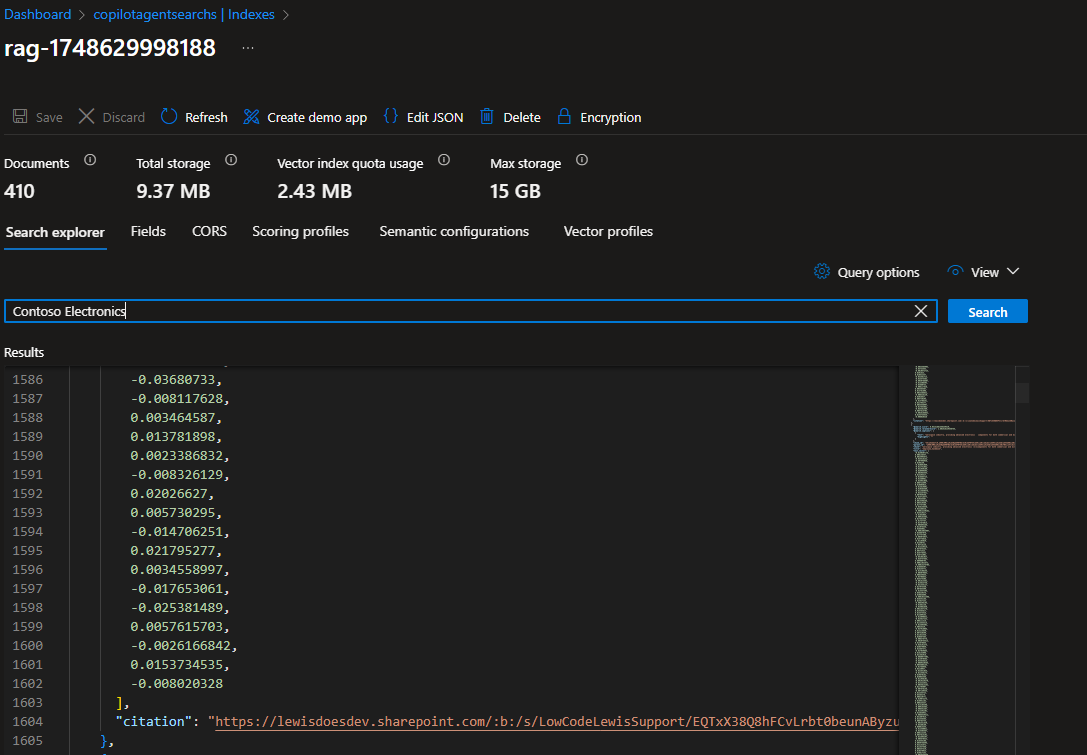
As you can see above, we have my citation returned pointing to SharePoint.
Creating the Copilot Studio agent
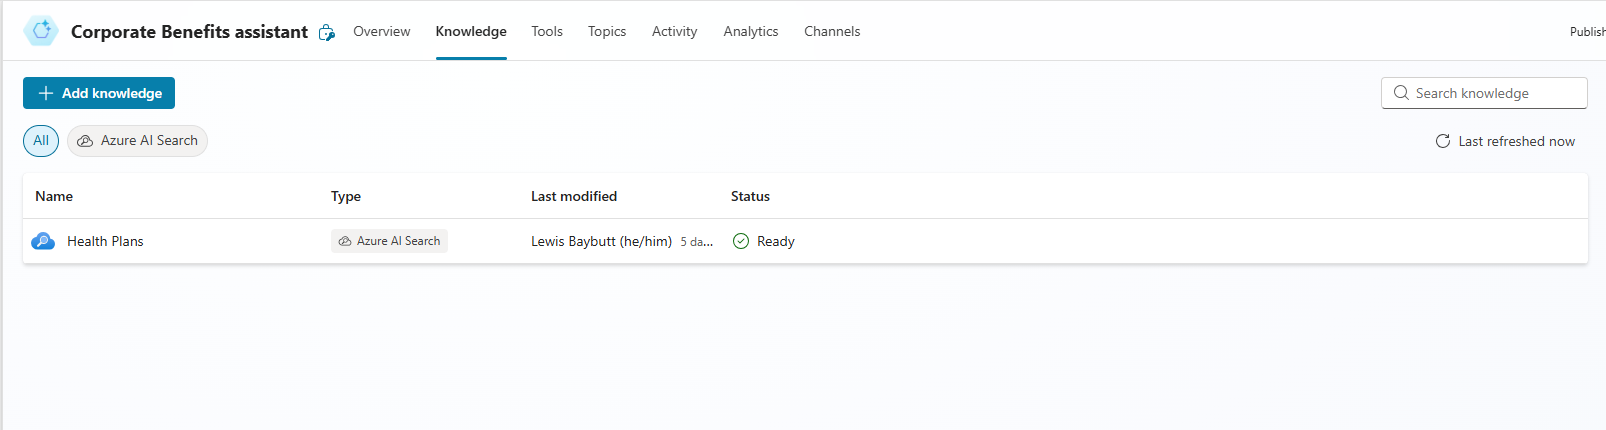
Next, I'm going to move to Copilot Studio, and I'll create a custom engine agent that uses my Azure AI Search index as a knowledge source.
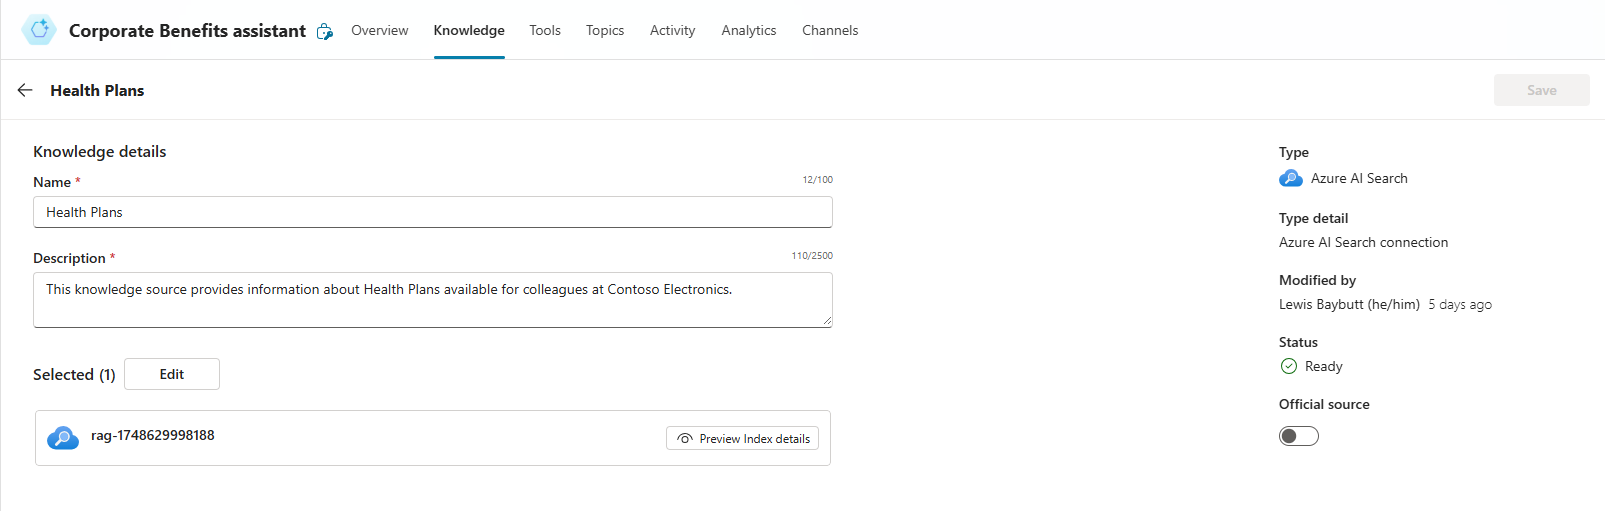
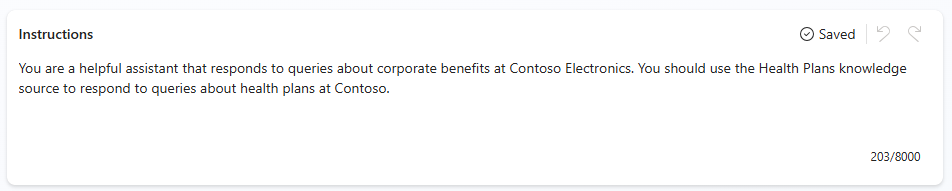
I've added my knowledge source and very simply selected my index. Now I'll add simple instructions guiding the agent to use the knowledge source in relevant scenarios. I've also added a description to the knowledge source which uses natural language to explain what is contained within the data source.
Testing some prompts
The final test is to prompt the agent and observe whether our citations point to files in SharePoint, despite us not having a SharePoint knowledge source configured. I've added the Copilot and Teams channel to my agent, and we'll test it out in Microsoft 365 Copilot Chat.
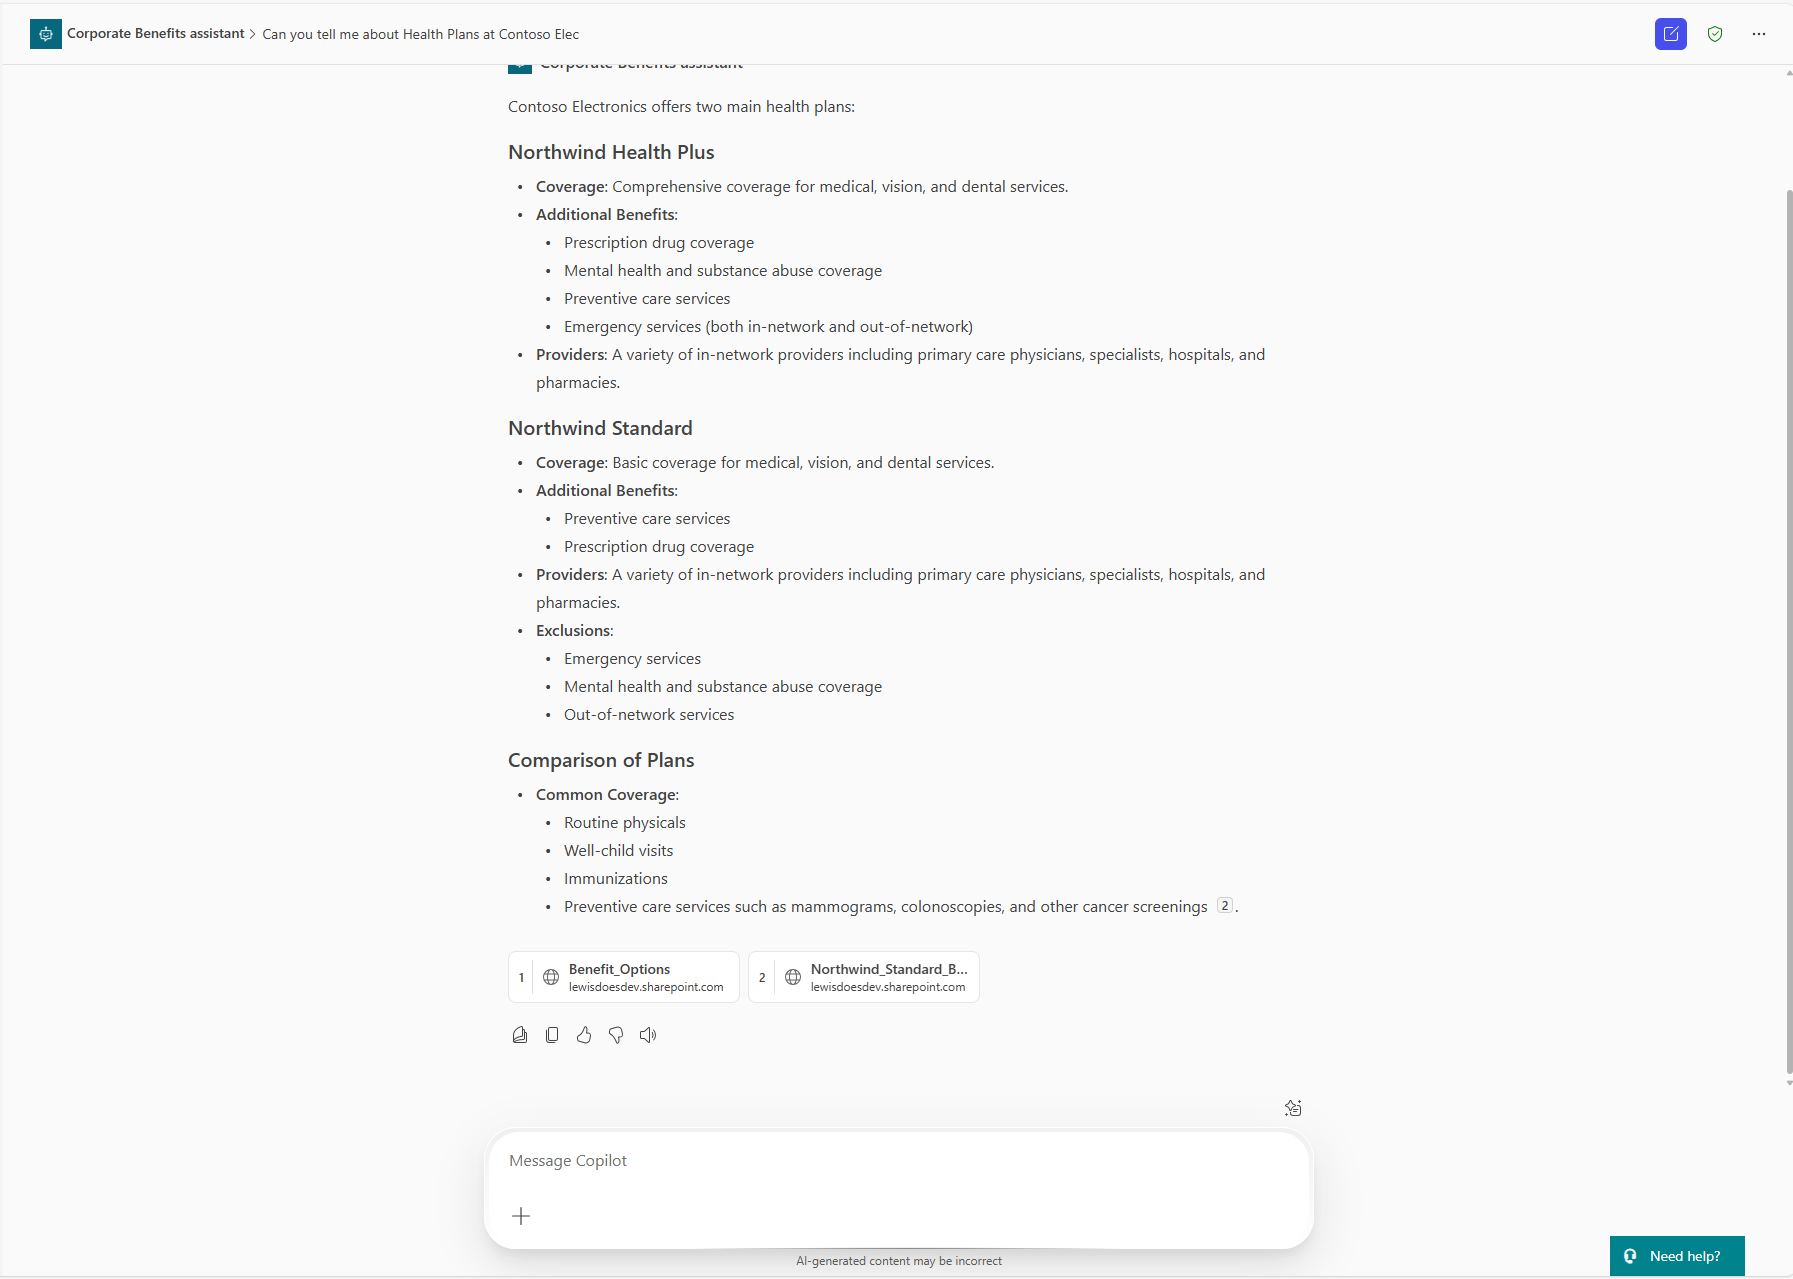
As you can see above, we have a comprehensive response from our Copilot agent, and it is citing the relevant documents with clickable references to their original source in SharePoint. And to confirm, we have no SharePoint knowledge source configured in Copilot Studio:
Did you find this helpful?
If you have any questions surrounding this topic drop a comment in the section at the bottom of this post. If you found this helpful, subscribe for my regular content on agentic AI in the Microsoft ecosystem.