

Welcome back ALM friends! 👋 In this post we’re going to take a look at how to build a release pipeline for deploying our Power Platform solutions from our published artifacts to various target environments we may have that we need to deploy to as managed.
First we’ll add an additional step to our export pipeline which we built in yesterday’s post, and then we’ll work to create our release pipeline.
In tomorrow’s post we’ll take a look at using a deployment setting JSON file to update connection references and environment variable values on import of a solution. For the solution I am importing to my environment, for the first time my secret environment variable must be populated, so we will need to work on this before being able to run the release pipeline. Make sure you’re subscribed to my blog to get a notification of tomorrow’s post directly in your inbox to continue building our deployment pipelines! 📩
SubscribePublish artifacts in the export / commit pipeline
So the first thing we need to do is head back to the pipeline we built in yesterday’s post, and add an additional task to our agent job.
The additional task you’ll need to add is the publish artifact task.
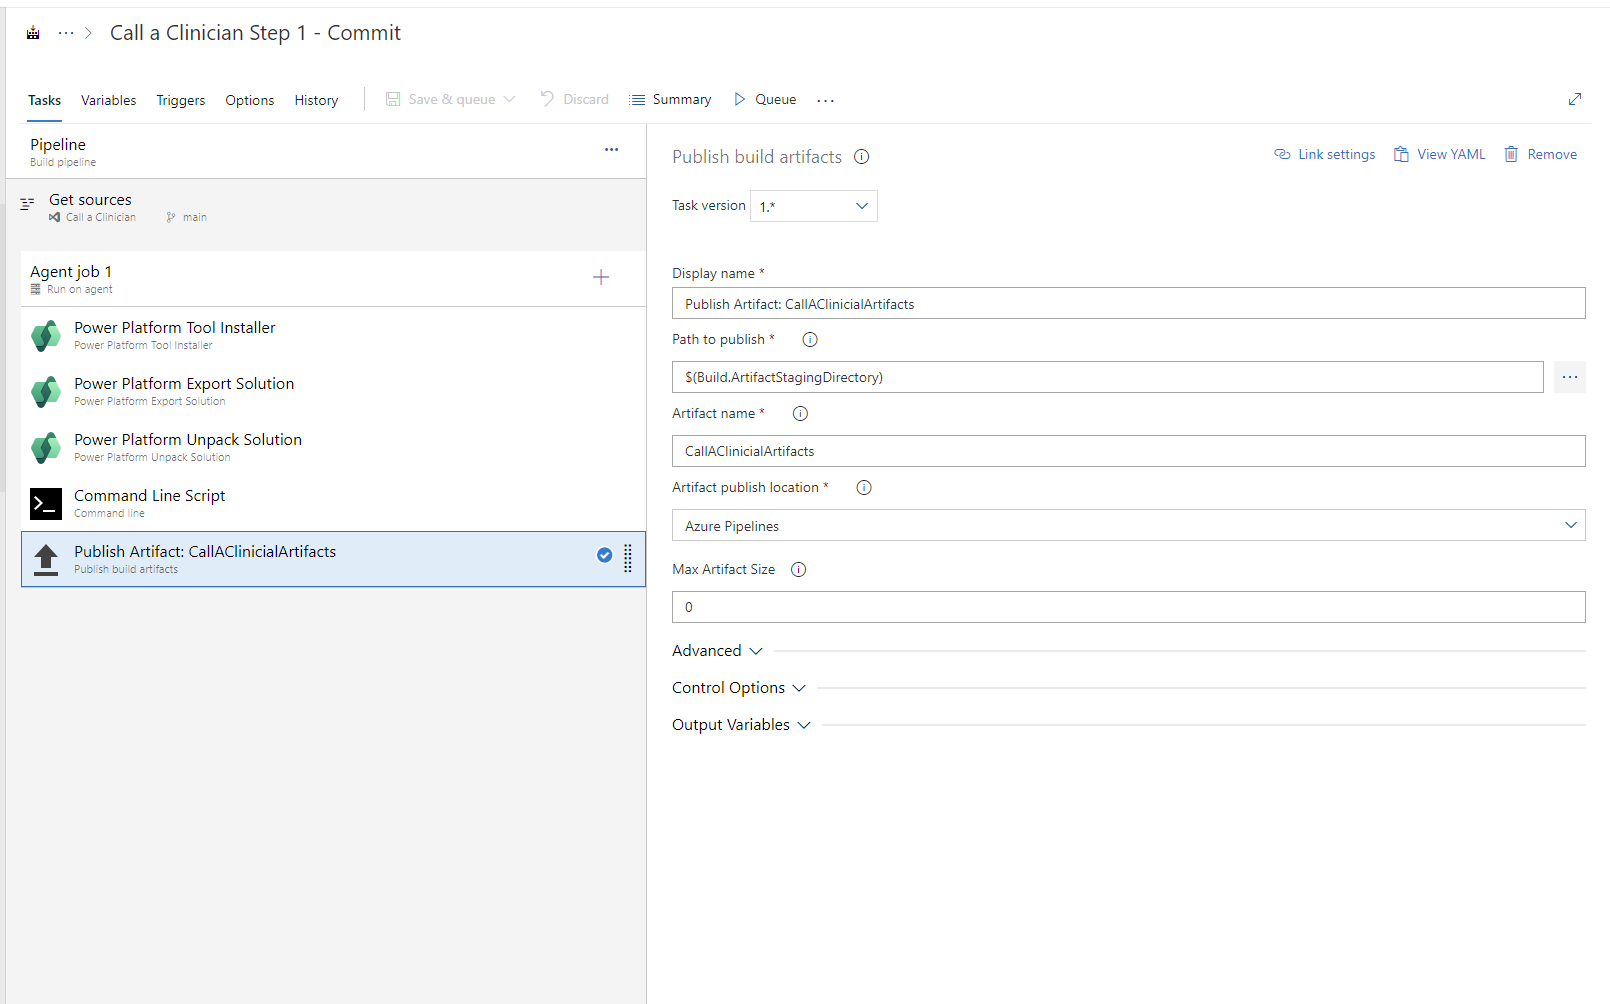
Within the task you’ve added, set the Path to publish as…
$(Build.ArtifactStagingDirectory)
Then set the artifact name to something that makes sense and is relevant to your solution. I’m using CallAClinicianArtifacts.
Now we can start to work on our release pipeline which will take the solution we’ve published as our build artifacts and it will import our solution from there into the different environments we reference in each stage of the release.
Building the release pipeline
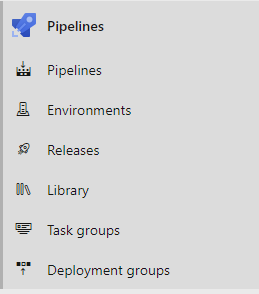
So now let’s head over to releases in Azure Pipelines…
Start by creating a new release pipeline.

In the artifact, for the source field, select our build pipeline we’ve created.
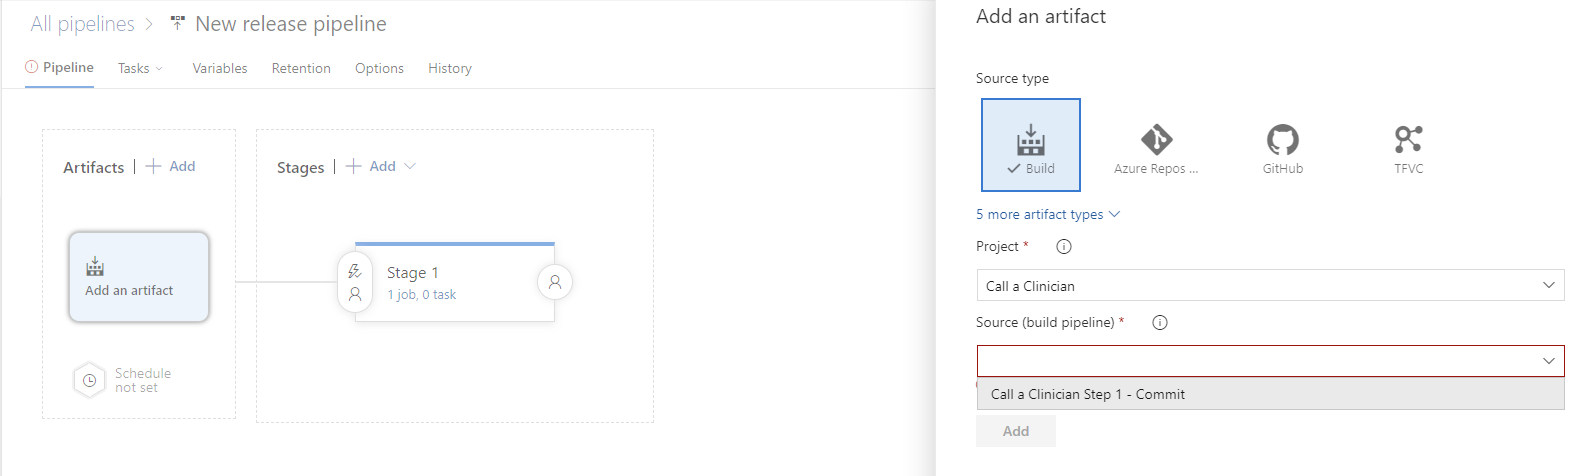
Now you can create the stages you need for the number of environments you’ll need to deploy to as part of your ALM strategy around the solution you’re building. In my case, I’ll just create a single deployment stage for now.
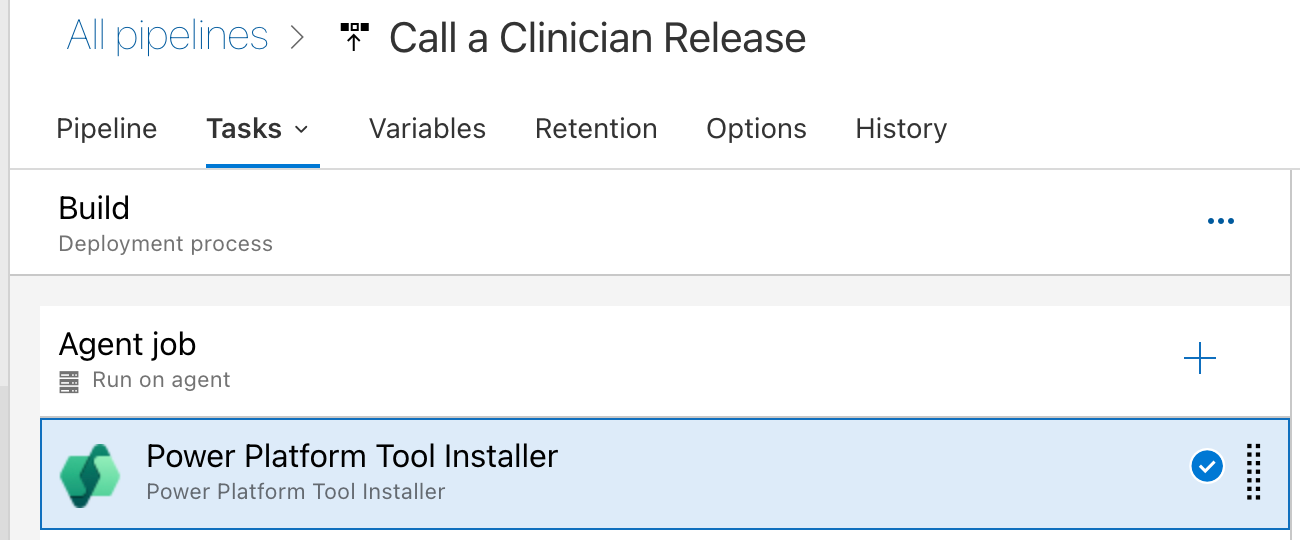
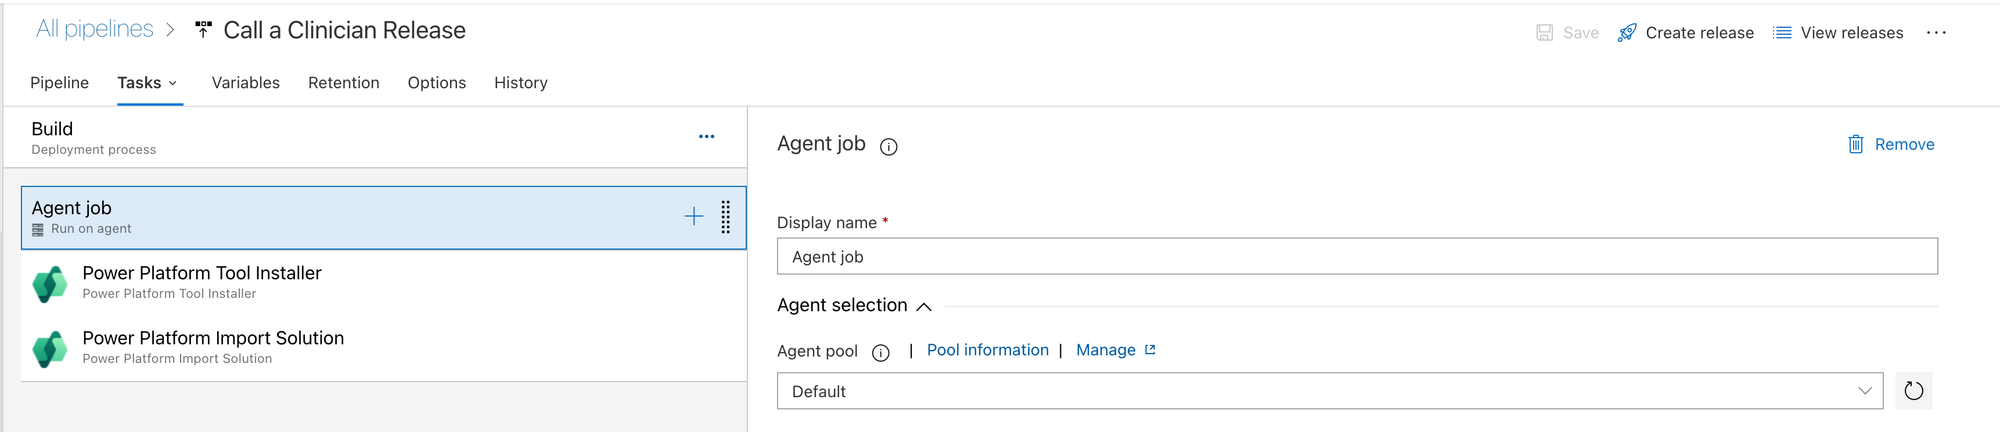
Now to add some tasks to the deployment stage, I’ll select the blue hyperlinked test currently which says “1 job, 0 task”, then we can get to work adding tasks to our agent job.
Now the first thing we’ll add is simply the Power Platform Tool Installer. Similar to with our build pipeline, there isn’t any configuration we need to do around this step.
Next we will add the Power Platform Import Solution task from the Power Platform Build Tools. This is the step that will import our solution from our published artifacts to our target environment.

In the service connection, select the connection for the target environment you’d like to deploy to in this stage. This stage really should be the closest one to development possible. Depending on your ALM strategy that might be something like a build or test environment.
If you can’t remember how to create a service connection for a new environment, bearing in mind we can’t use the same one we created for development here, make sure you check out this post from a few days ago to create another service connection for each of your target environments. You can use the same app registration in Azure for these if you like, or you can create additional ones to then create as application users in your environment.
Now in the environment URL input use the following value…
$(BuildTools.EnvironmentUrl)
Now in the solution import file input, which is where we need to provide the solution to import to the target environment, your value should be something similar to the following:
$(System.DefaultWorkingDirectory)/_Call a Clinician Step 1 – Commit/CallAClinicialArtifacts/CallaClinician.zip
Following the first forward slash, provide the name of your build pipeline, then following the next forward slash provide the name of the artifact you gave in the build pipeline, then provide the solution name and add .zip on the end.
And this is all there is to the steps we need to add to the stage for now. You can add additional stages with the same steps but to push to different environments, but I’ll stick to a release pipeline with just one stage for now.
Remember, if you reference the $(SolutionName) variable in your release pipeline, ensure you add this to this new pipeline, as it won’t just fetch from the build pipeline.

Once you’ve done all of that, save your release pipeline and give it a go! The only other change I’ve made which might not be so relevant to you is to set the agent pool of the job to default which has my self-hosted agent ready to run the job.
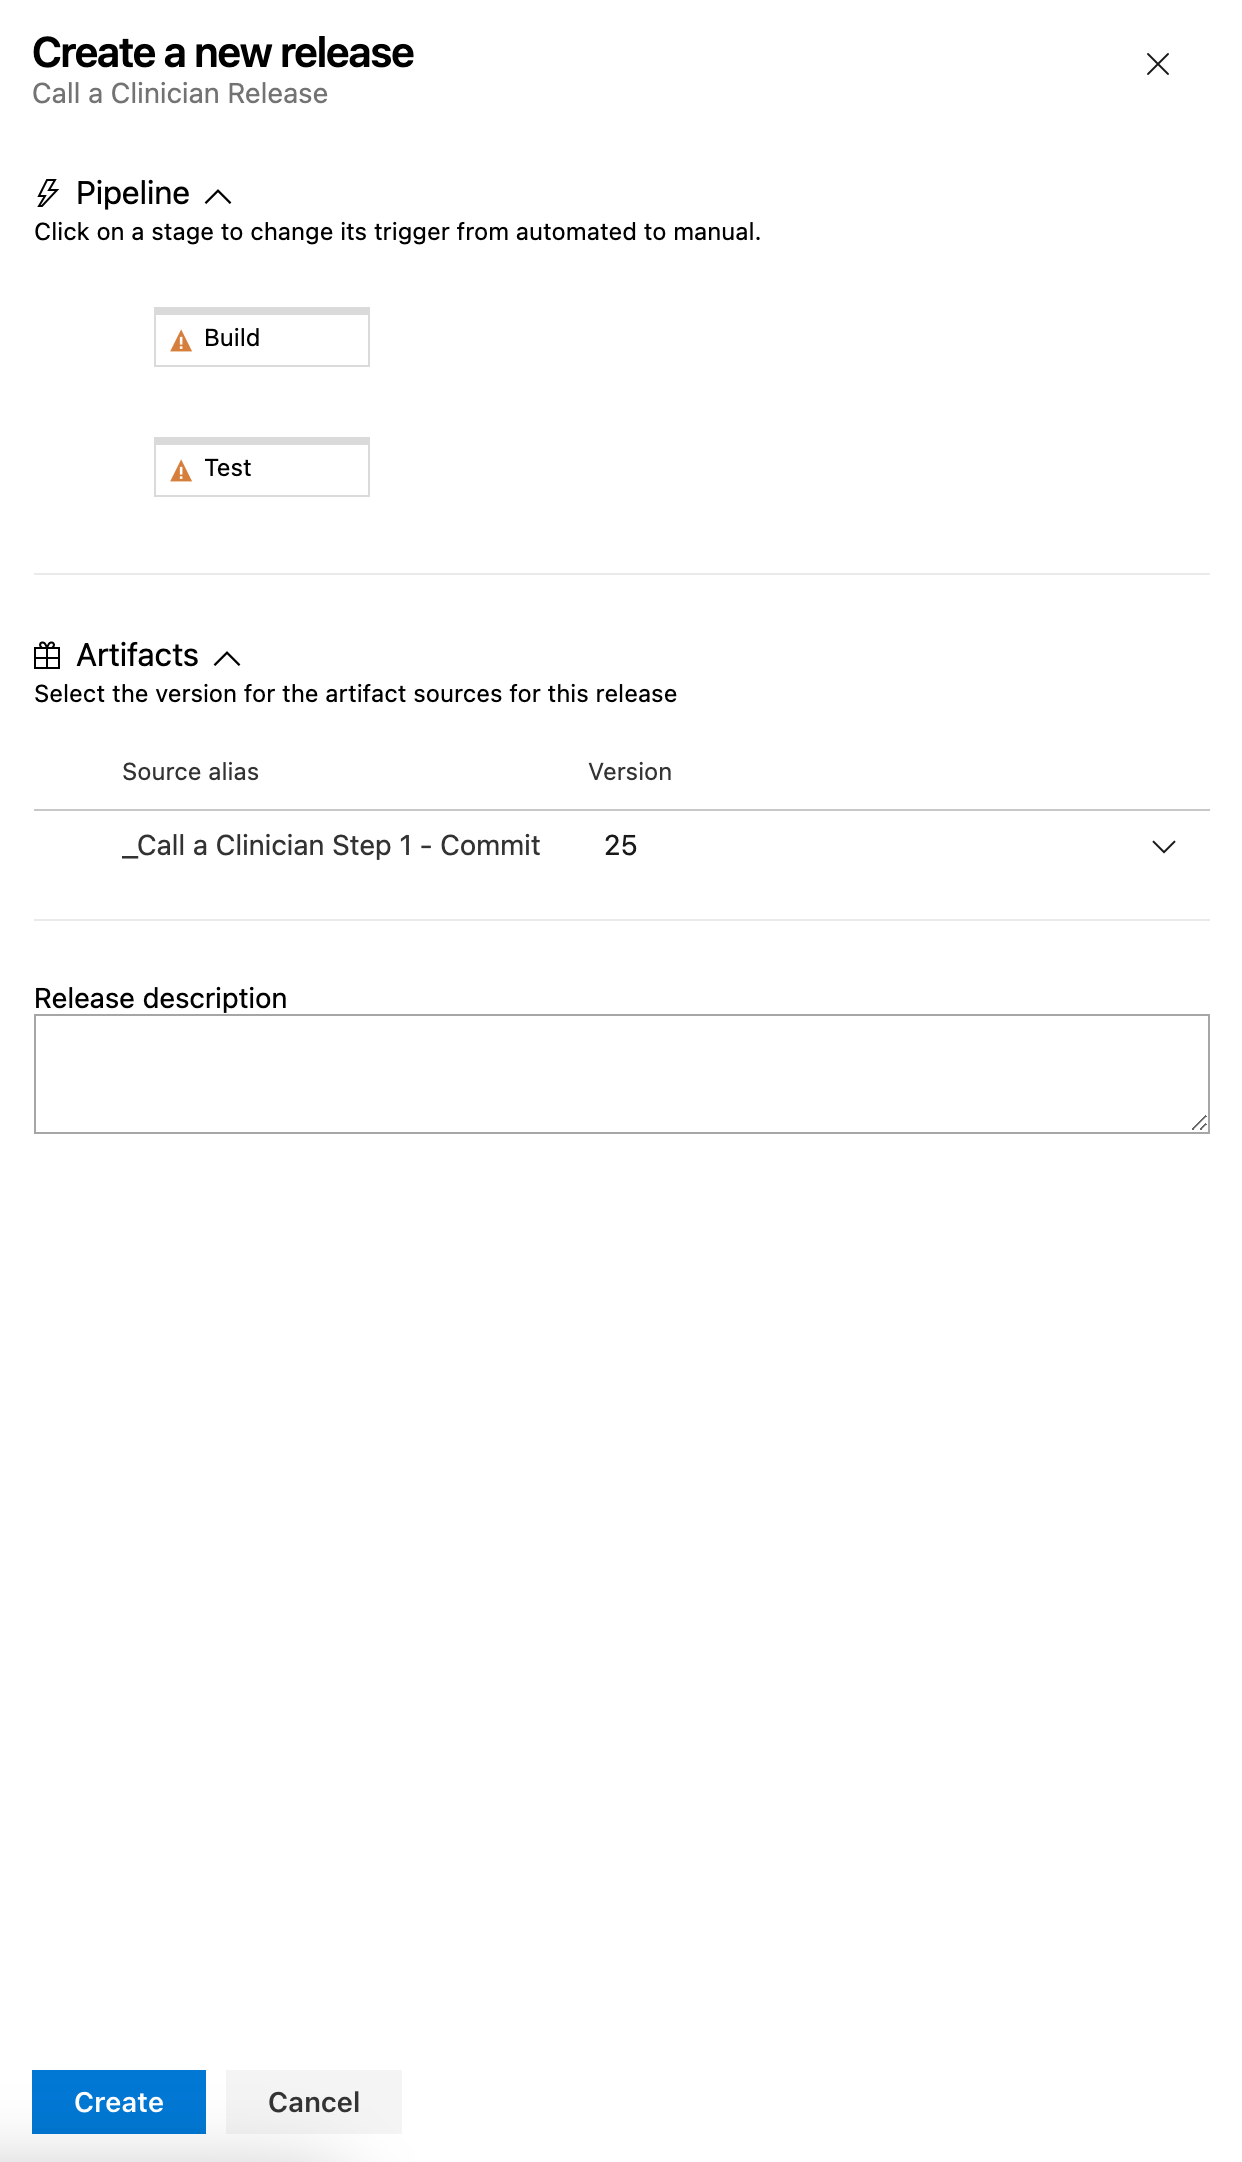
Now to create a release and run a deployment, click create release on your release pipeline.

Then click create.
Now open the release and select deploy against the stage you want to deploy to the environment referenced within that stage.
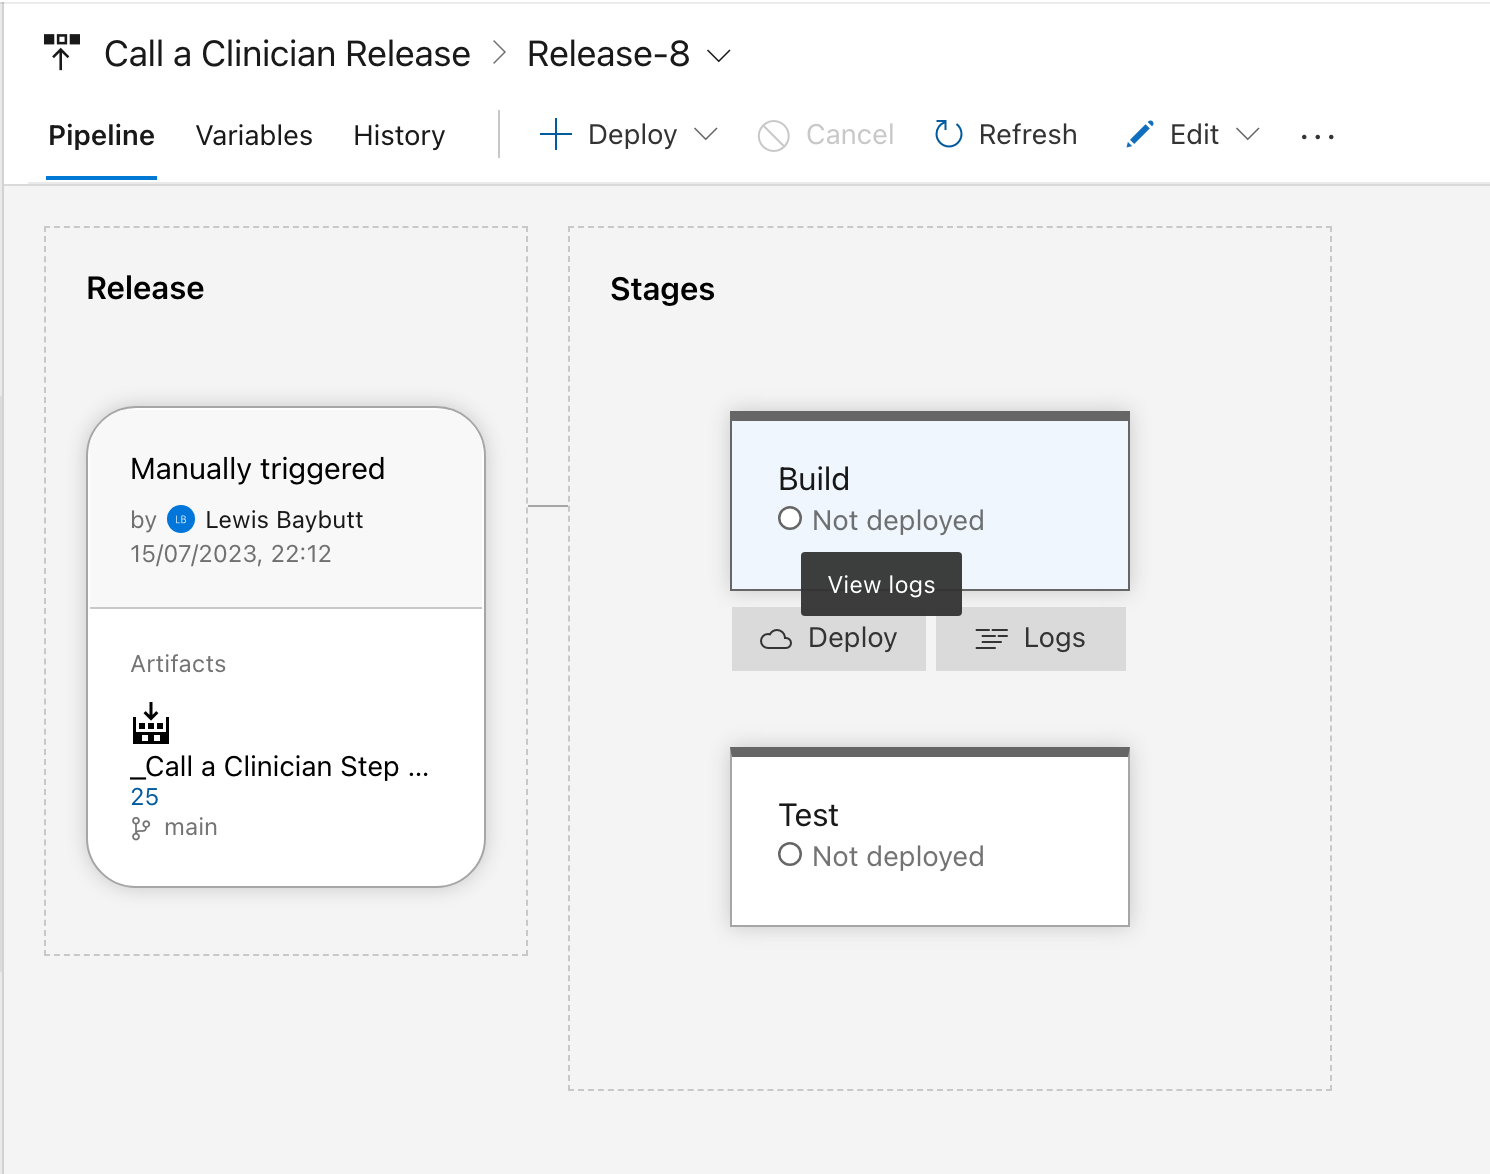
Finally select deploy and your release pipeline will begin to run for the specified stage.
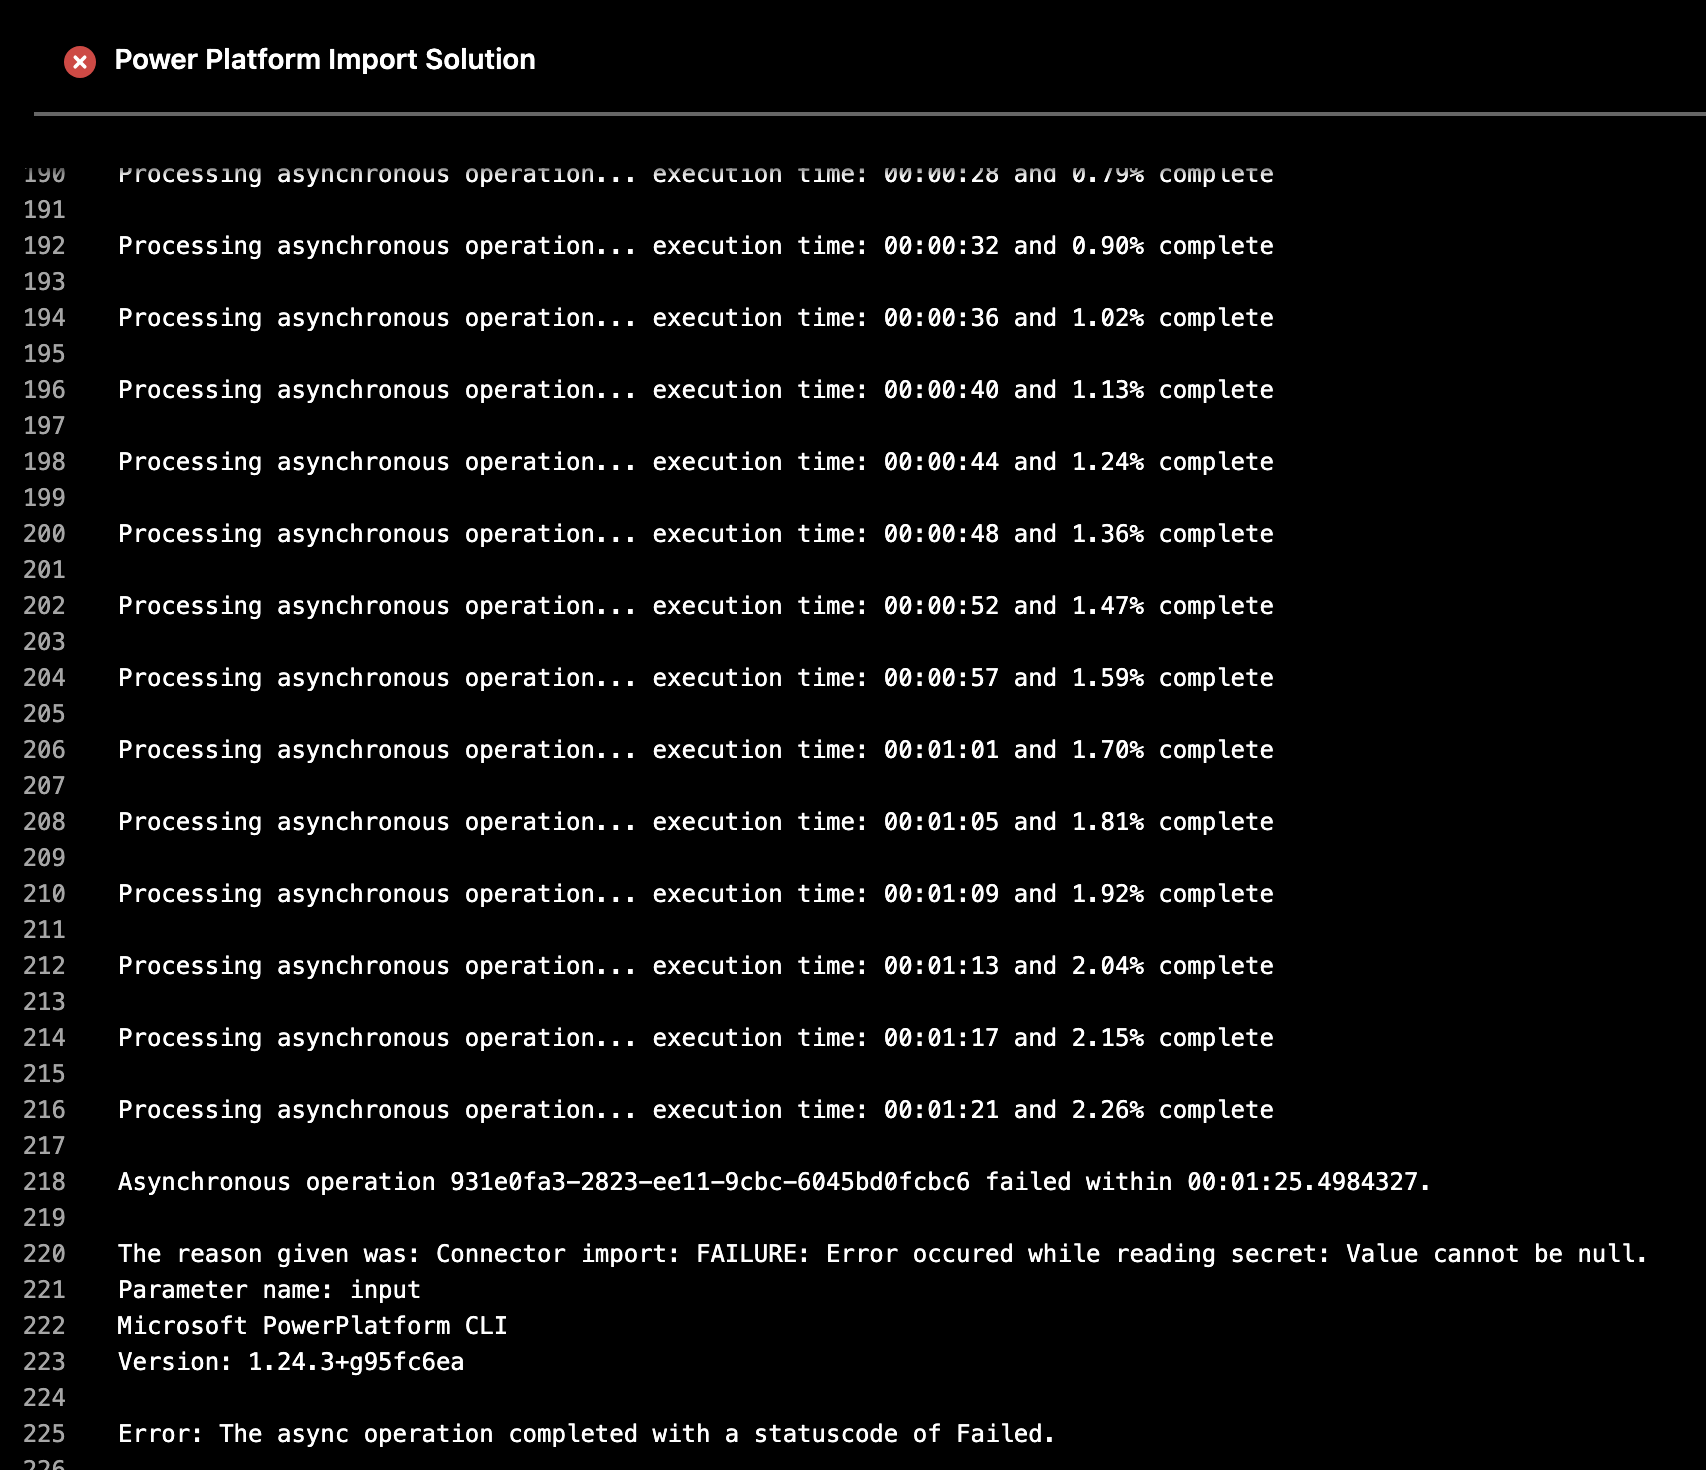
Now when I ran my release pipeline I expected the error which I’ve had returned below. The solution I’m working with contains an environment variable of type secret which has an empty value in development ready to populate it when it gets to my target environment. The problem here is that environment variables of type secret require a value when importing the solution into an environment. They cannot be left blank and populated later.
Upcoming Content
So, you might be wondering what I can do here… Well in tomorrow’s blog post, we’re going to take a look at how you can use a deployment settings file to update connection references and environment variable values when deploying to target environments using release pipelines.
So! … Make sure you’re subscribed to my blog so you this post lands directly in your inbox as soon as it goes live tomorrow! 📩
Subscribe