

Hello ALM fan friends! 👋 At least I hope you’re ALM fans… because I have a pretty cool upcoming couple of posts starting with this one where we’ll be building Azure DevOps pipelines that support the automation of Power Platform deployments using the Power Platform Build Tools!
In this mini-series, as part of my wider current series on the Power Platform Developer Tools, we’ll look at how to build pipelines which support an ALM scenario which includes pushing our solution code to a repository, publishing our artifacts and making them ready to then deploy using a release pipeline.
In this first post, we’ll build the pipeline that can take the part of the solution we’ve worked on in our development environment and push it to our source control repository.
Connecting to development
First we need to work on getting a connection setup to our development environment so we can take the solutions we’ve built in dev and push them into our git source control repository. I’m using Azure Repos in this example, but Power Platform also supports using GitHub which we’ll look at in a future post.
If you need help creating your service connection between Azure DevOps and your Power Platform environment, check out my post from yesterday where I discussed this.
Building the first pipeline
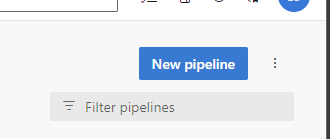
So now, lets get to work building the first pipeline. In our DevOps project let’s head to Pipelines in the left hand navigation, then select New pipeline.
First we’ll create a variable in our pipeline that we’ll reference later for our solution name.
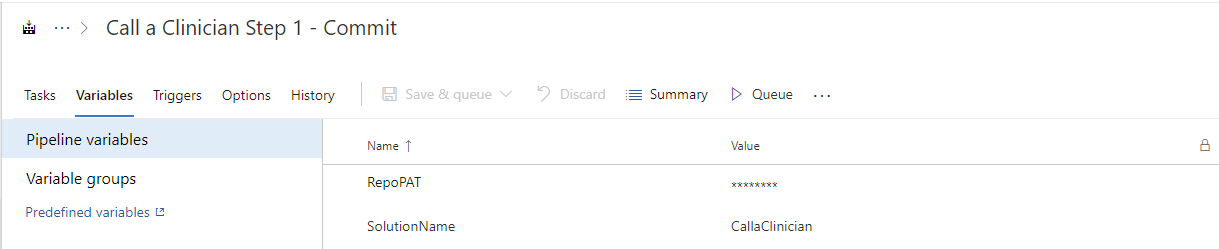
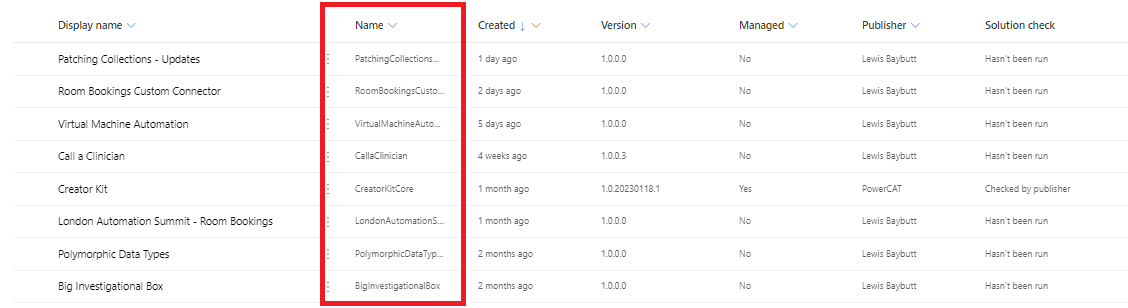
Here I’ve created a variable called ‘SolutionName’ and the value I’ve given it is the solution I want to export from my development environment. You’ll need to use the internal name of the solution not the display name.
Now, lets head to the tasks tab of our pipeline and start adding some things in here. First we’ll add one of the Power Platform Build Tools tasks to our agent job. We will start by adding the ‘Power Platform Tool Installer’ task.

We simply need to add this task. There isn’t any configuration on the task itself to do.
Next, let’s add the ‘Power Platform Export Solution’ task.
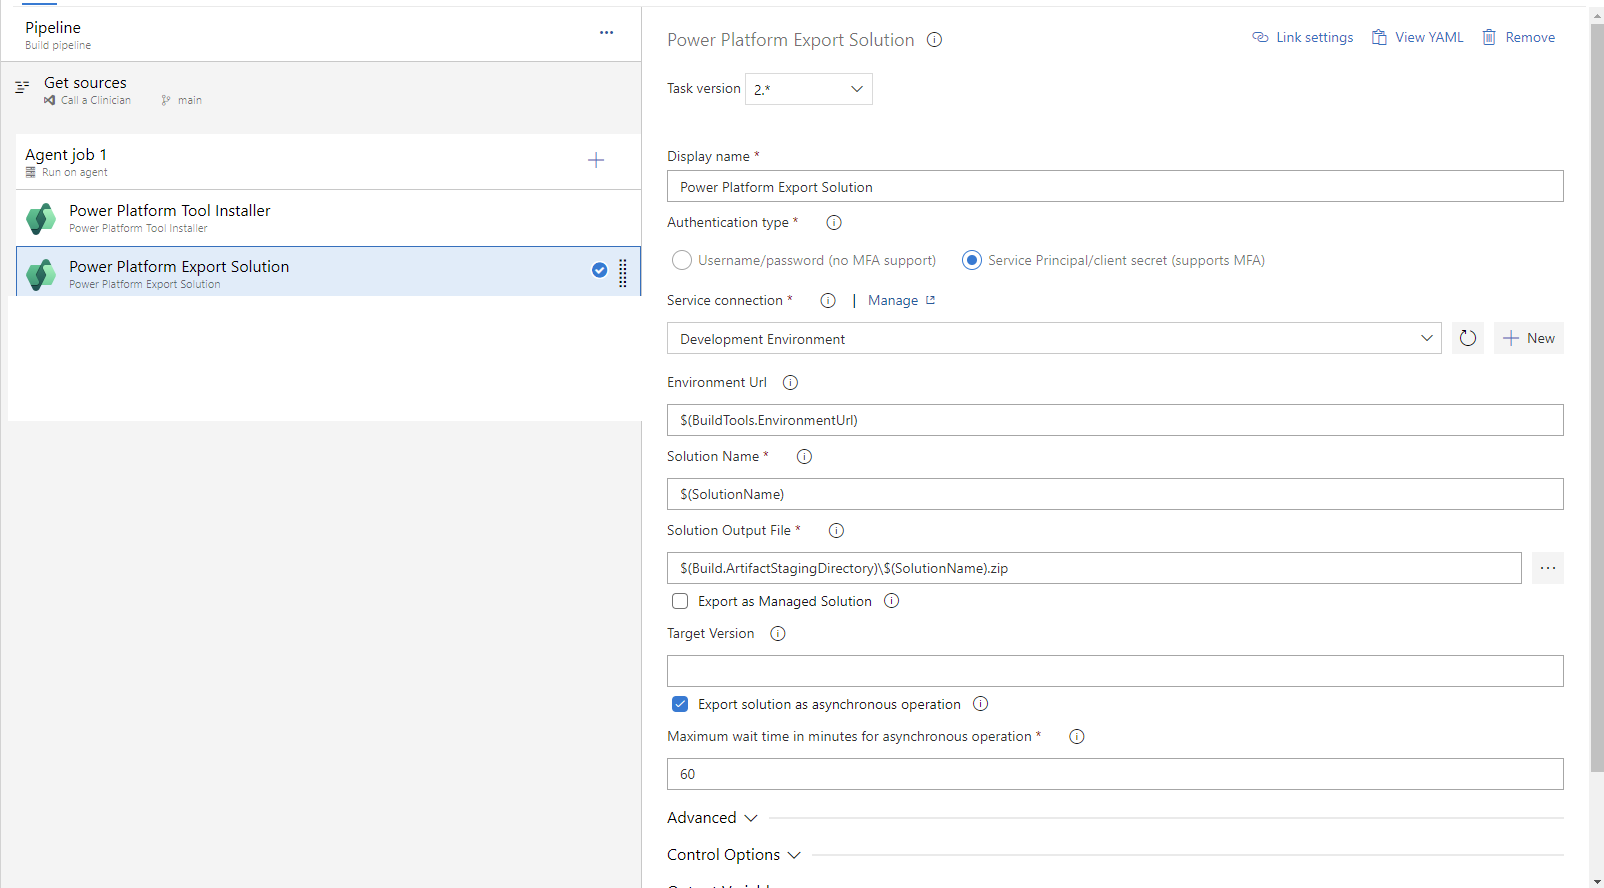
On this step, we need to set the authentication type to service principal. Then select the service connection we created a few days ago in this post, referenced further up in this post too! You need to follow this post linked below before you continue here…
An introduction to the Power Platform Build Tools in Azure DevOps – Low Code Lewis
Then we will set the environment Url with the following value…
$(BuildTools.EnvironmentUrl)
We will set the solution name with the variable we created in our pipeline at the start.
$(SolutionName)
And finally we will set the Solution Output File as the following.
$(Build.ArtifactStagingDirectory)\$(SolutionName).zip
Next, let’s add the ‘Power Platform Unpack Solution’ to our agent job.
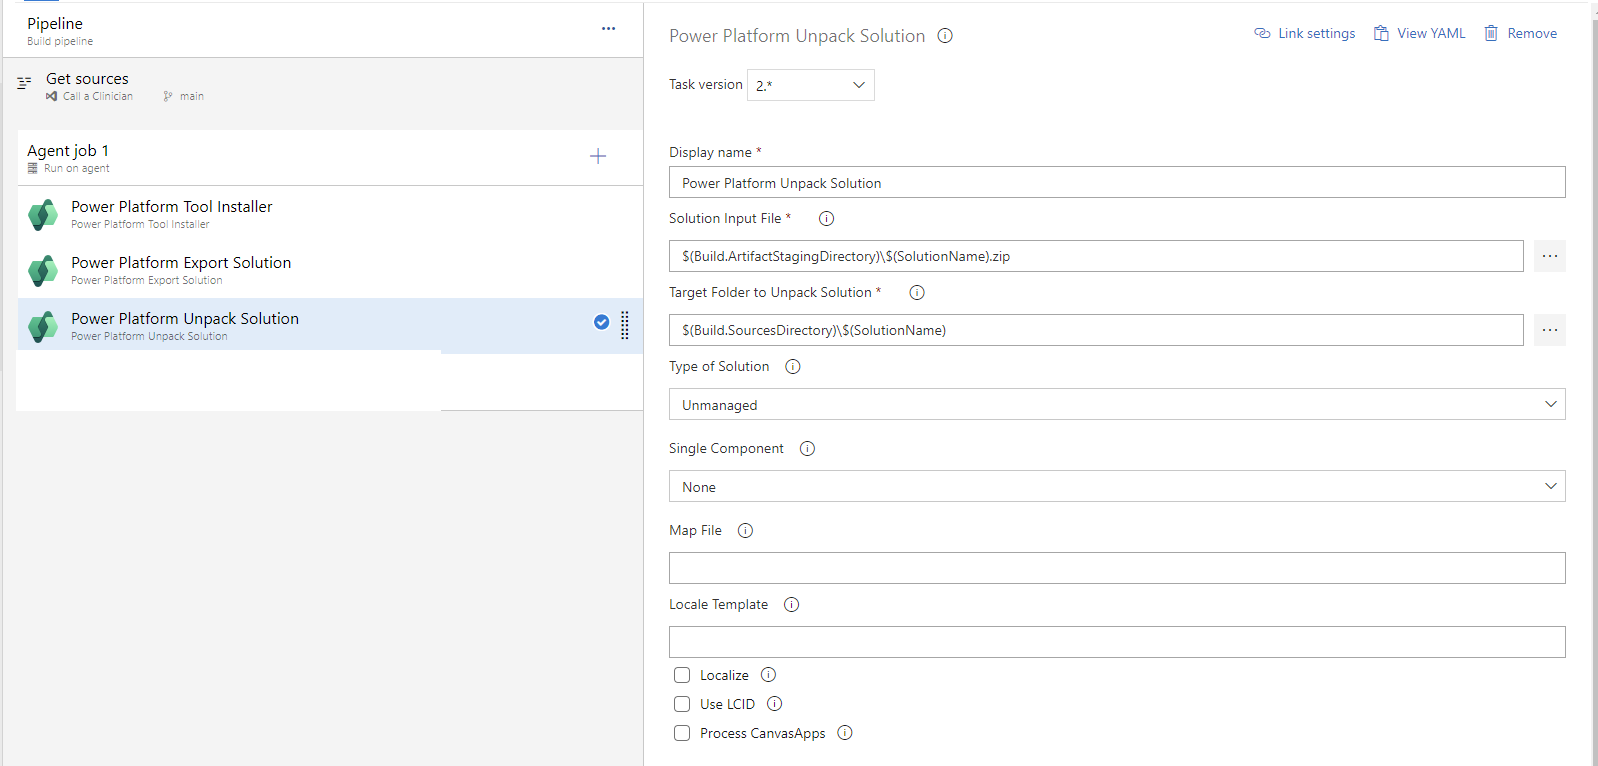
Now, set the Solution Input File to the same thing we set the export solution output file to:
$(Build.ArtifactStagingDirectory)\$(SolutionName).zip
Next set the ‘target folder to unpack solution’ input with the following:
$(Build.SourcesDirectory)\$(SolutionName)
Finally, add the command line script task to the agent job…

Then in the script use the following:
echo commit all changes
git config user.email "Email"
git config user.name "Username"
git checkout main
git add --all
git commit -m "solution"
echo push code to new repo
git push --all https://PAT_From_DevOps@dev.azure.com/RepositoryURL
In the script above, replace “Email” with your email in double quotes, and do the same but with the username in “Username”
Then finally, get a personal access token from DevOps under ‘User Settings’
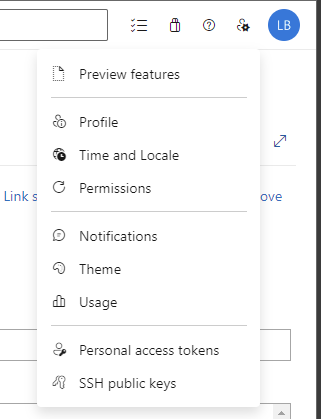
Then replace PAT_From_DevOps with this. You can also use a secret variable here. Then continue the URL with your repository URL.
For any spaces they’ll be escaped in the URL using %20. We need to escape the % further using %%. So every normal %20 should become %%20.
Testing the pipeline
Now let’s test out the pipeline and see what we get happen!
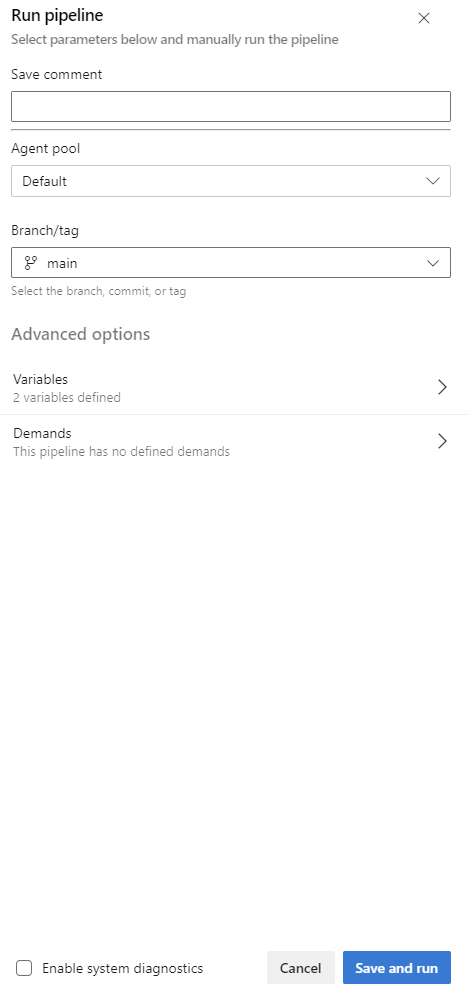
I’m going to save and queue my pipeline and run it using my self-hosted agent.
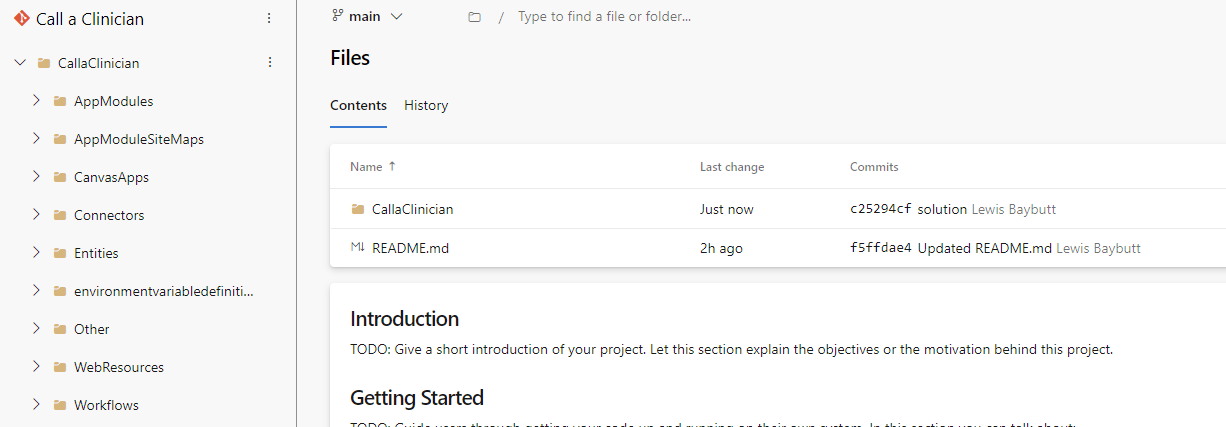
And there we go! My pipeline has run successfully…
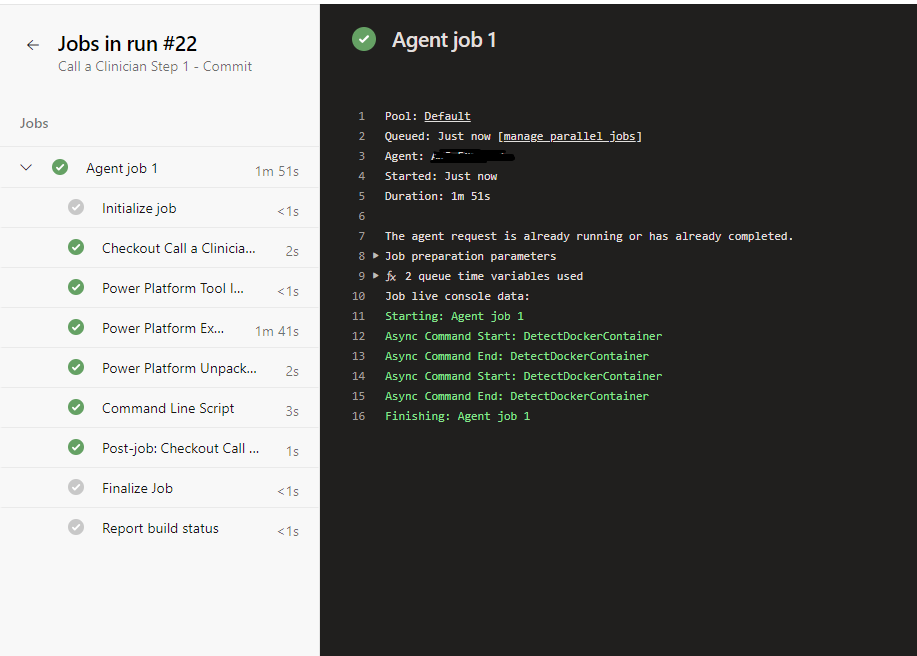
And you can see I have my solution pushed to my repository!
Upcoming Content
Liked this blog post? Well you’re in luck! I have more posts coming up in the next few days where we’ll build a few more pipelines for pushing our solution into a staging / build environment, and then to test as a managed solution!
Don’t want to miss the cool topic coming up, as part of this wider series on the Power Platform Developer Tools? Make sure you’re subscribed to my blog, to get all the latest directly in your inbox!
Subscribe