

Need to provide the people in your organisation with a super simple interface for getting hold of the content they need stored within your SharePoint intranet? Is that intranet full of button clicks and layers before people actually get hold of the content they need?
Well say goodbye to those days! Continue to read this post, to find out how to build your own organisation Copilot using the content you’ve spent years building into your SharePoint intranet sites with just a few steps!
Building a Copilot with SharePoint content
So let’s take a look at what we can do with Copilot Studio to build our own Copilot! 👀 I’m going to take a specific example here rather than building a Copilot for my entire organisations breadth of published employee content, and we’ll build a Copilot to help people with finance and HR relations.
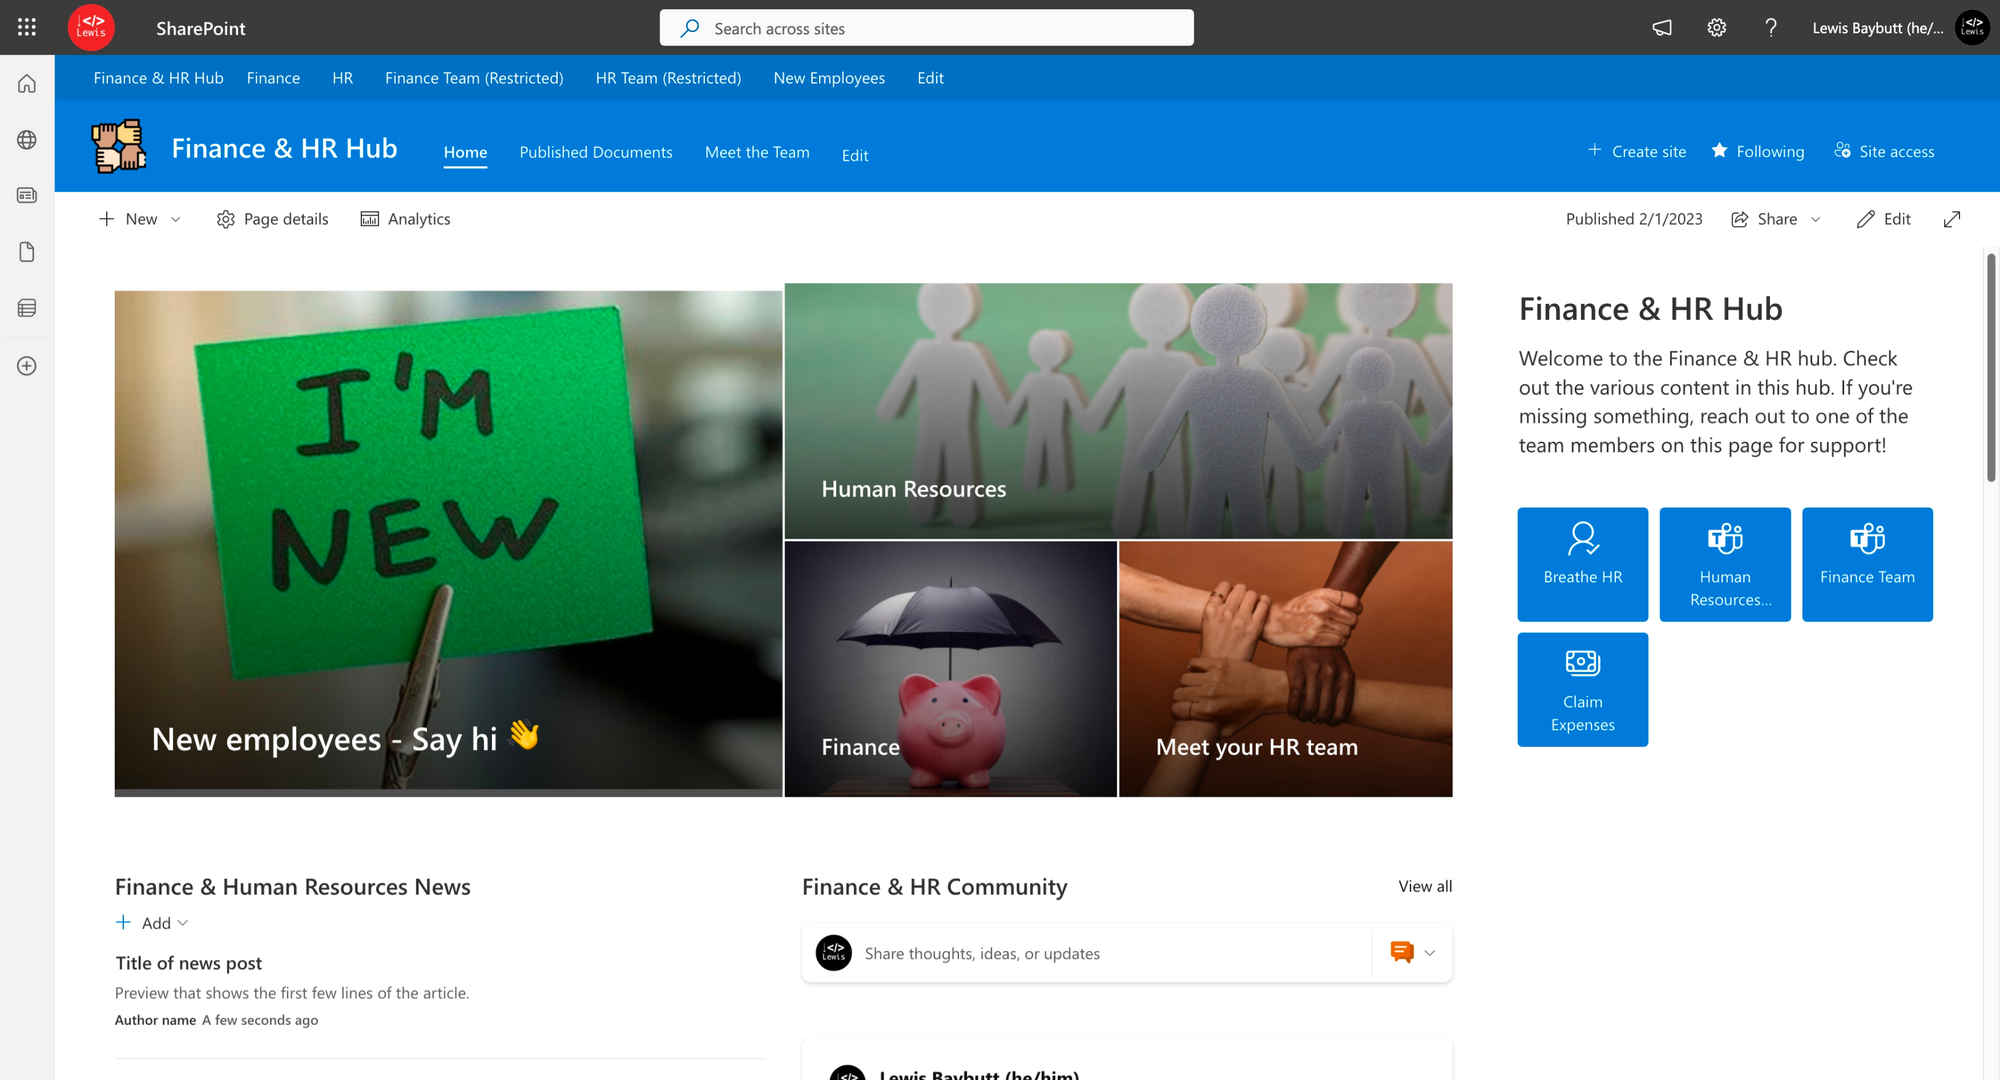
To do this, I’m going to use the content from my Finance & HR Hub site
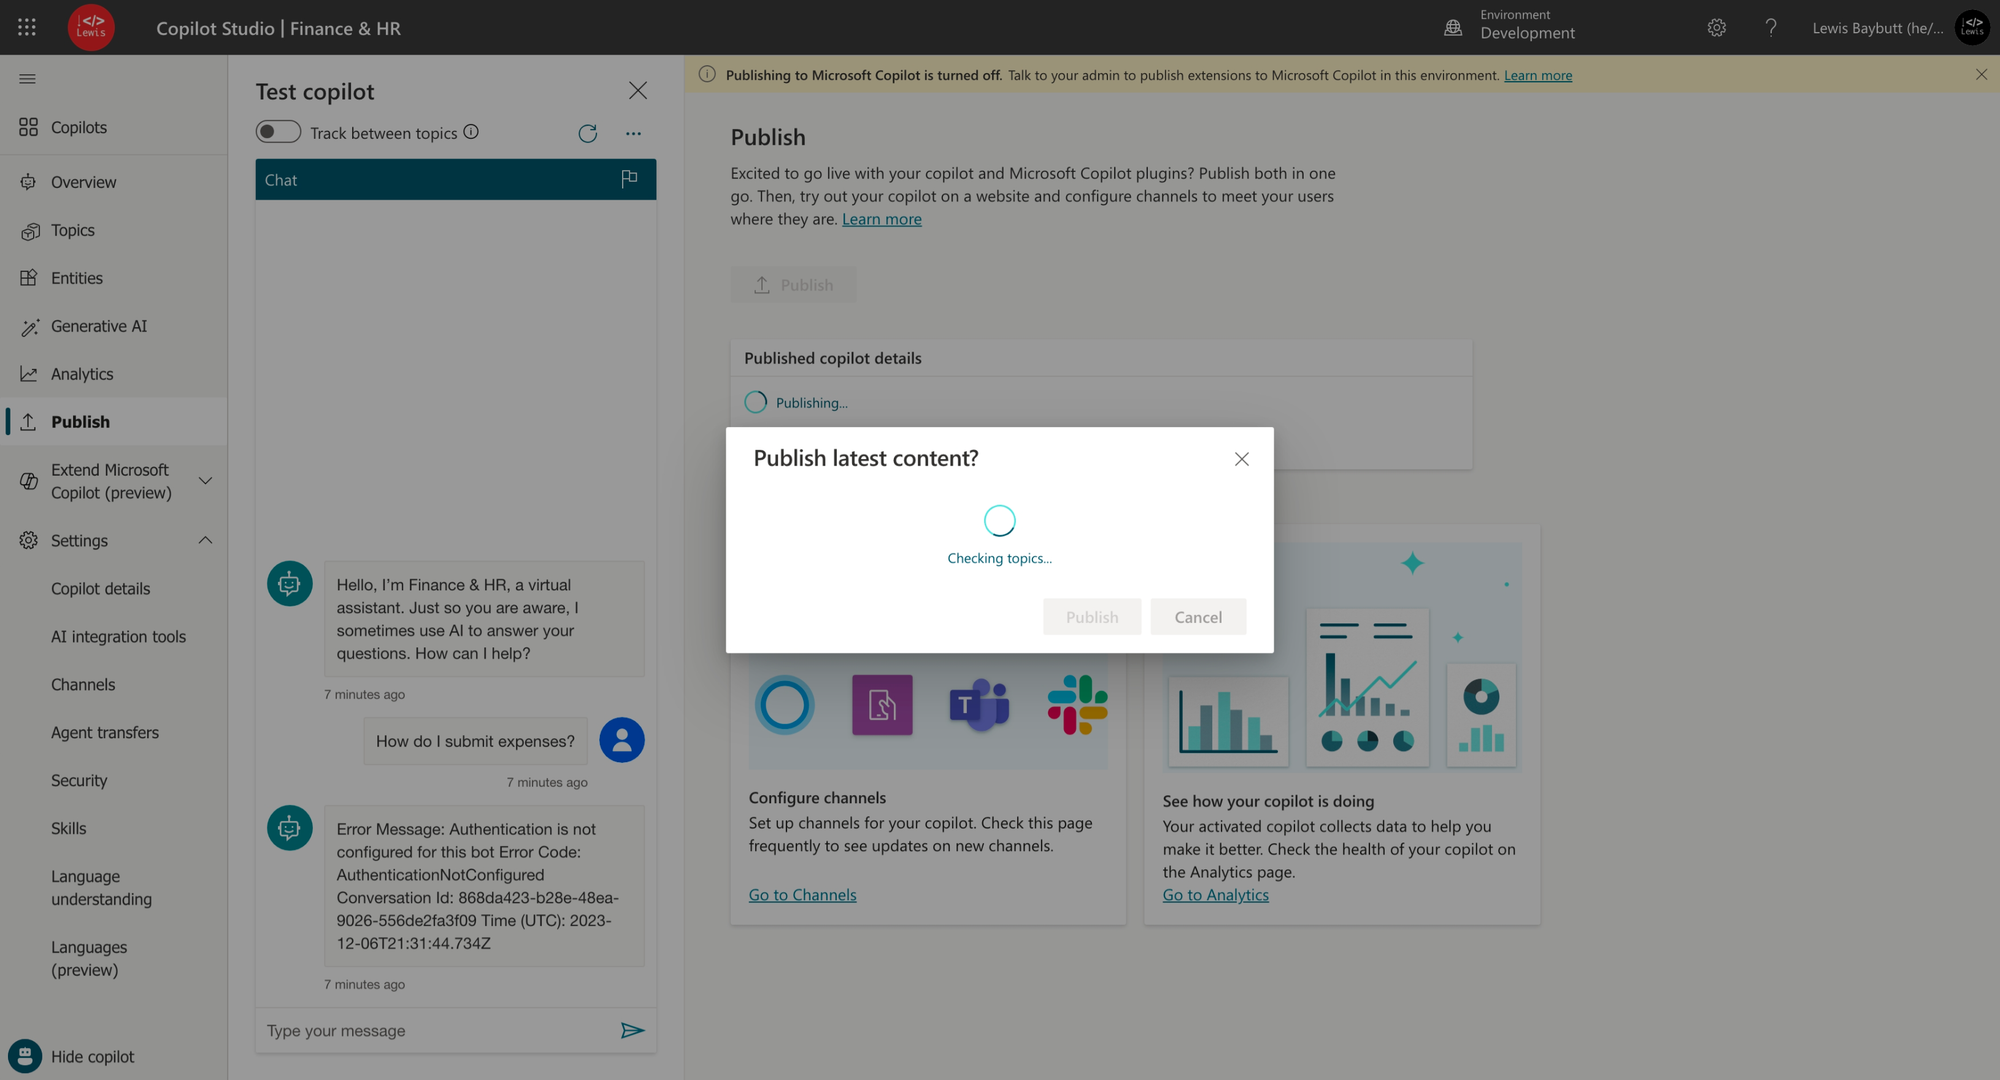
I’ll head over to Copilot Studio to build my Copilot now and I’ll just drop my SharePoint site URL into Copilot Studio!
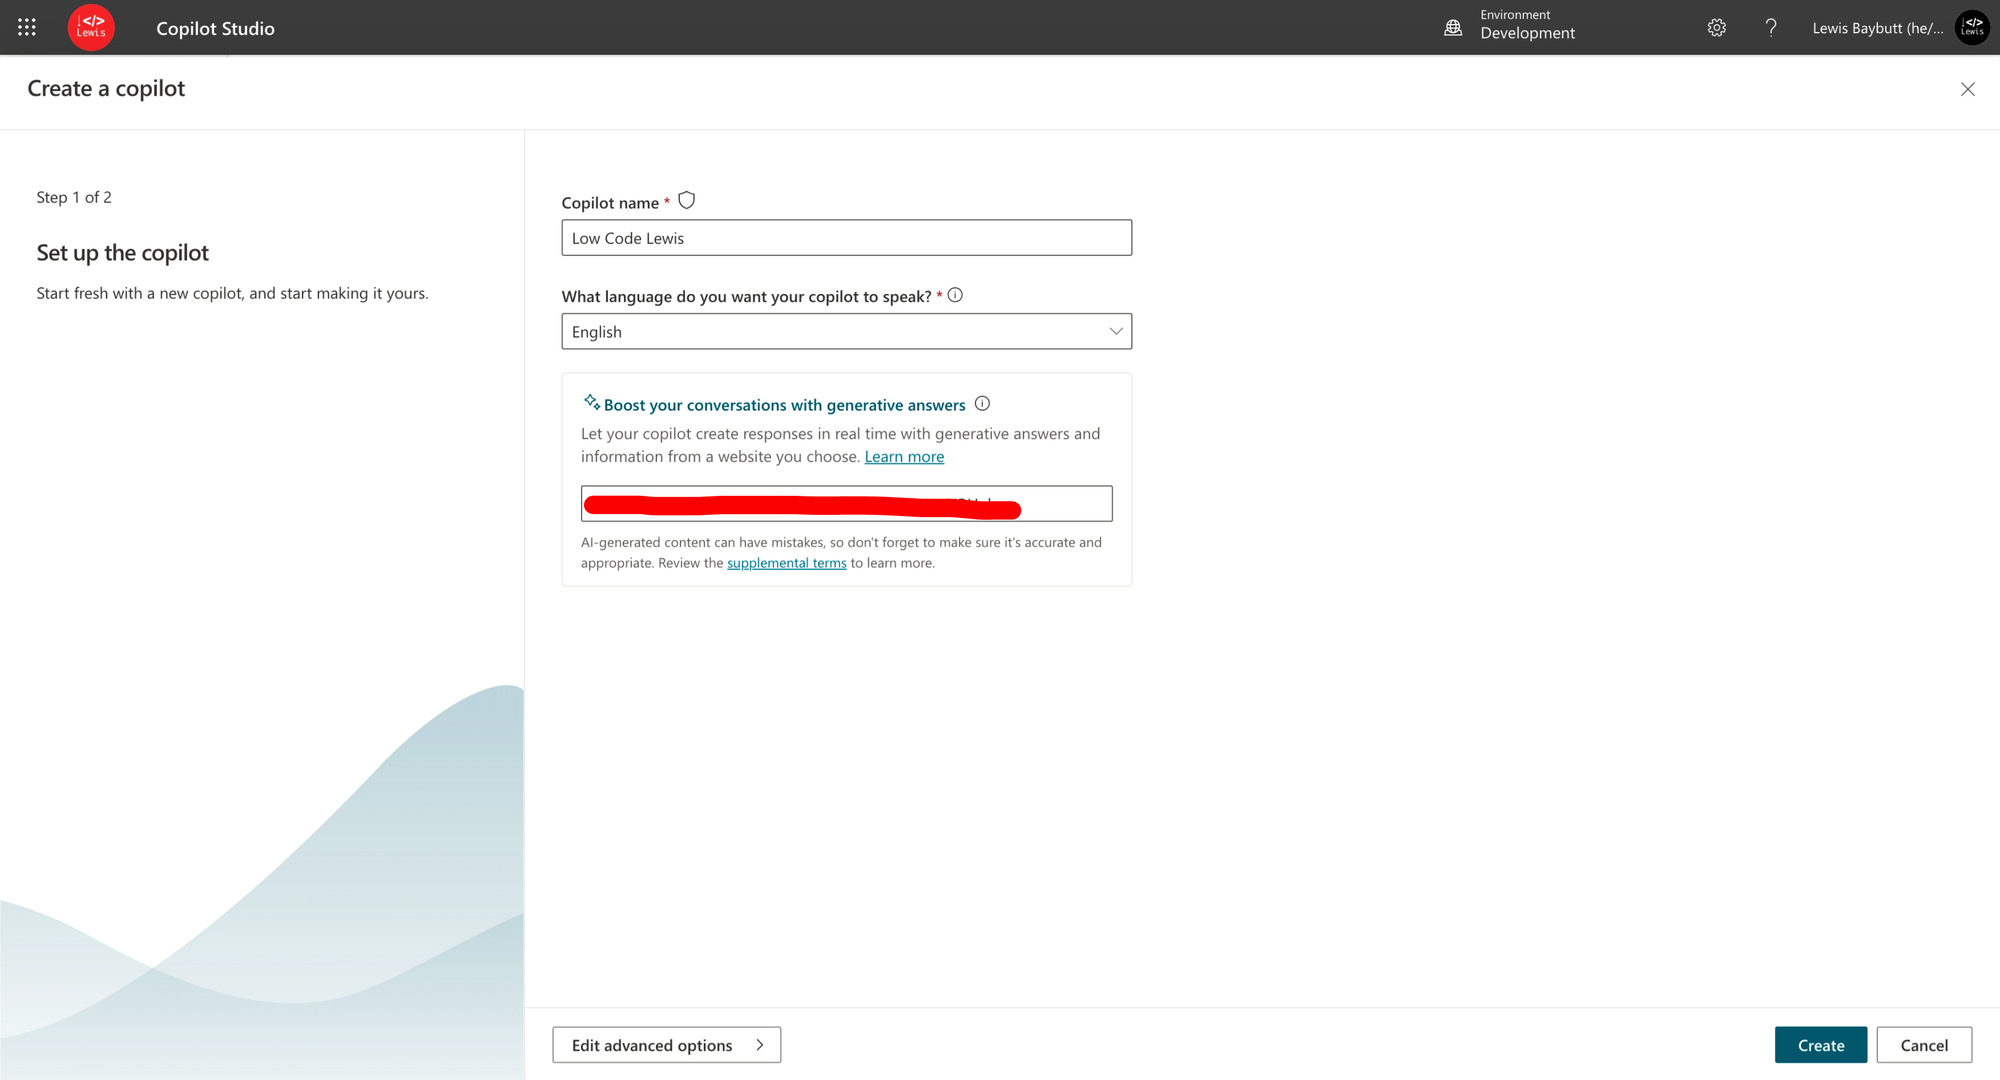
Simply input your SharePoint URL in the ‘Boost your conversations with generative answers’ input. Now if we attempt to ask our Copilot a question, you’ll notice it doesn’t quite manage to pull the content it needs to look for as we have an authentication issue.
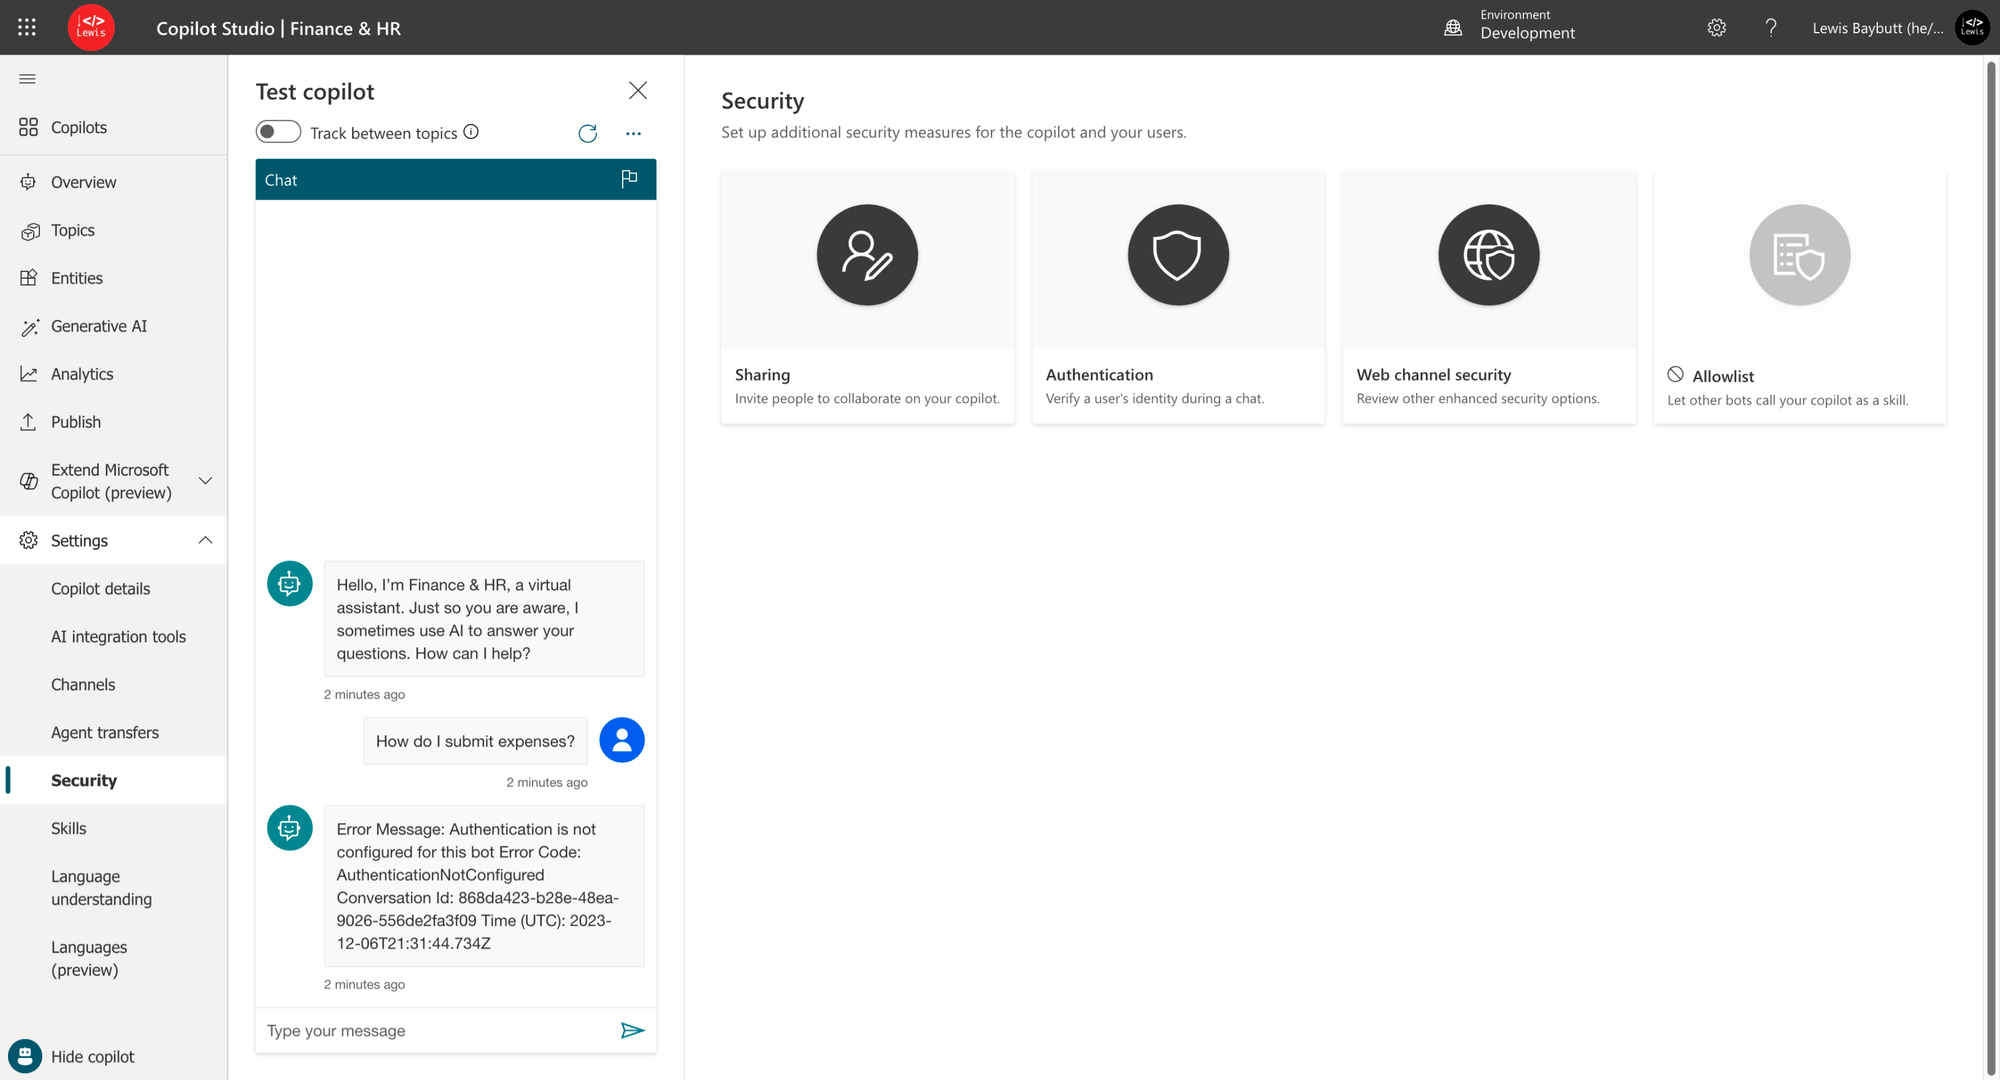
When working with SharePoint sites we need to configure authentication to work with SharePoint. Either we can build a Copilot which will only be embedded in Teams or Power Apps, and then authentication will get handled for us pretty much, or we can manually configure authentication which will require the configuration of an app registration and a few other things. This is the option that will let us put our Copilot wherever we need it.
Configuring authentication for Teams or Power Apps
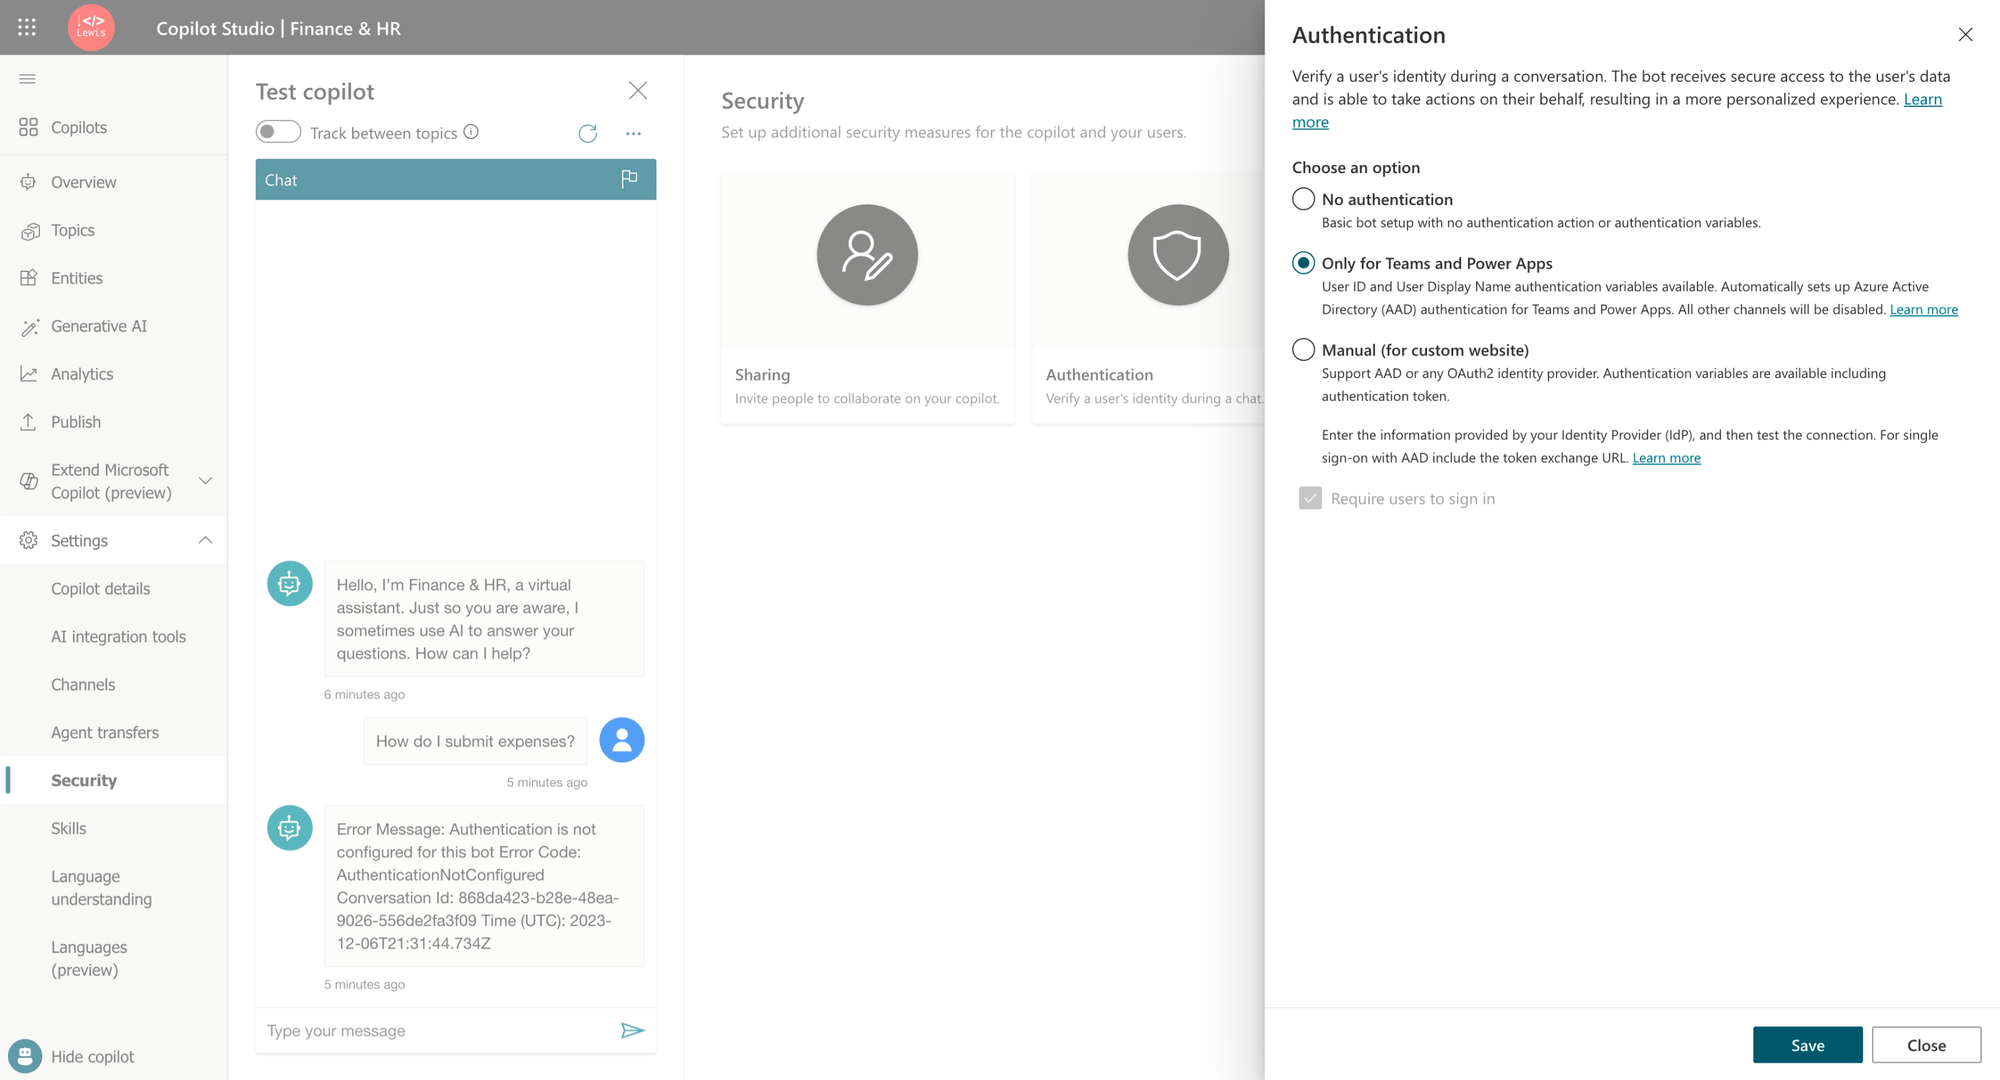
In this post, we’ll focus on configuring simple authentication to embed our Copilot in Teams or Power Apps. On the security tab within Copilot Studio select Authentication.

Then select ‘Only for Teams and Power Apps’
Once done, publish your Copilot to apply your changes.
Publish to Power Apps
If you want to embed your Copilot in Power Apps, check out the post here.
Publish to Teams
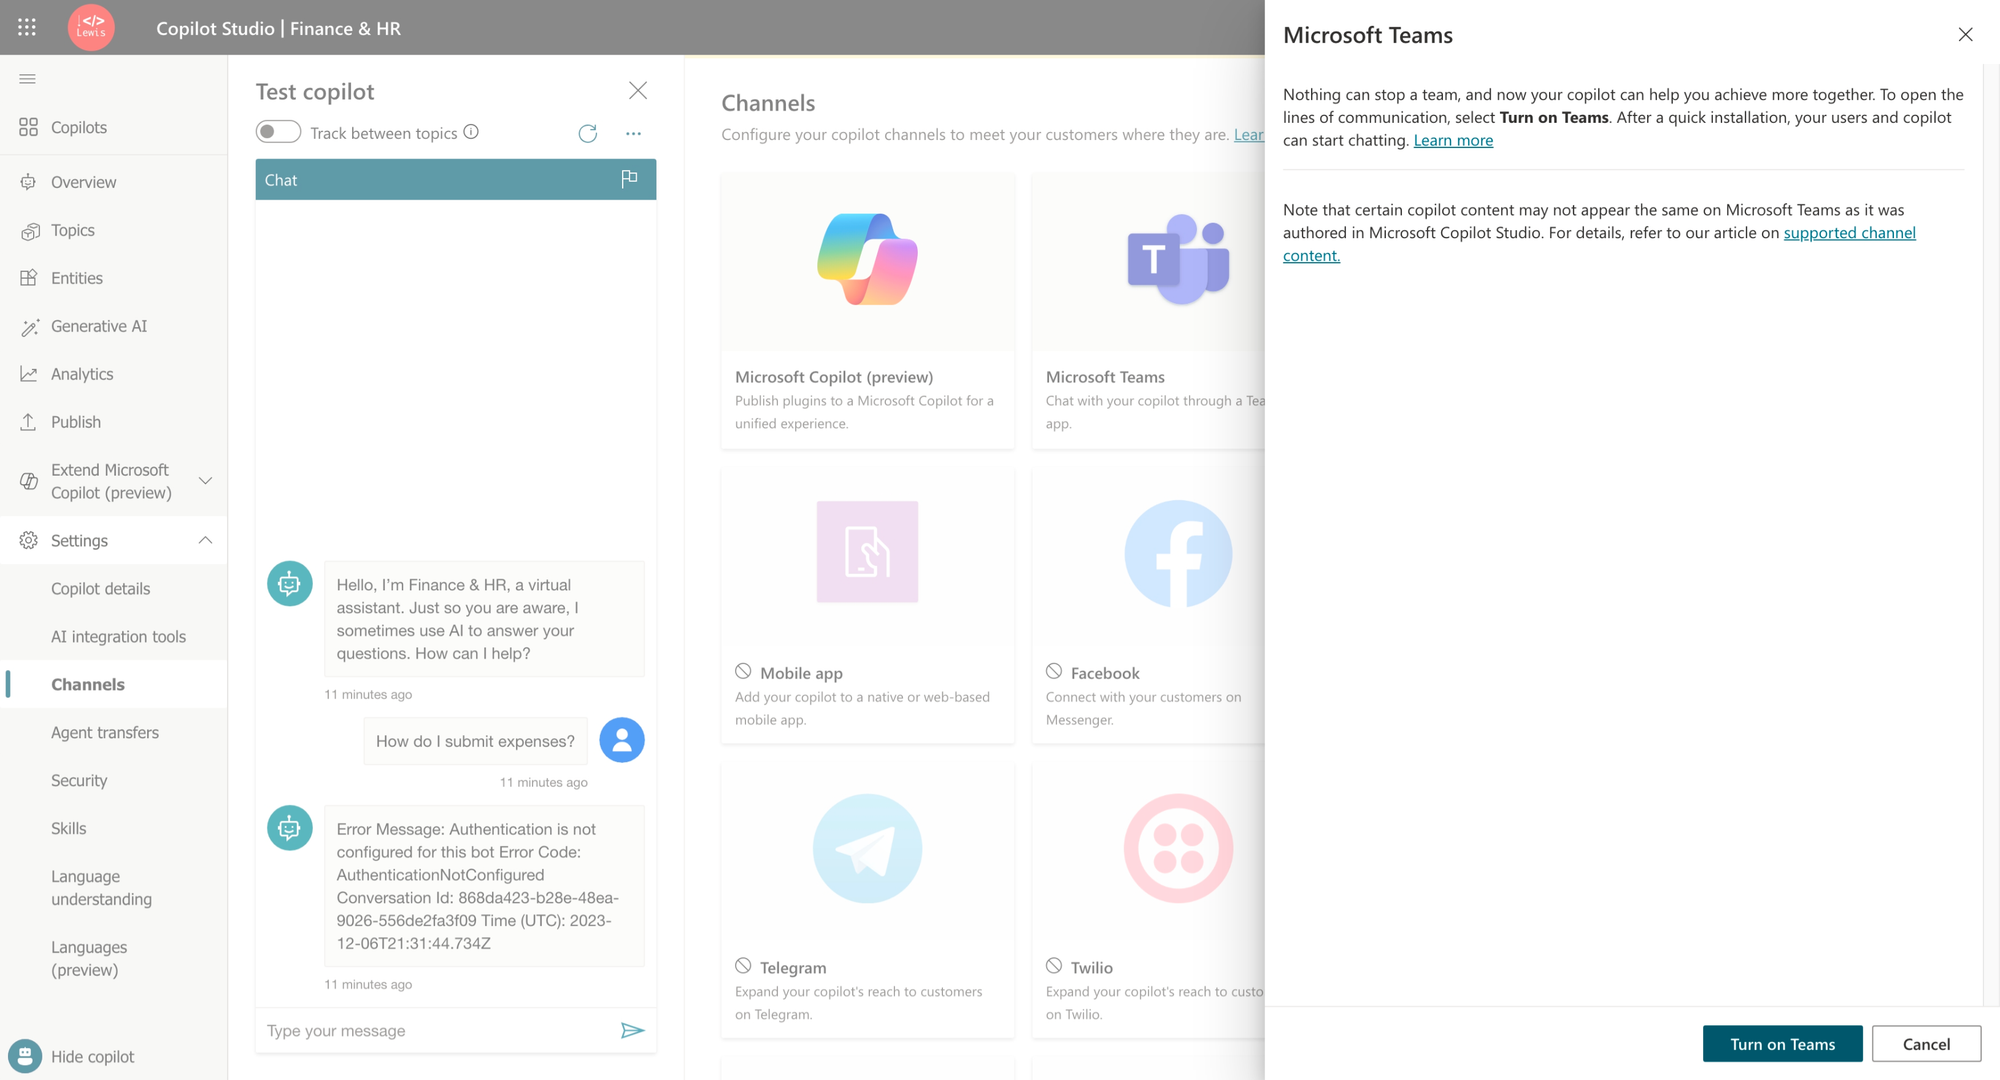
If you want to publish your Copilot to Microsoft Teams head to the channels area in Copilot Studio and select ‘Microsoft Teams’. Then select ‘Turn on Teams’.
Now let’s make the Copilot available to our friends in Teams! Select availability options and then share with teammates.
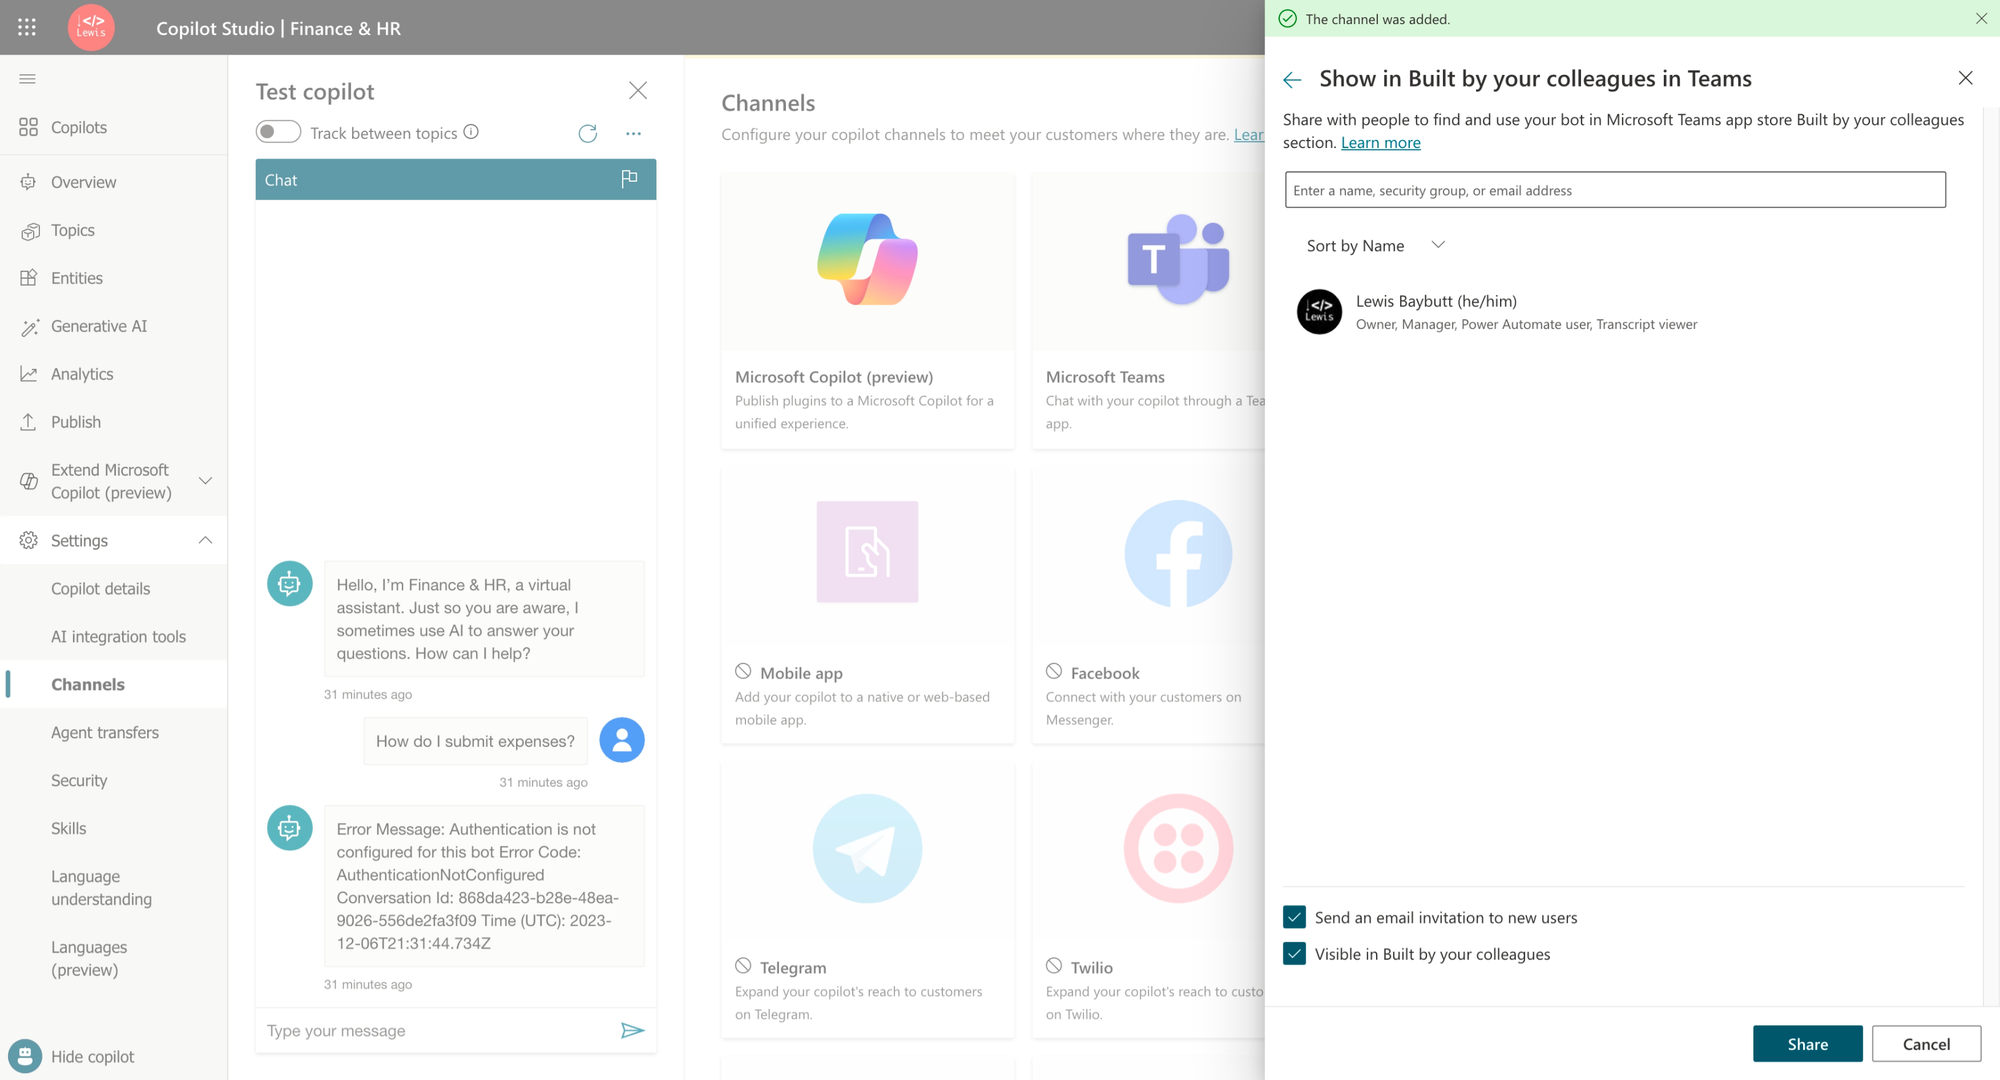
Then share with the people you want to share with and click share. Finally, send them to the Teams link to add the Copilot to Teams for themselves.

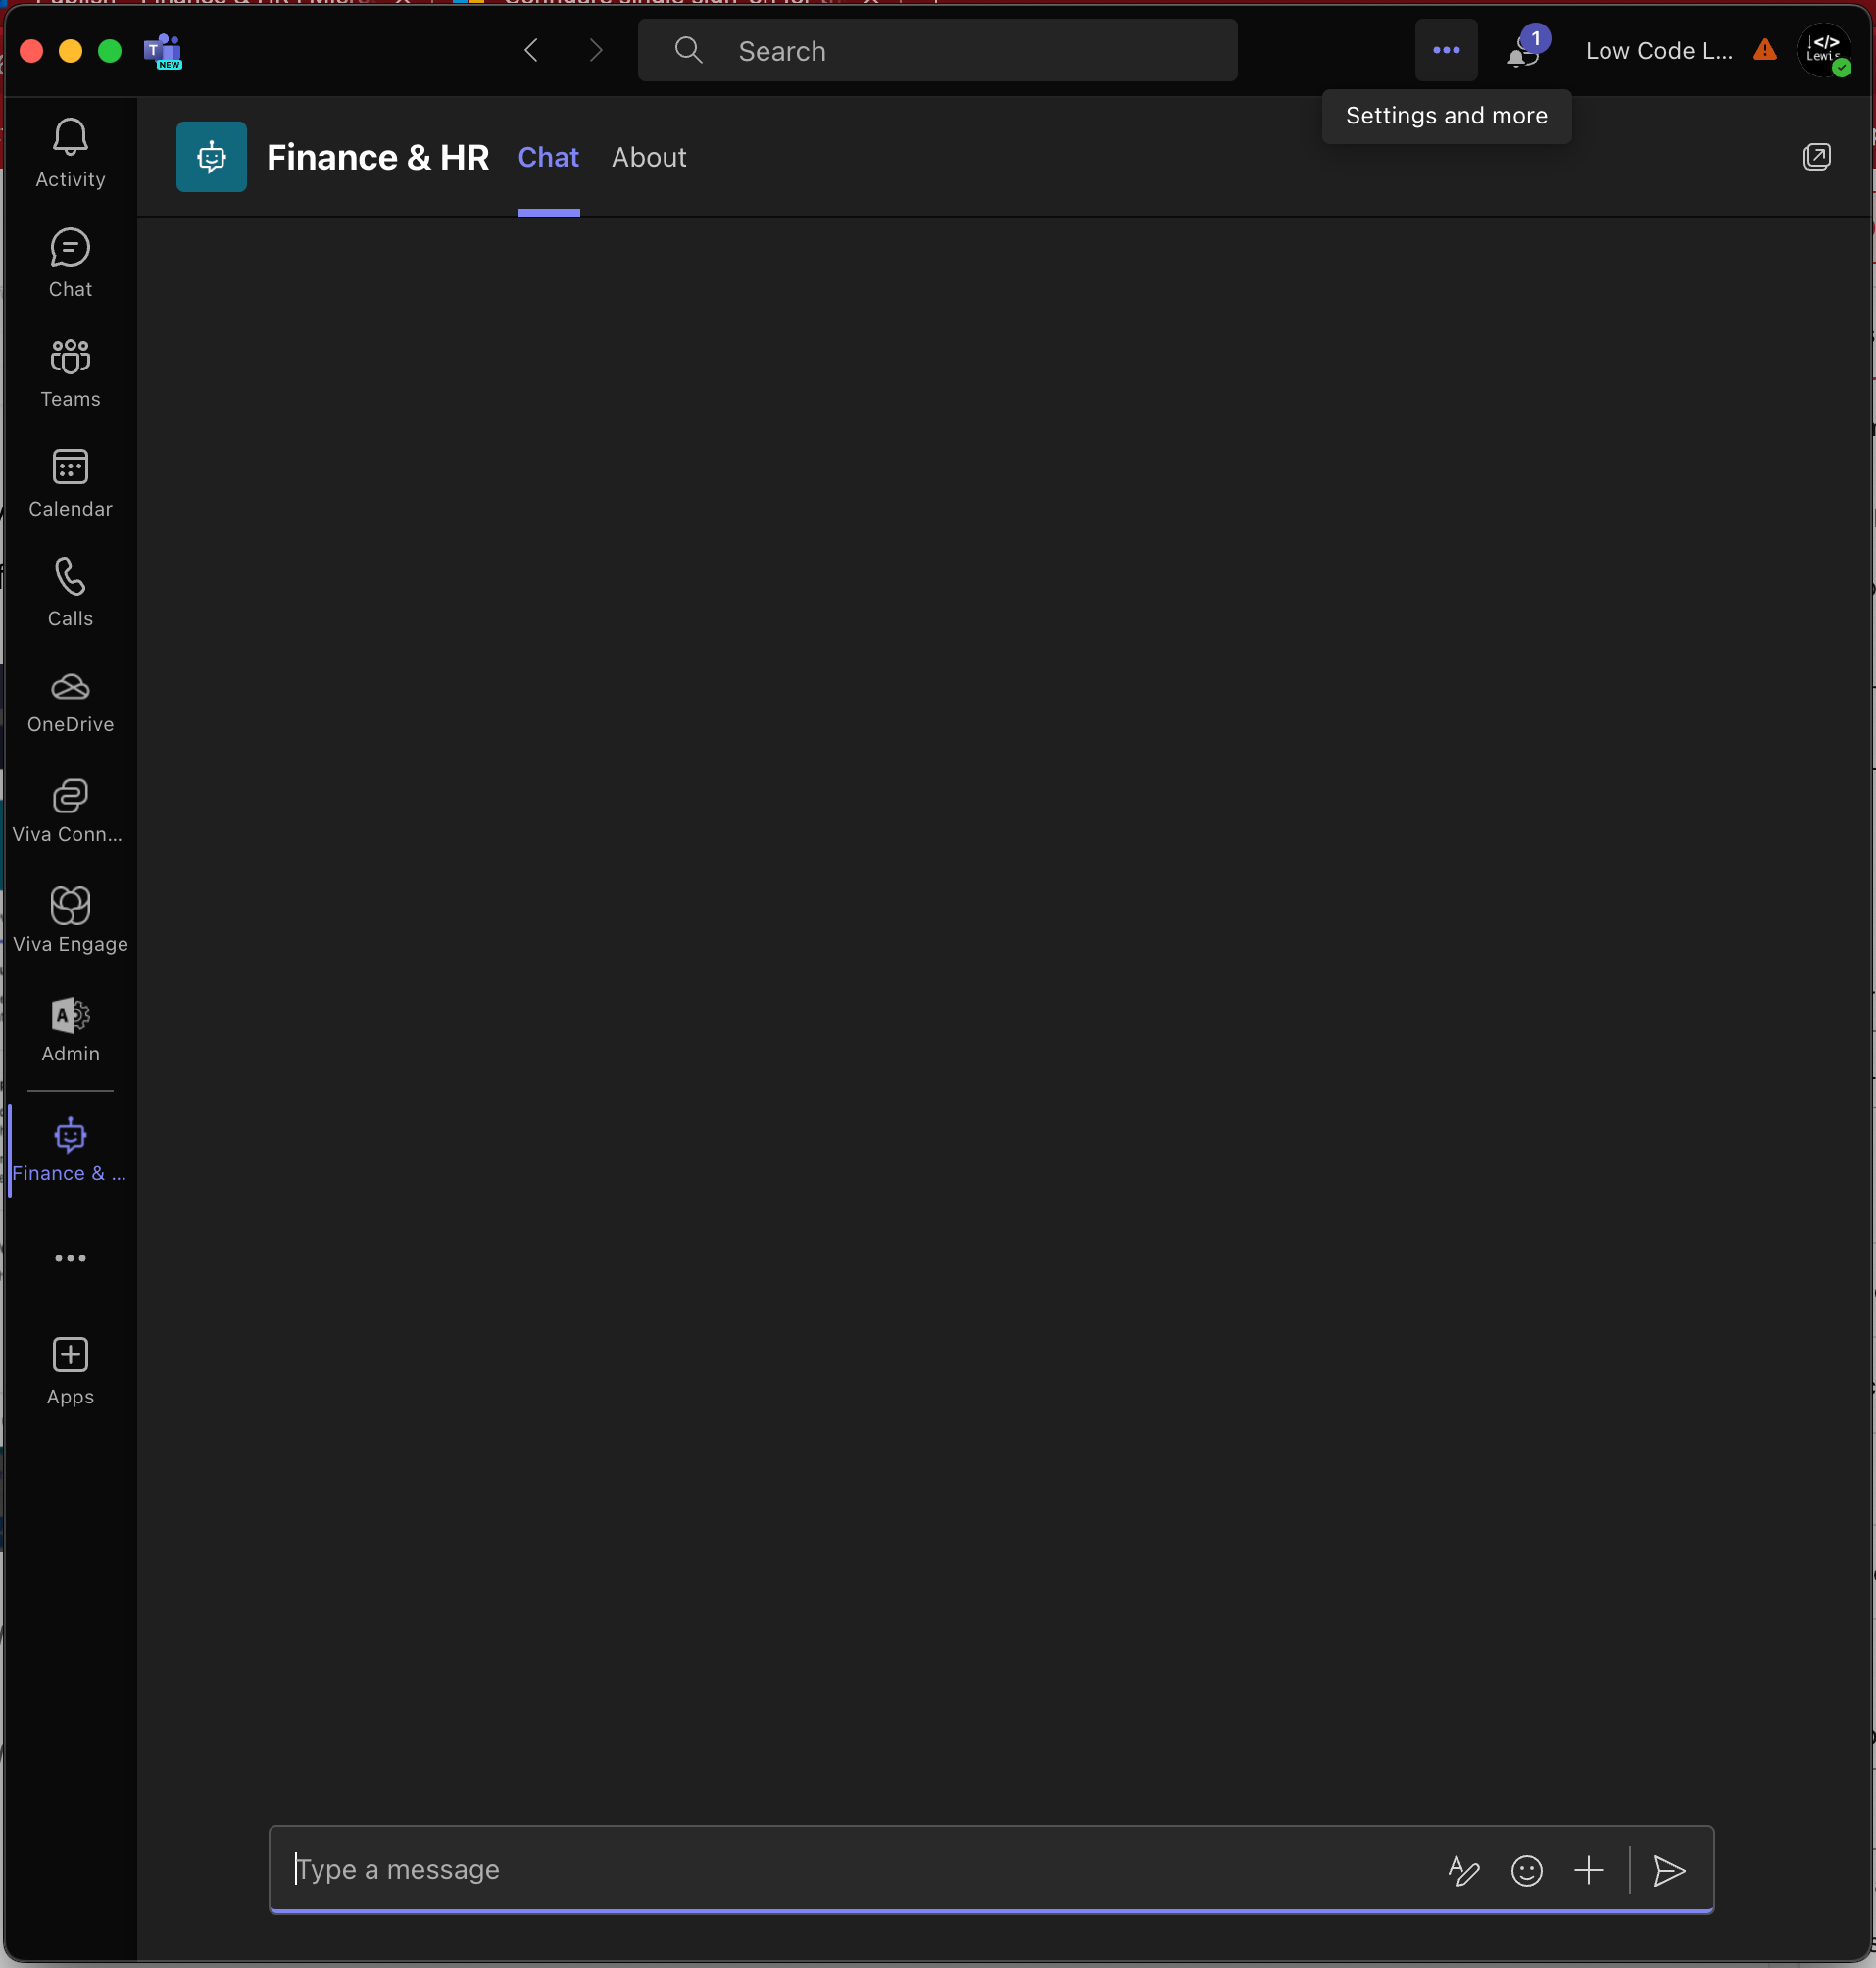
Now chat with your Copilot in Teams!
In my next post, we’ll look at other methods of authenticating! 🤖