

In this blog post, we’ll take a look at authentication and authorisation when it comes to working with the Microsoft Graph API. We’ll go over what how authentication and authorisation are separate things but both things we need to understand when working with the API, and we’ll touch on how to authenticate against the API to use it in our solutions.
What is authentication?
Authentication, sometimes shortened to AuthN is the process of proving who you say you are, or verfiying the identity of a user or a device. In our case working against app registrations in Azure Active Directory it is the process of proving we can call the API by using this app registration toward the API to gain access to it.
What is authorisation?
In slight contrast, as authentication has already handled who we are when gaining access to utilise the API or the service, authorisation is the process of granting an authenticated user or device permissions to certain data. So whilst I might be able to authenticate against the Graph API in my tenant using an app registration I have, I might not be able to succeed authorisation if the app registration or I don’t have relevant permissions to gain access to the resource.
Setting up an app registration
In this linked post, you can find out how to set up an app registration to use for authentication purposes when working with the Microsoft Graph API.
Once you have set up an app registration which will provide you with a client id to use to authenticate, you’ll need to work on adding API permissions for Graph to that app registration so that we can succeed authorisation.
If you’re working with delegated permissions, which when possible, is what you should more often probably be doing, you’ll also need to make sure that the user in your AAD tenant themselves has access to the resources they need to access directly, as delegated permissions work like an impersonation of the user calling the service.
If you’re working with application permissions, you’ll need to ensure that you have good reason to do this given the data they can grant access to and you’ll probably be using simple client secrets in one step HTTP actions in Power Automate, unless you want to work with a custom connector in Power Apps, but I’d then advise where possible to use delegated permissions.
We’ll touch more on application vs delegated permissions in a future post in this series.
Assigning API permissions for Graph
To add API permissions to your app registration to provide capability for authorisation against the resources you want to interact with when using the Microsoft Graph API, you’ll need to head to the API permissions tab in your app registration and select add a permission.
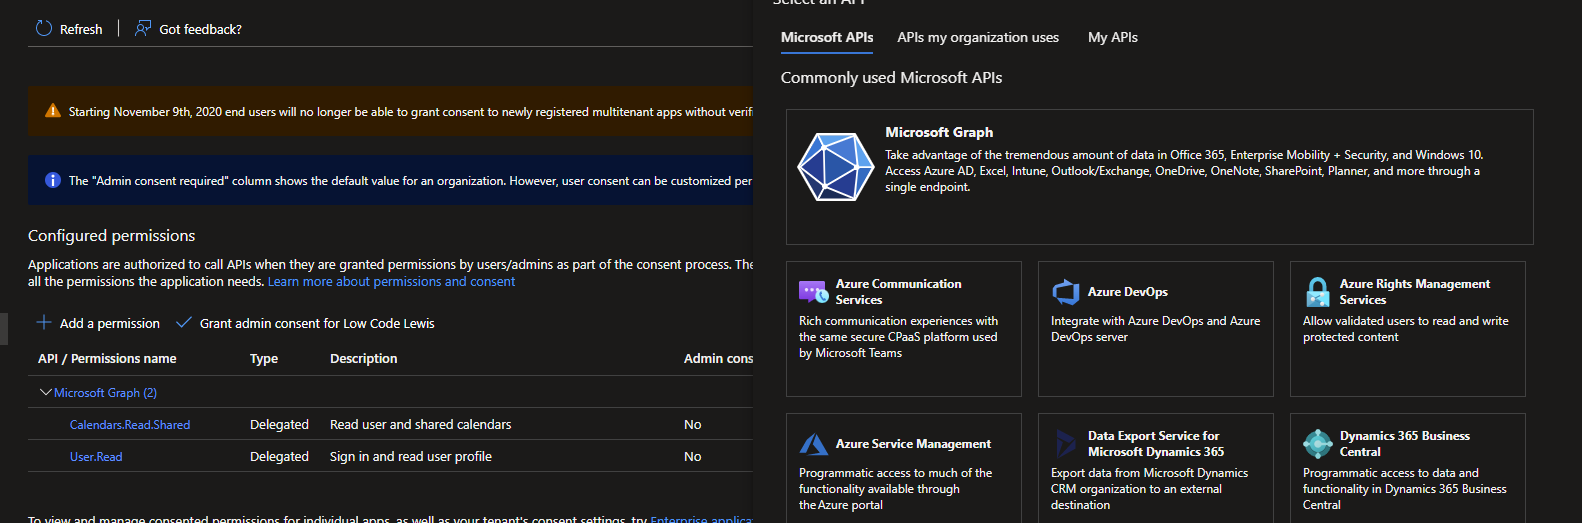
From here we need to select Microsoft Graph, then you’ll need to select delegated permissions or application permissions depending on your use case. Don’t use application permissions just because it can make development easy when building things like Power Automate flows if you’re even able to grant tenant rights for application permissions. We will touch more on this in a future post in this series.
Once you’ve selected the permission type you need to use you can search for permissions to add these to your app registration. These will be the areas in the Microsoft Cloud that you can interact with via the Graph API when authenticating using this app registration. If you try to use the Graph API for an area of the Microsoft Cloud that you haven’t given permissions to this app registration for, and you try to use this application to authenticate,. you may succeed in authenticating but you won’t be authorised to access the resource.
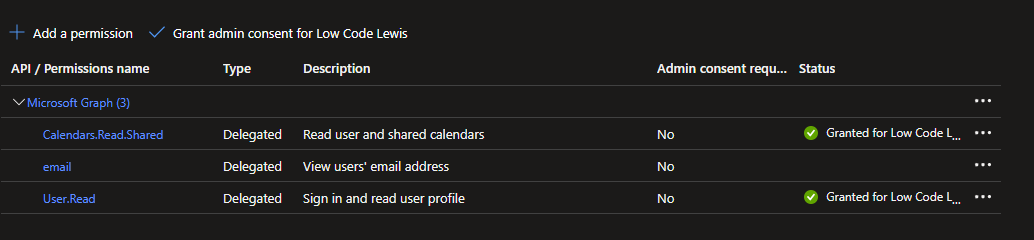
Once you’ve added permissions, you’ll see whether or not you need to have admin consent granted to use the permission. For delegated permissions against common objects like calendars, bookings, chats, contacts and more, you won’t need tenant permissions granting. You’ll need them granting for some delegated permissions but you’ll notice application permissions needing them more.
In tomorrow post we’ll focus more on delegated and application permissions, which are the right ones to use for which use cases, and why you shouldn’t opt for application permissions for ease of development with low code tools such as Power Automate.