Ever have a common process or piece of logic that you want your users to be able to regularly run against a record in Dataverse or Dynamics 365, but don’t have a button with the out the box solution to support that? What if I told you by the end of this blog post, you’ll know how to add custom commands and buttons to the ribbon of a table, whether selected on a record or not, or focused on a record in a form, that when clicked will run your own custom logic!
Well… keep reading to find out how to achieve it! 🤩
Editing the command bar
So, first let’s take a look at how we’d go about editing a command bar in a model driven app from Power Apps. I’m going to head into the edit mode of one of my model-driven apps to start with.
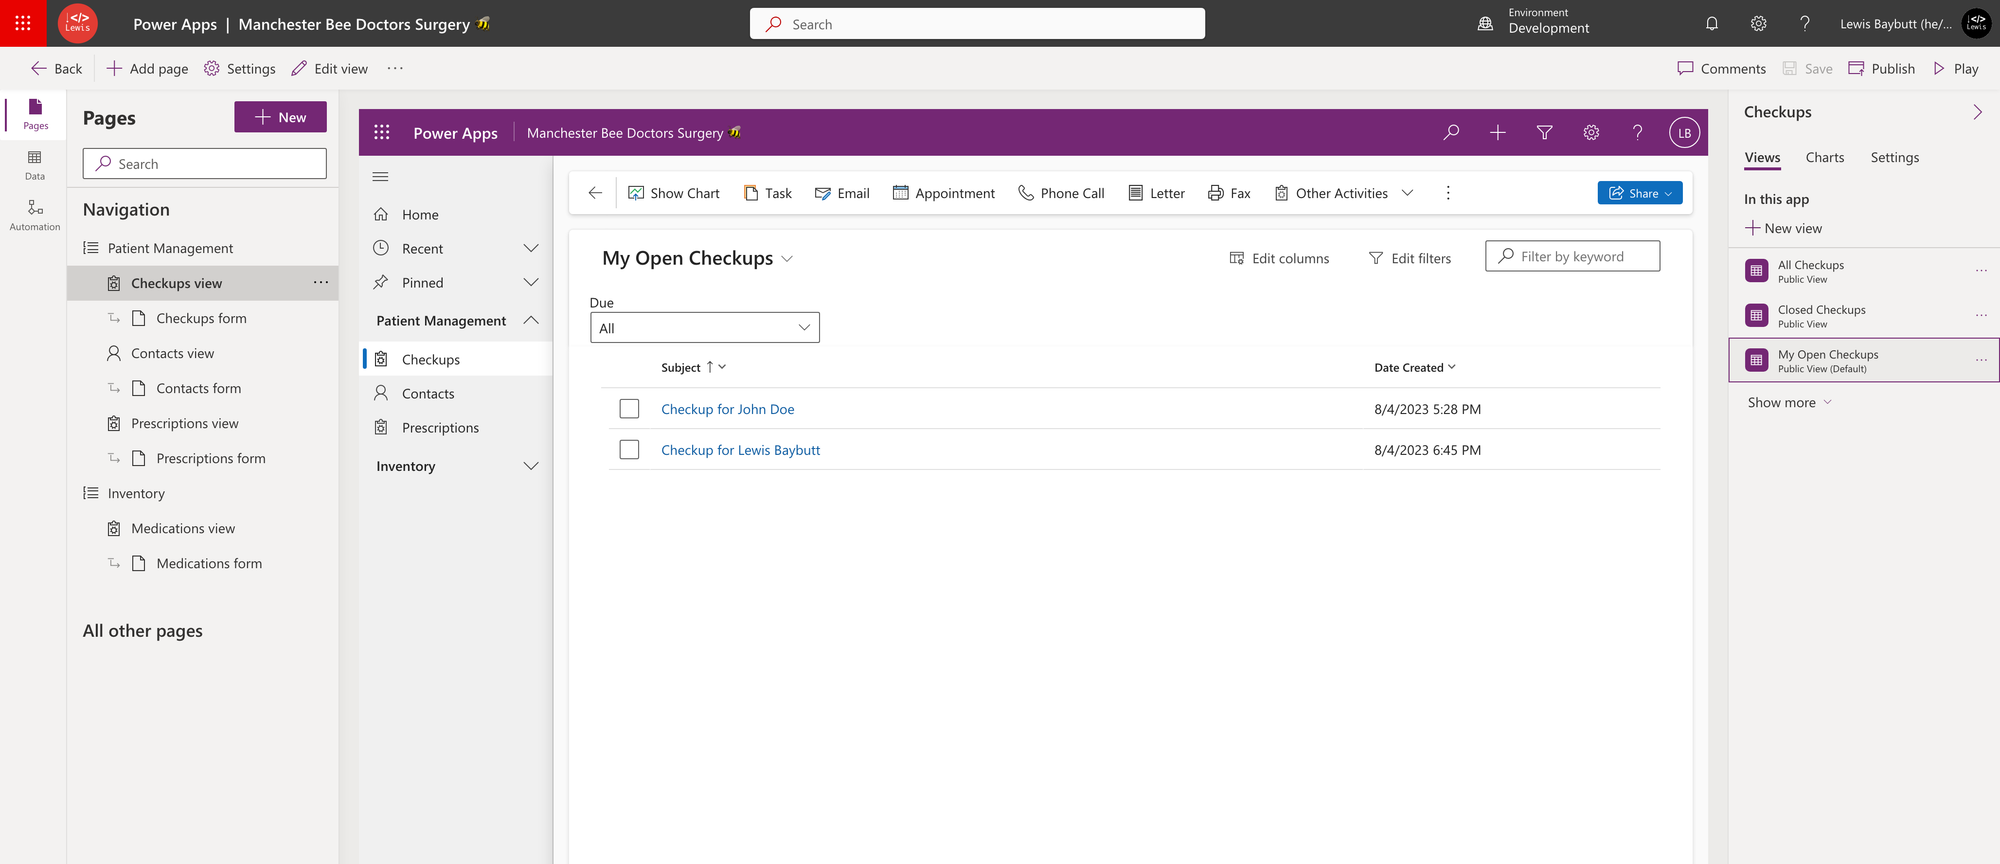
Now to edit the command bar for one of my tables, I’m going to select the three dots on one of the views and then select edit command bar.
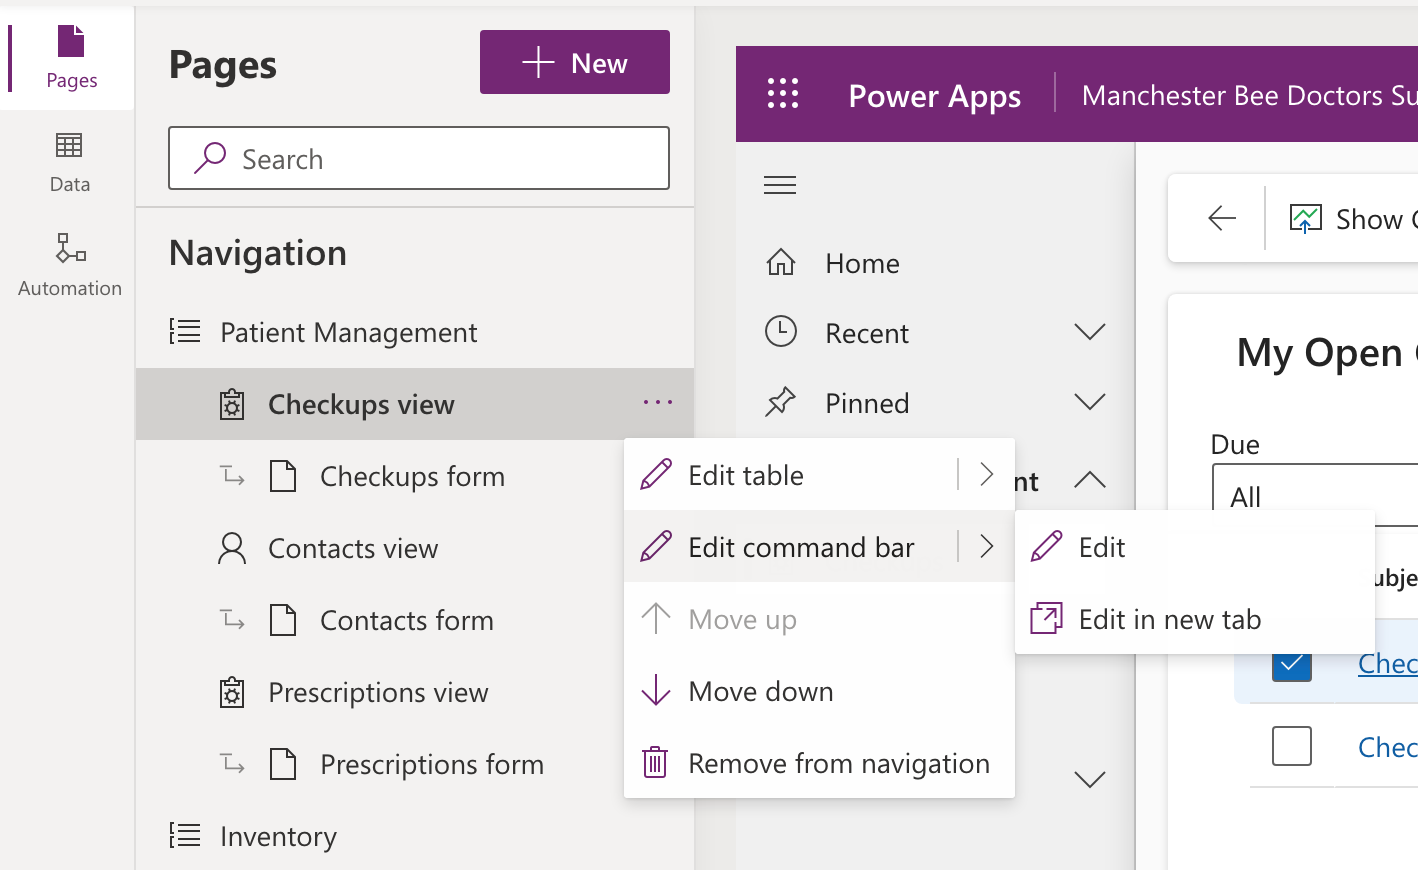
Next we’ll need to select the command bar that we want to edit for the table. This could be one of the grids that we change it for such as the main grid or subgrid view, or it could be something like our main form.
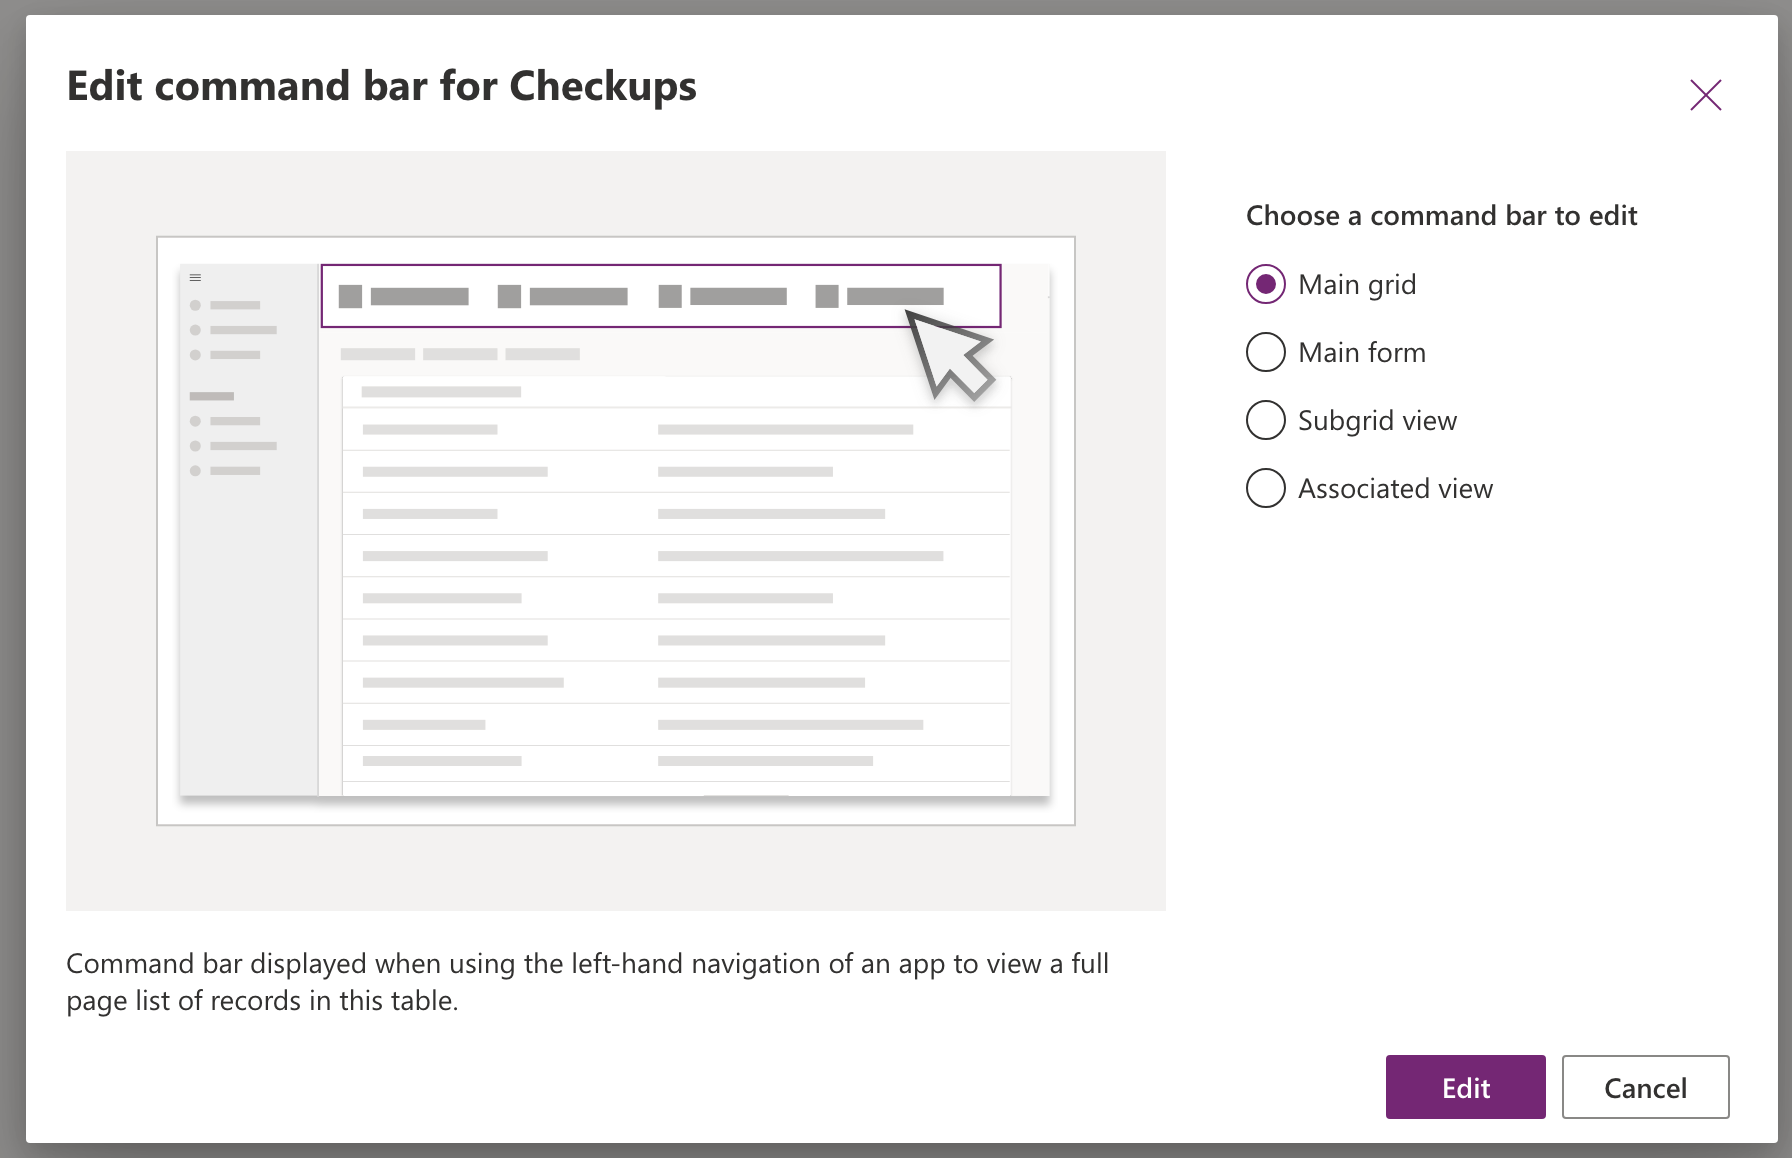
I’m going to select to edit the main form to edit the command bar for that.
Making customisations
So now lets look at how we can actually make some changes to the command bar we’ve selected to edit.
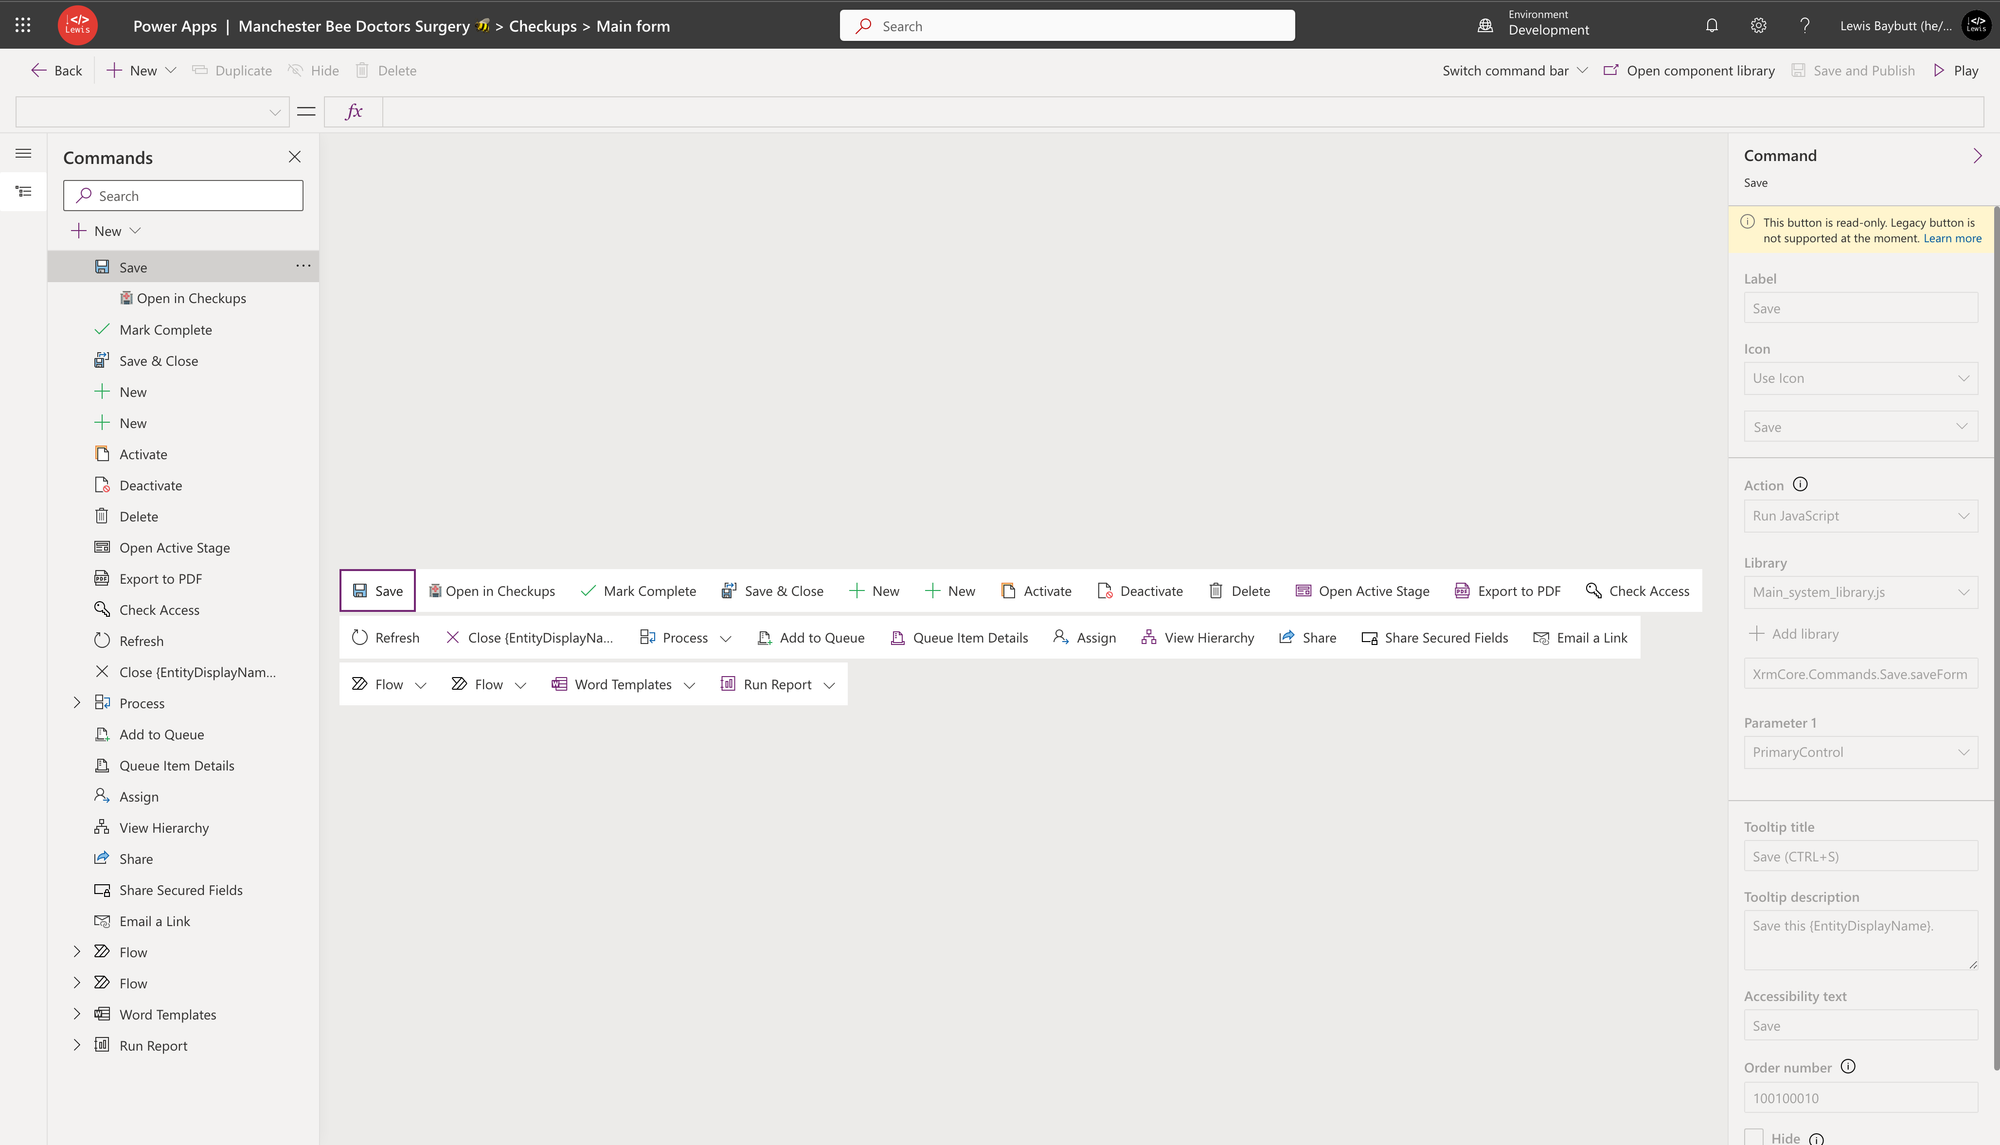
So as you can see I’ve got my command bar commands and the ability to make some customisations here.
Add custom logic
Let’s now look at adding a button and implementing our own custom logic. I’ll start by selecting “New” in the ribbon. Then I have a few options to choose from.
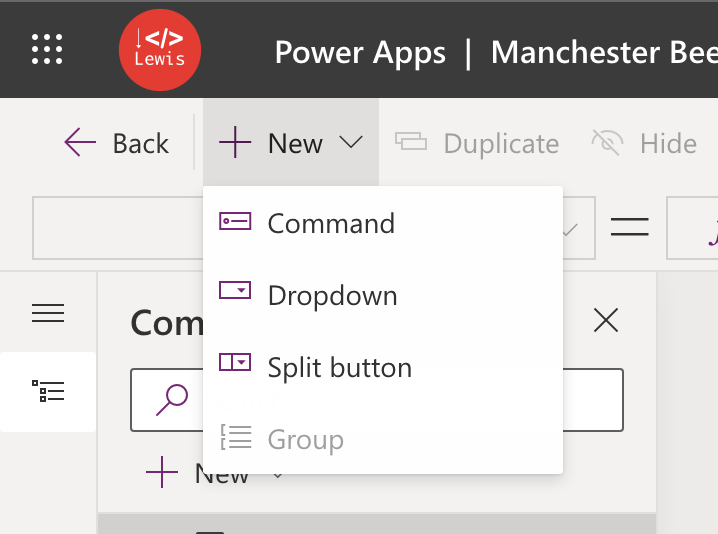
I can either just add a simple command, or I can add something more complex like a dropdown with lots of commands, or even a split button with a primary command and then a further dropdown with lots of other related commands.
We’ll start by looking at a command button for now.
I’ve got a few things I can update here now to configure my command. First I’ll give it a label that reflects what I want the button to do. Then I’ll set an icon for the button.
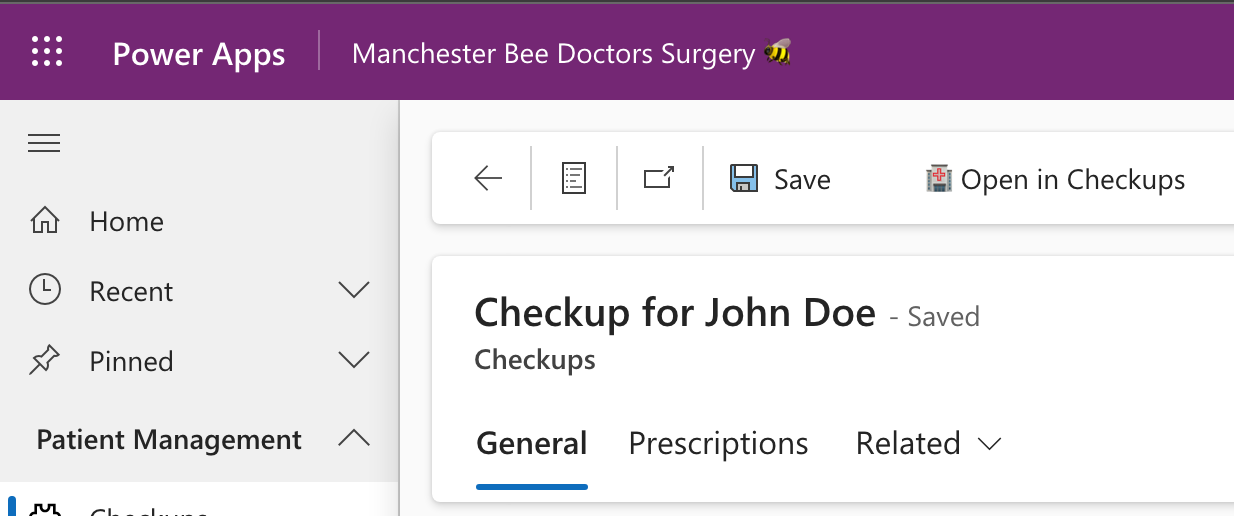
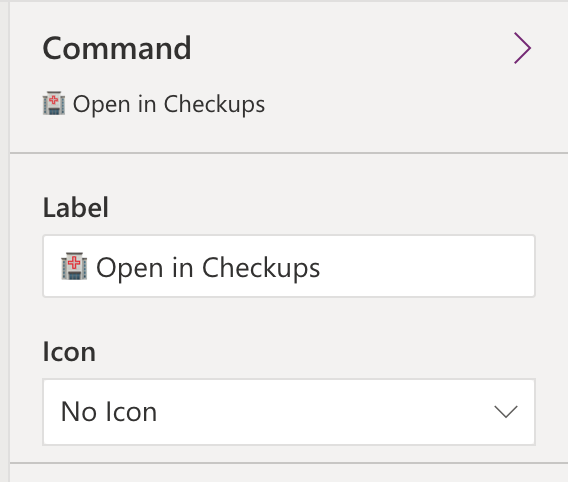
In my case I want the button to result in the same record I’m selected on in my model-driven app, opening in a canvas app on a mobile device. My canvas app is called Checkups, so I’m going to set my label as “Open in Checkups”.
When it comes to setting an icon, you could either use the actual option to set an icon from a web resource or simply pop a unicode character that looks nice in front of your text in your commands label.
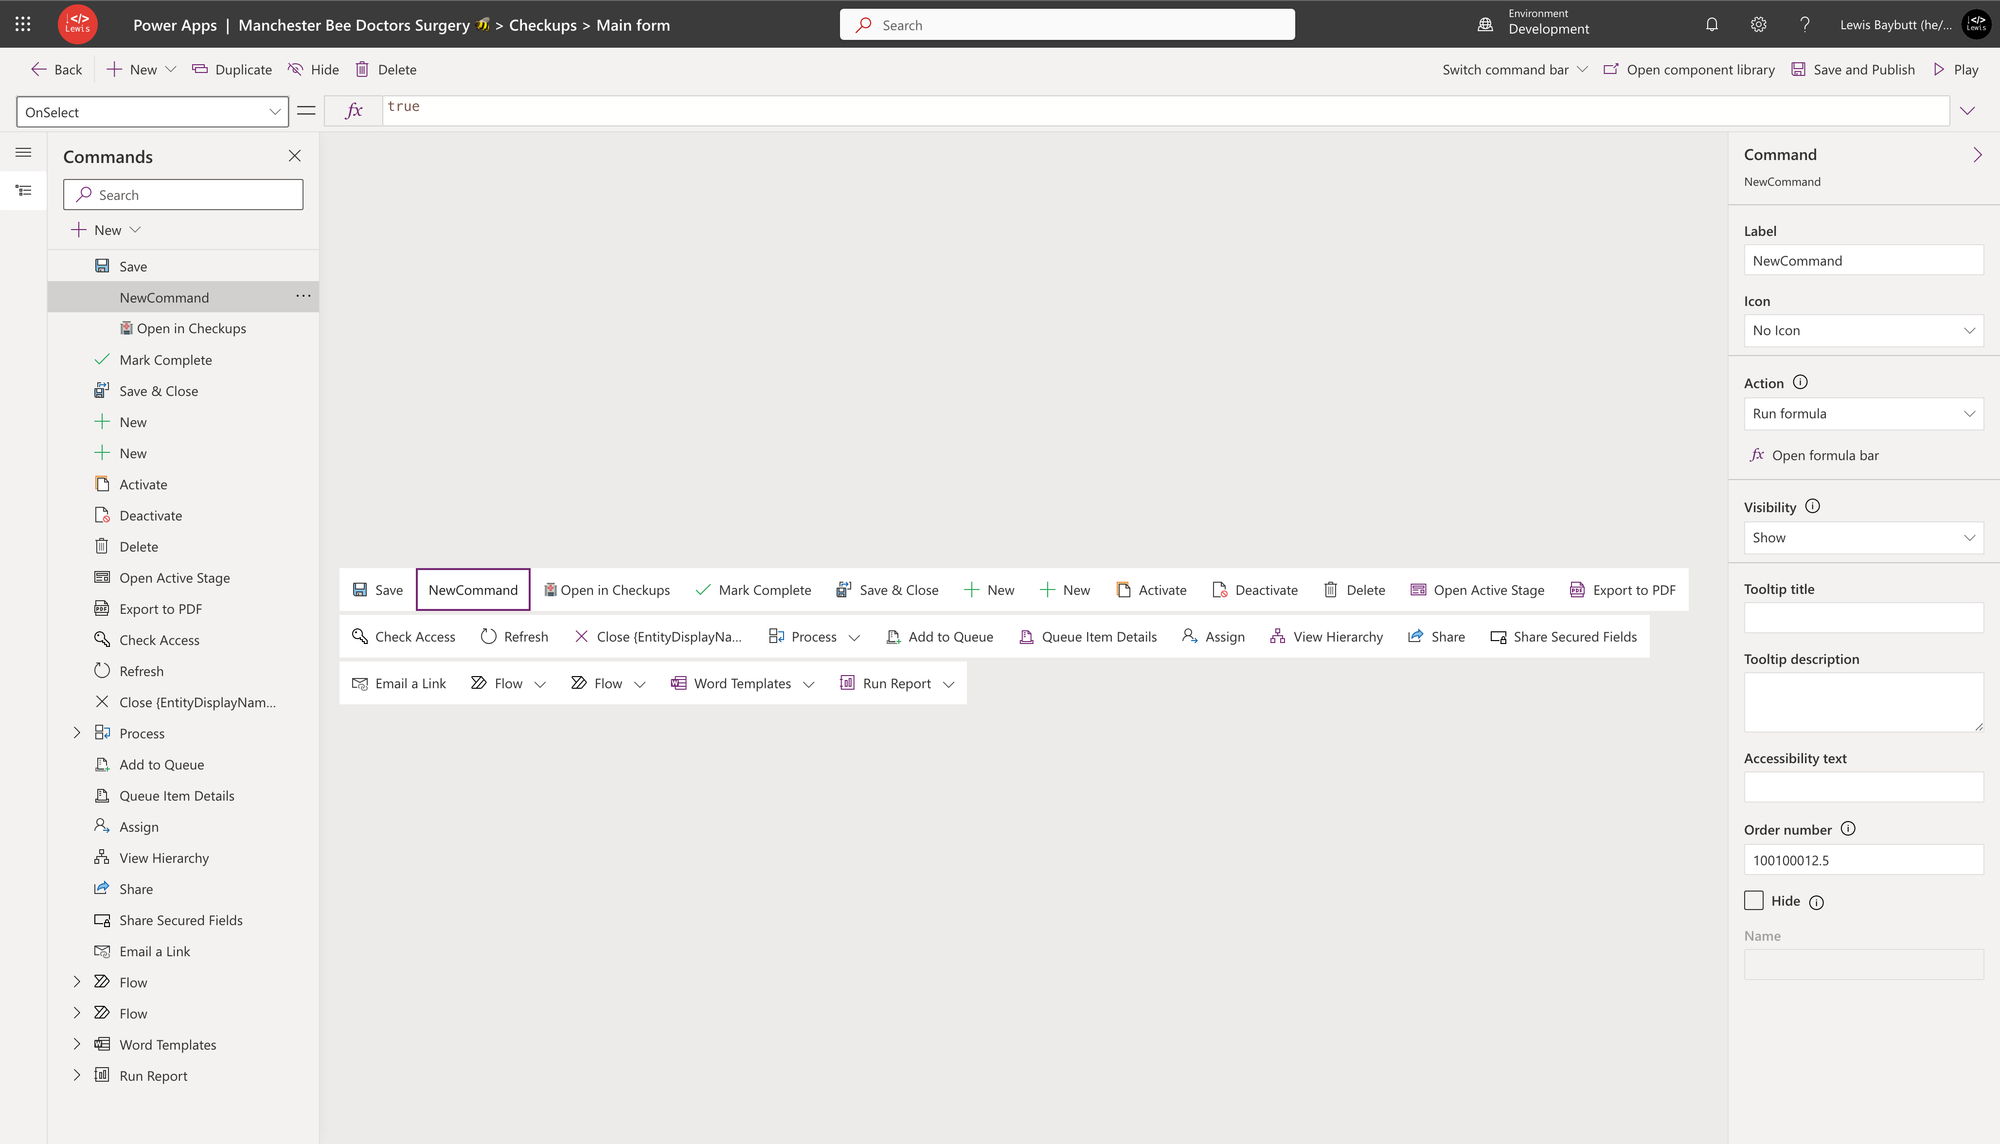
Now we can move on to configuring what this button actually does.
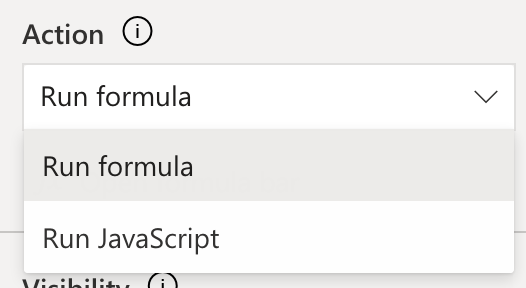
So we’ve got 2 options here as to what we can do when we select a button. We can either run some Power Fx code, or run some JavaScript. In my case I’ll be able to achieve what I need with Power Fx, but if you need something a little more advanced, say for example you want to manipulate elements on the page, then perhaps JS would be a better option.
I’m going to select run formula then provide my Power Fx code in the OnSelect.

Now all I need to do is select save and publish and I’ll play my app to see my custom command available for my users!
Testing it out
And there you go! There’s my custom command on the command bar of a form in my model-driven app to support the custom logic I want users to be able to run in my application.