

Getting started with Dynamics 365 Omnichannel for Customer Service and want to learn how to configure live chat so your agents can start accepting conversations started in a chat widget on your website? You’re in the right place! 🤗 👋
In this post, we’ll take a look at how to get started with live chat in Microsoft’s contact centre platform!
Creating a workstream
First we’ll need to configure a chat channel within a workstream configured for live chat. Then we’ll be able to use chat widgets to start up conversations in Omnichannel for Customer Service which we’ll be able to route to agents to run our Customer Service function.
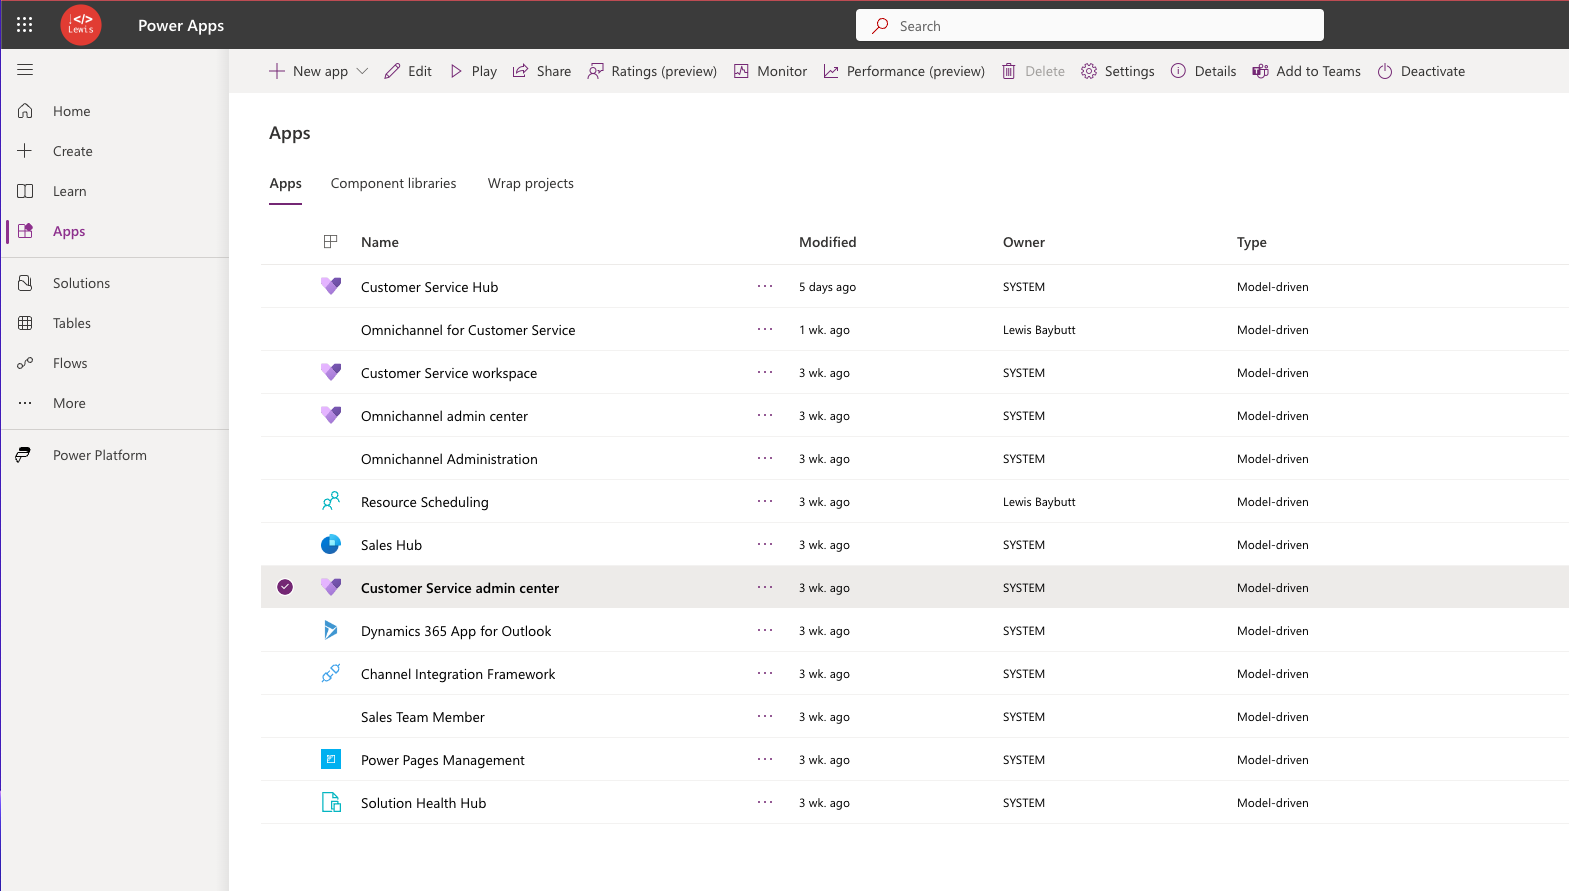
To start, head to the Customer Service admin center app in Power Apps. The Omnichannel admin center app is now deprecated, so we’ll use the Customer Service admin center app where functionality from the Omnichannel admin center has been migrated to.
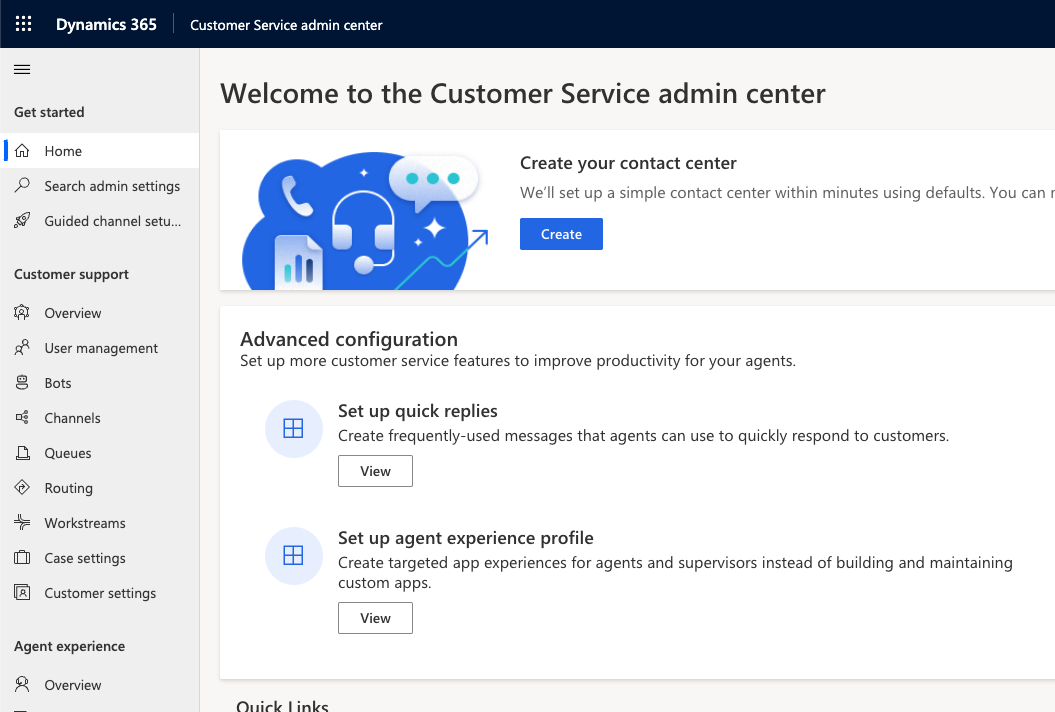
Within the Customer Service admin center, we’ll head to Workstreams in the navigation.
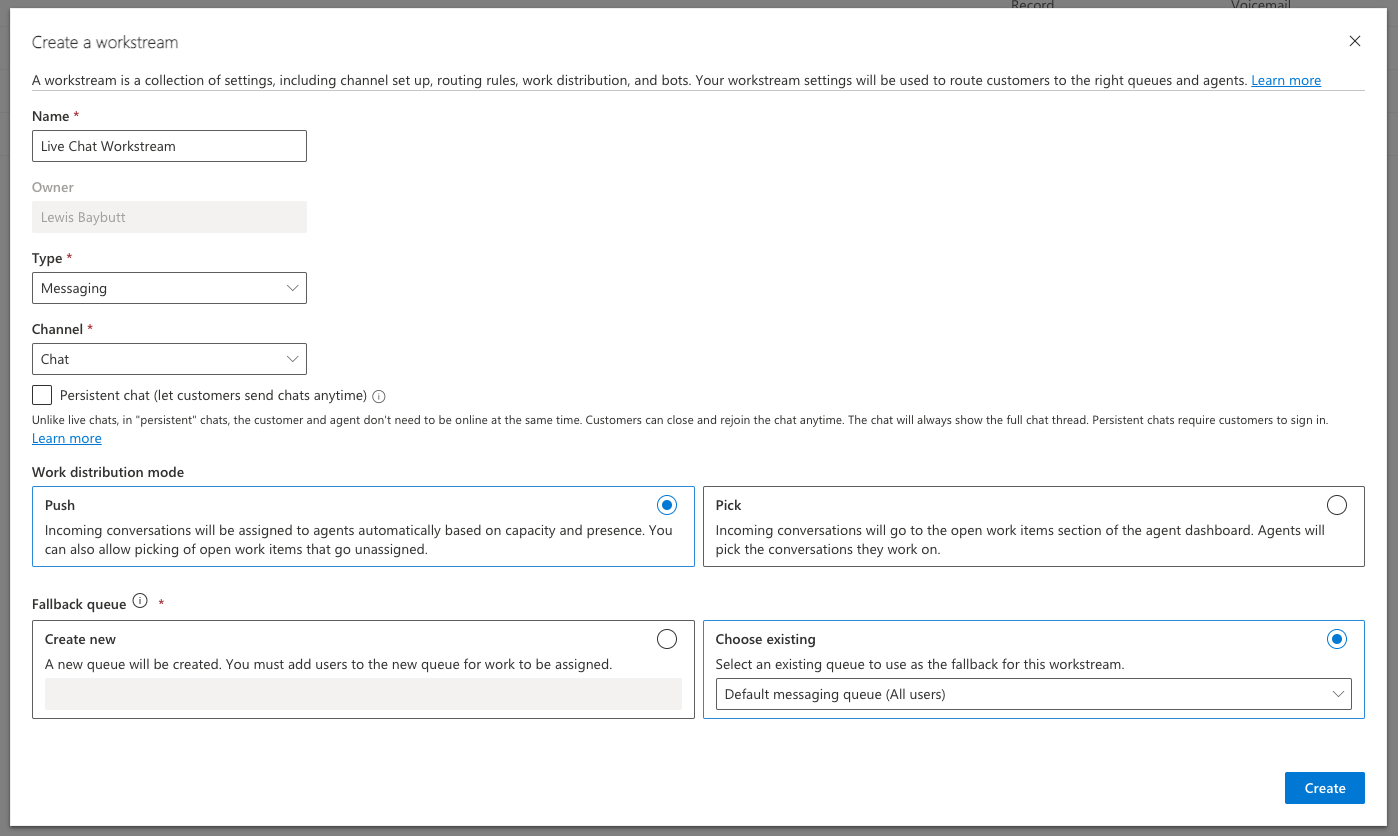
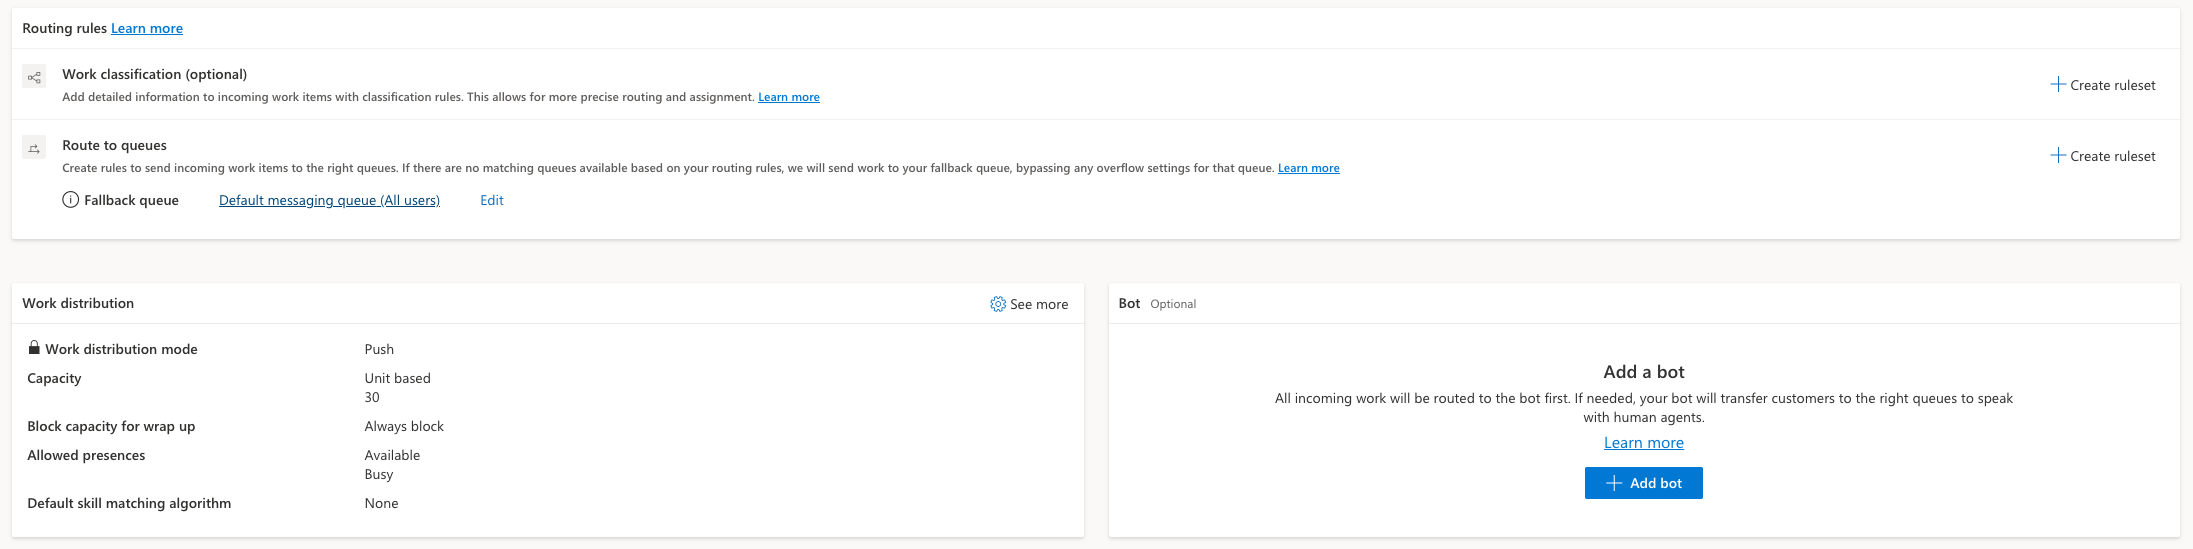
Now select to create a new workstream. Workstreams are effectively collections of configuration settings including the type of communication channel we’ll be working with, how the incoming communications will get routed, how work will get distributed amongst agents, and whether we’d like to implement the use of bot functionality.
We’re going to configure Omnichannel for live chat so when creating this workstream I’m going to set the type to ‘messaging’ and then the channel to ‘Chat’.
Then we’ve got a few more options. I’m going to leave persistent chat off for now, and we’ll cover that in a future post. For the work distribution mode I’m going to select Push. We also have the Pick option.
| Push | Pick |
|---|---|
| Incoming conversations from customers get assigned to agents automatically based on routing rules, capacity and presence. Conversations that don’t get assigned can also be picked up or assigned by supervisors. | Incoming conversations from customers get displayed in the open work items section of the agent dashboard. Agents will be able to pick the conversations they think they can best work on. |
Work distribution modes
Finally, we have the fallback queue options. This is where we select a queue to route conversations to as a fallback if they don’t match any of the routing rules we have in place and hence have to go somewhere as a fallback.
Set up chat
Now let’s take a look at setting up chat for the workstream we just created. Select ‘Set up chat’.
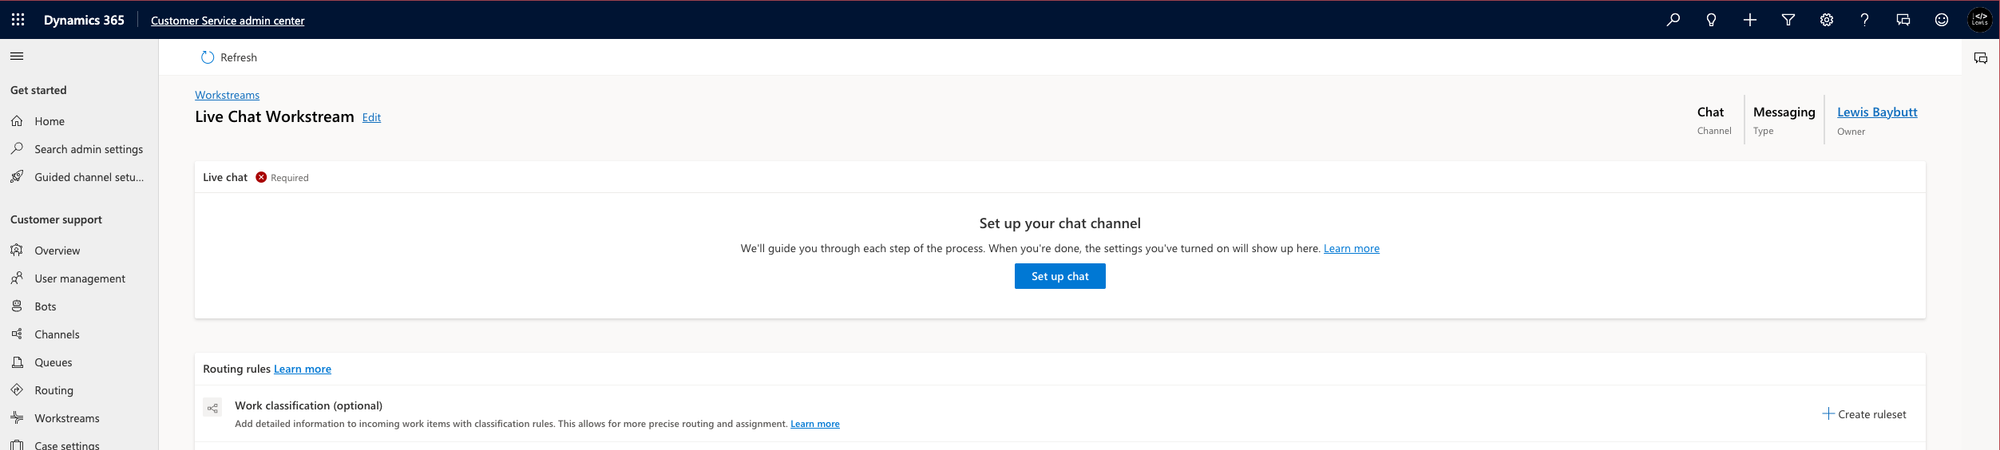
Within a workstream, we can setup multiple chat channels for say having different languages on a chat widget on different locale versions of a website, or other configuration differences, that all point towards the same workstream and set of routing rules.
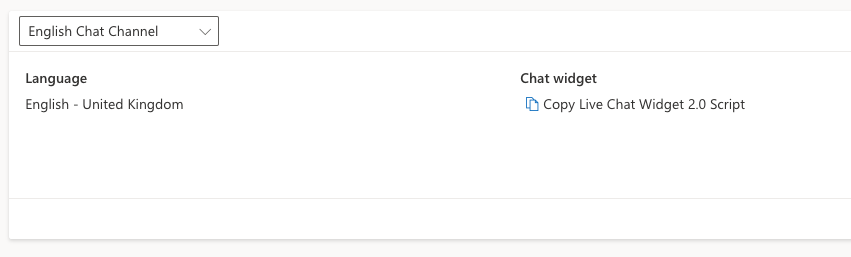
I’m going to setup my first chat channel with the name “English Chat Channel”.
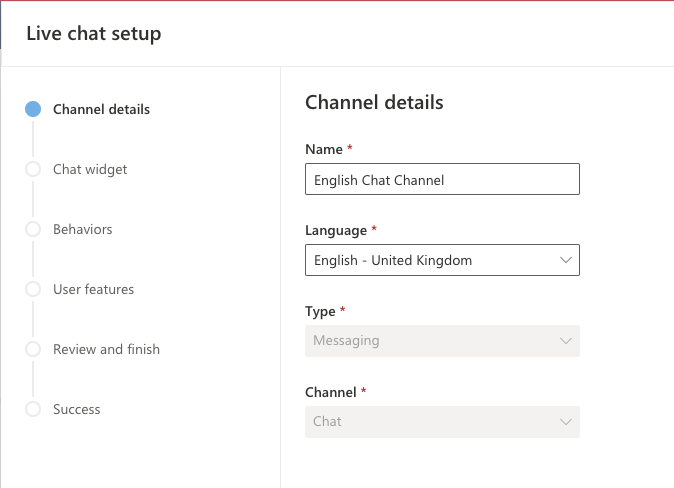
To continue, select next and then we can decide on some of the behaviours of the chat widget for our website or portal site.
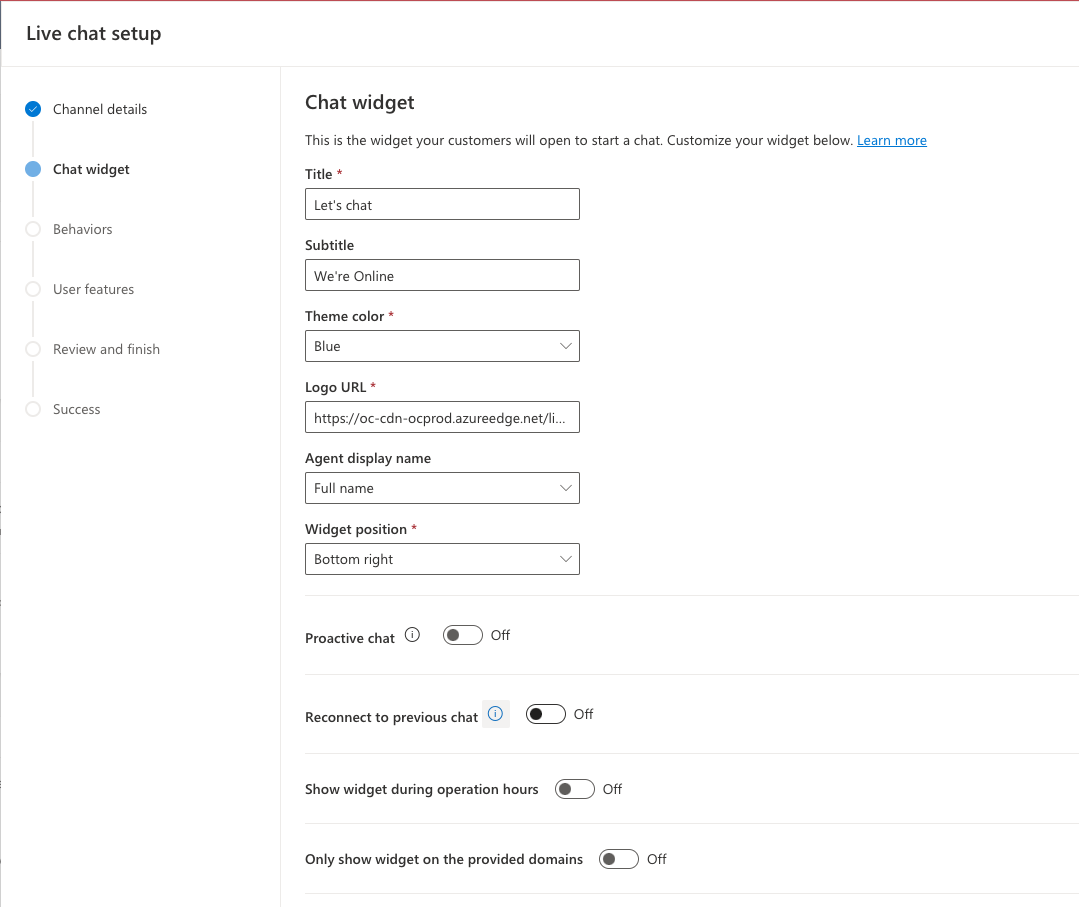
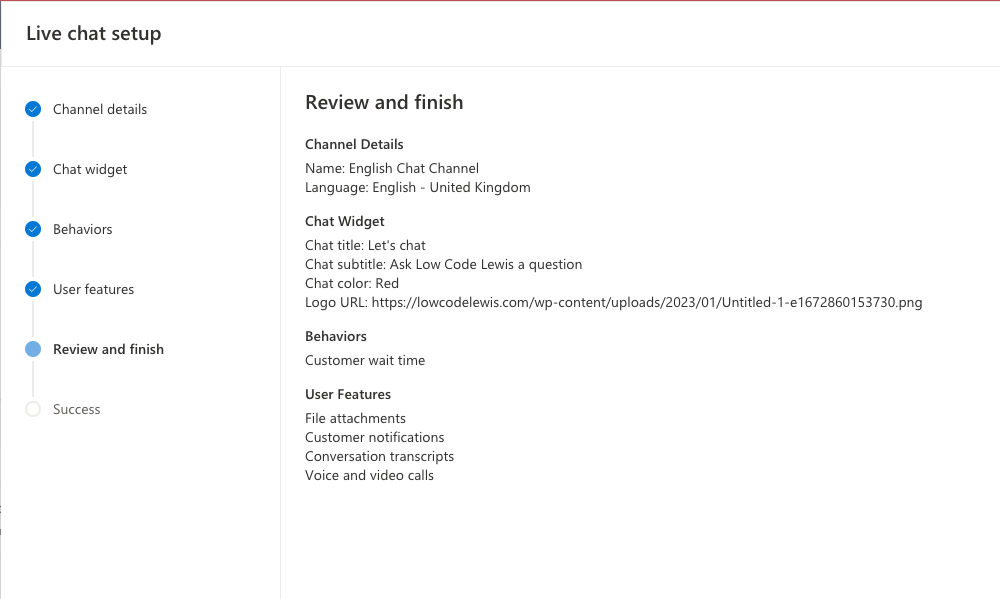
Now using the configuration options we can change a number of things about the chat widget which will sit on our portal site. We can change things like our company logo, theme colour, a title and subtitle to be displayed on the chat widget and more. I’ll configure mine Low Code Lewis style.
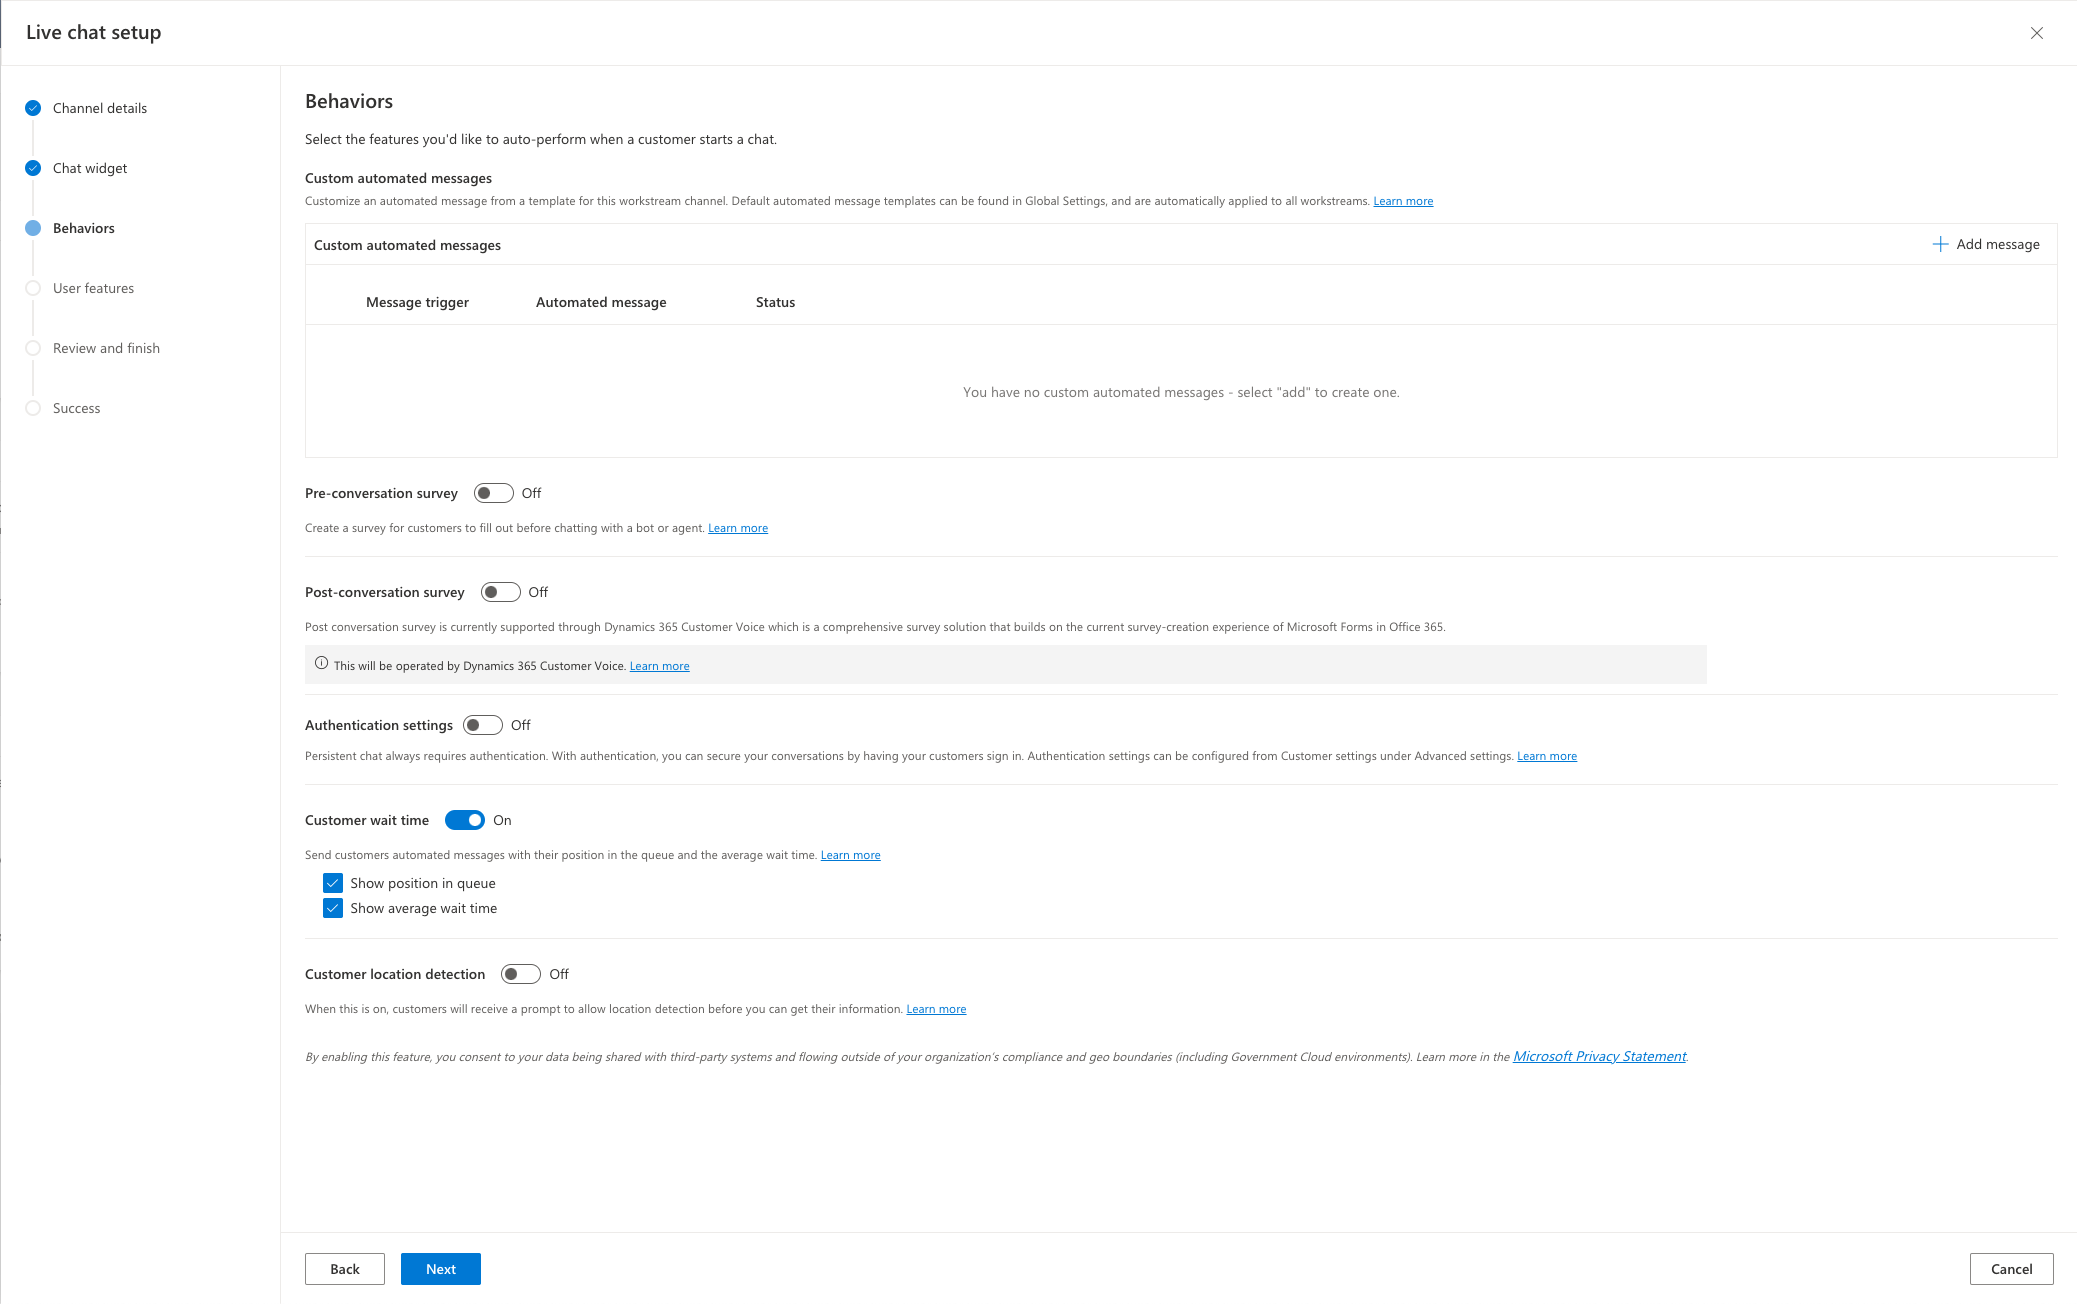
Next, we’re able to configure a number of different options around chat behaviours. These are less visual changes to the chat widget and more relevant to behaviours and features we can turn on for this live chat channel. We can configure things like a pre and post conversation survey, we can secure conversations by requiring customers to sign in, and more.
We’ll look more closely at some of these options in future blog posts.
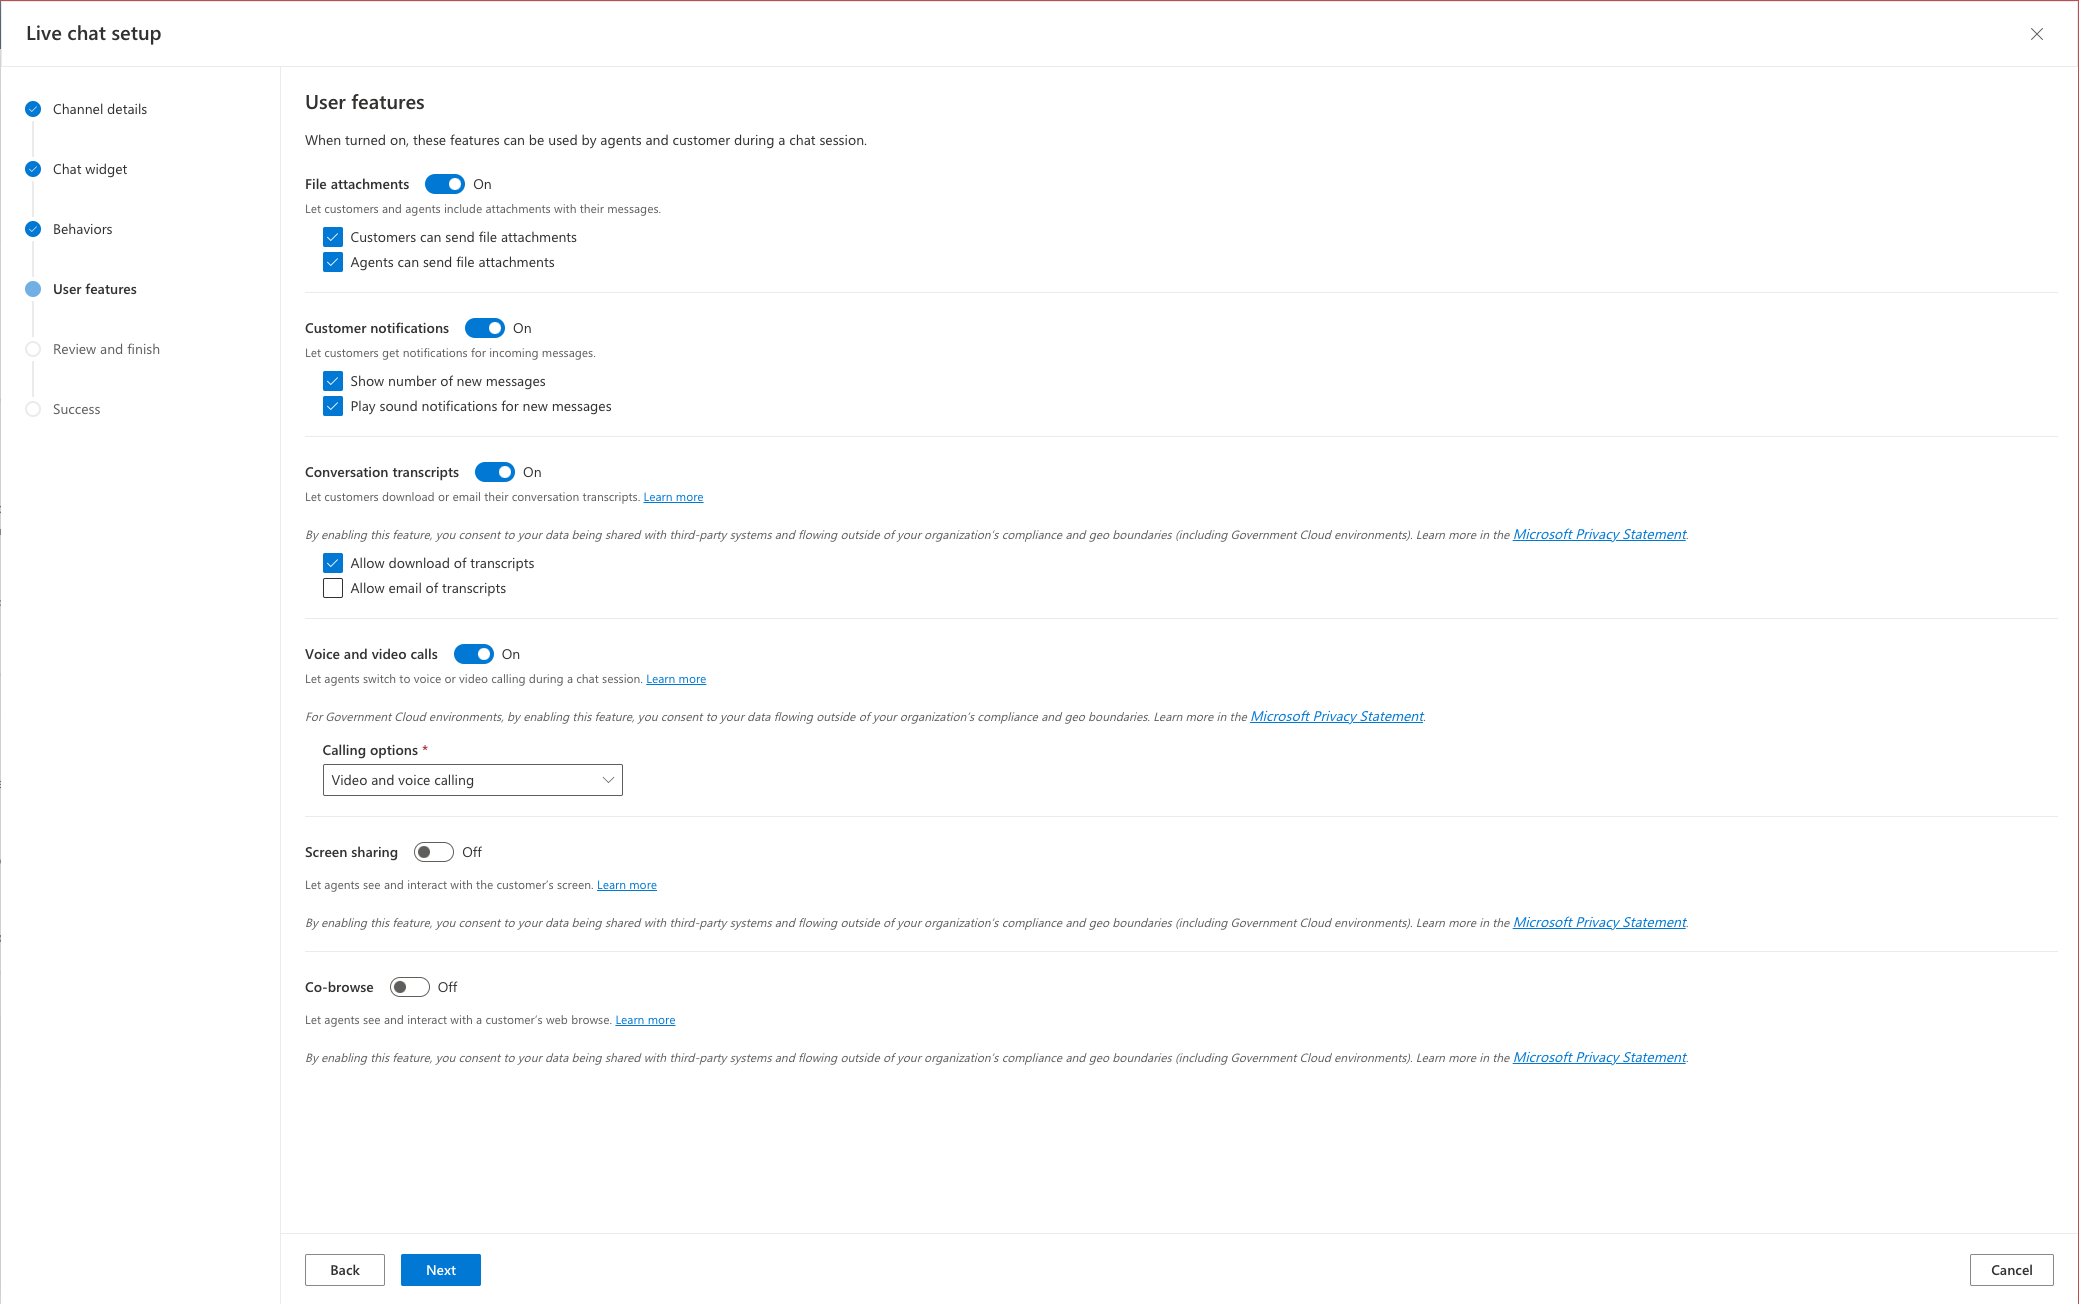
Next we’ll be able to turn on a number of options users will have when conversing with an agent through the chat widget on our website. We can enable options for them to do things like download a transcript of their conversation, send file attachments and more.
Finally review your options and select create channel.
That’s our live chat channel now set up! We’ll now have a html JS script snippet ready to add to our website which will enable us to show our chat widget on our site. We also now have a number of options we can configure against a workstream but we’ll look at these in a separate future post. For now, let’s just focus on live chat.
In my workstream, I’ve very simply populated a single rule with no condition and a queue to route conversations to, so everything will get routed in that direction.
Testing live chat
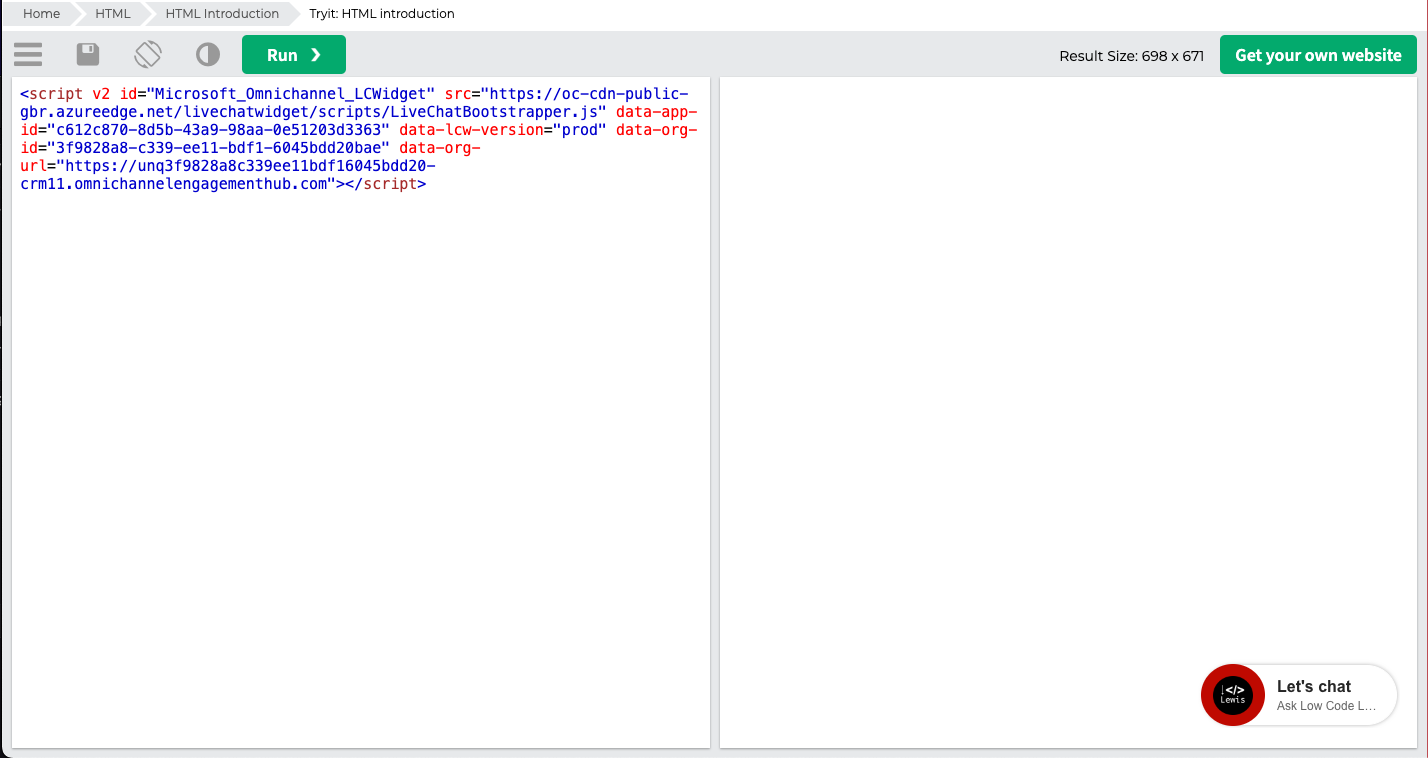
So, to test live chat, we don’t necessarily need to add our chat widget script to a website or portal we have setup. If we’re simply using unauthenticated chat just copy the live chat widget script from the chat channel, and then paste it in a HTML editor or try it page.
I commonly use the W3Schools HTML try it site.
Having pasted my script into the try it editor, and having selected run, I can see my chat widget ready to use!
In another browser tab I need to open the Customer Service Workspace app so that there is an available agent that the conversation I’m about to start can be pushed to. The person who opens the workspace app and who you expect to be able to have the conversation pushed to them needs to:
- Have the Omnichannel agent security role
- Have capacity set at a high enough number to receive conversations and not be over capacity already
- Have presence set to be able to receive conversations
- Be in a queue which the chat channel routes conversations to
Now I’m going to select to start a chat by clicking on the chat widget.
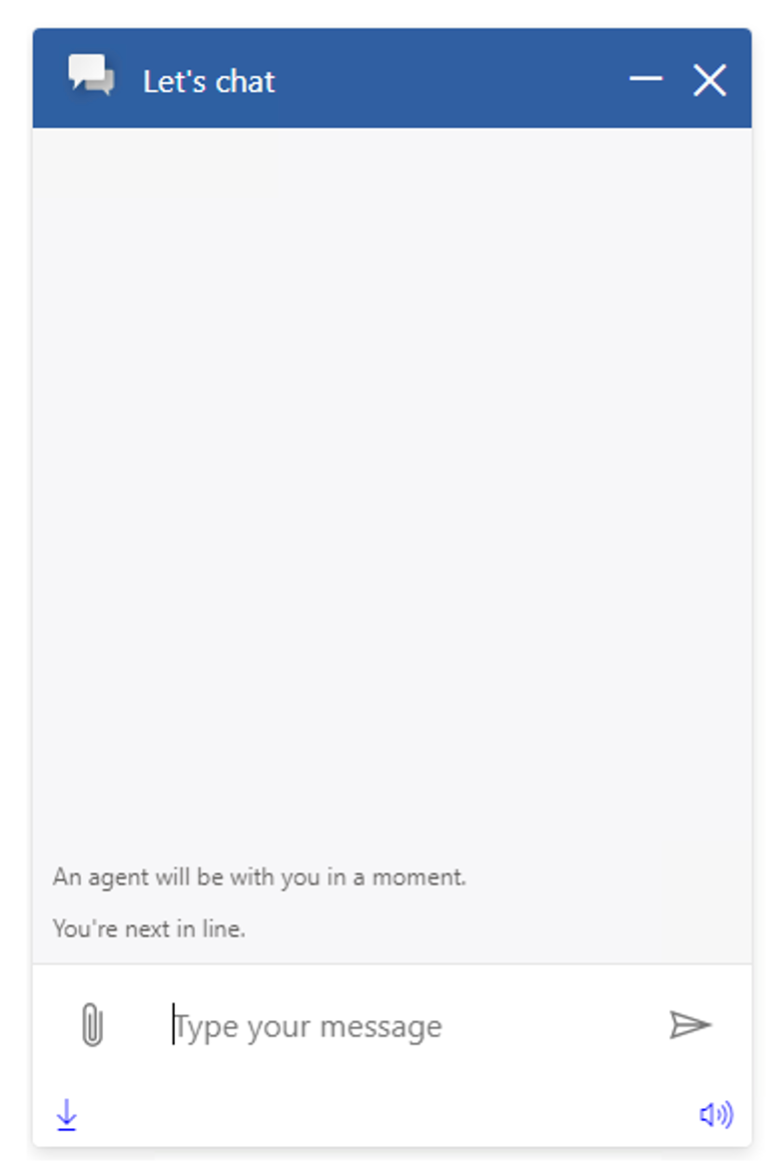
You can see that I’ve been notified that an agent will be with me, and I’m next in line. Now let’s see what’s happening from my agents perspective.
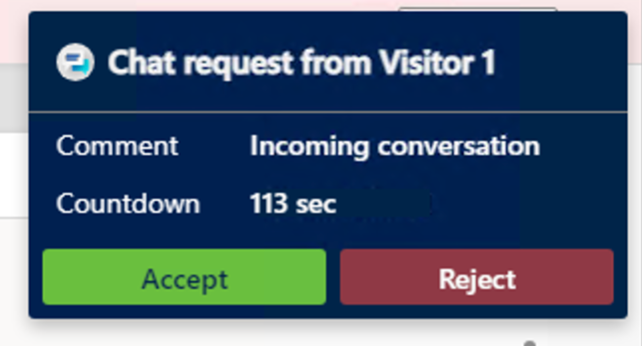
For my agent, in Dynamics 365 Customer Service Workspace, they just got a notification in the top right hand corner of their screen telling them that there is a chat request that has been pushed to them. They can then accept or reject the chat request. I’ll accept it now as the agent.
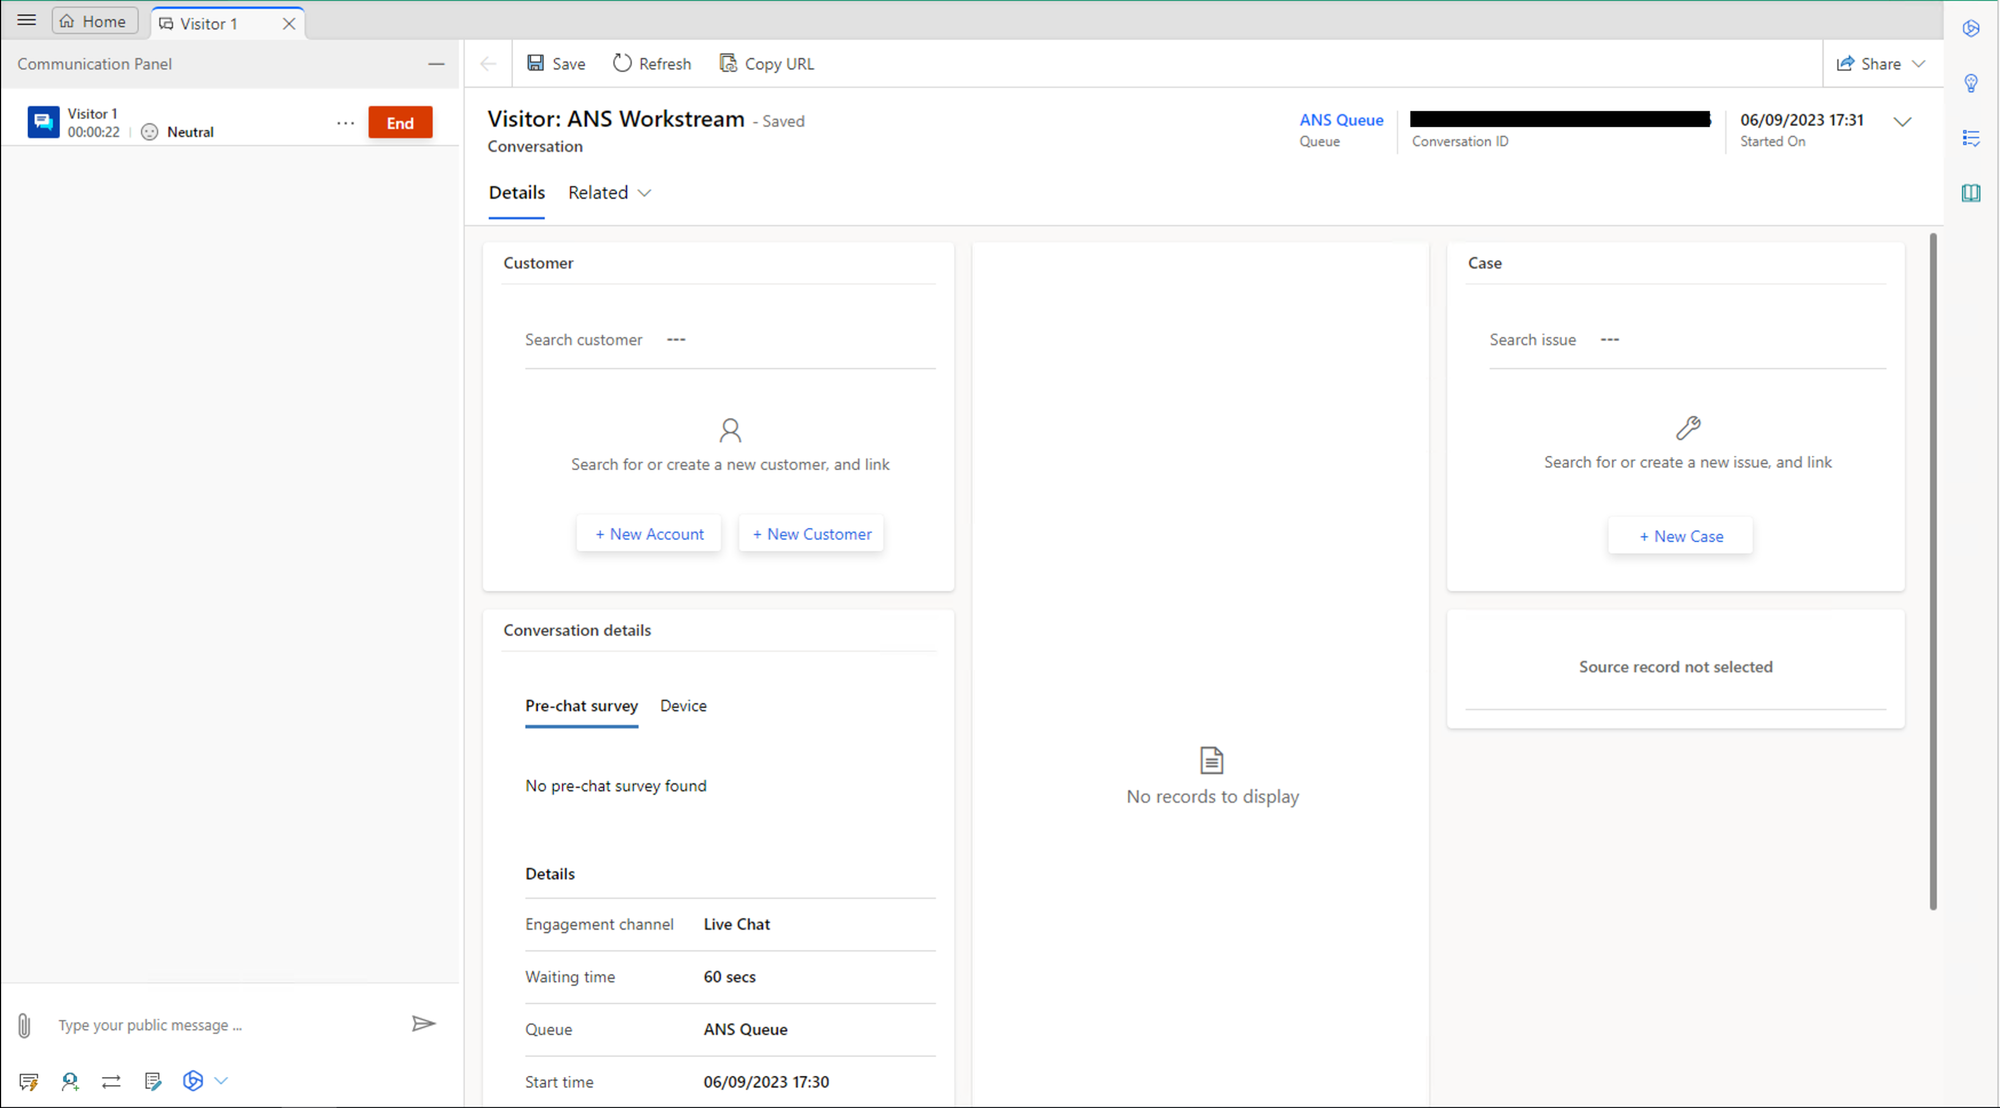
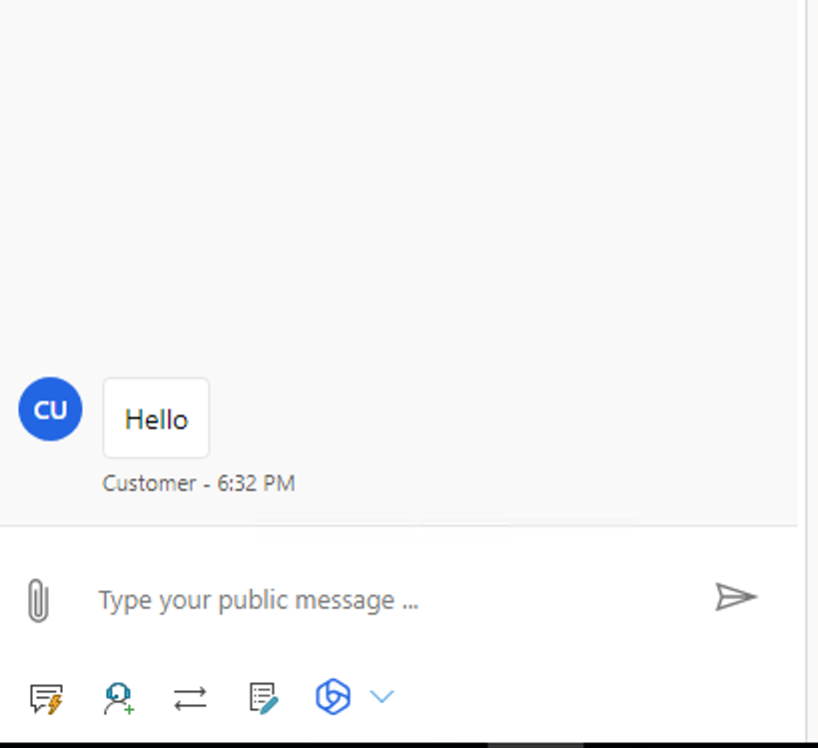
Now you can see that as the agent I have access to a number of details around the conversation including the queue it has been routed to and more. I can also now start to converse with the agent. As the customer I’ll send a message to my agent, and as you can see below, the agent has received the message and can converse with the customer using Omnichannel.
Did you like this content? 💖
So, it’s that simple to get started with Omnichannel for Customer Service in Dynamics 365! If you liked this content, feel free to check out some of the other posts on my blog and if you still like the content, subscribe to get Power Platform & Dynamics 365 articles in your inbox from me for free! 💌
Subscribe